Tags
Tags allow marking objects and filtering on selected features.
Add new tag
You can add a new tag at any time on the platform. Below you will find a description of how to do it.

- Click on Add tag button placed in the right up section corner
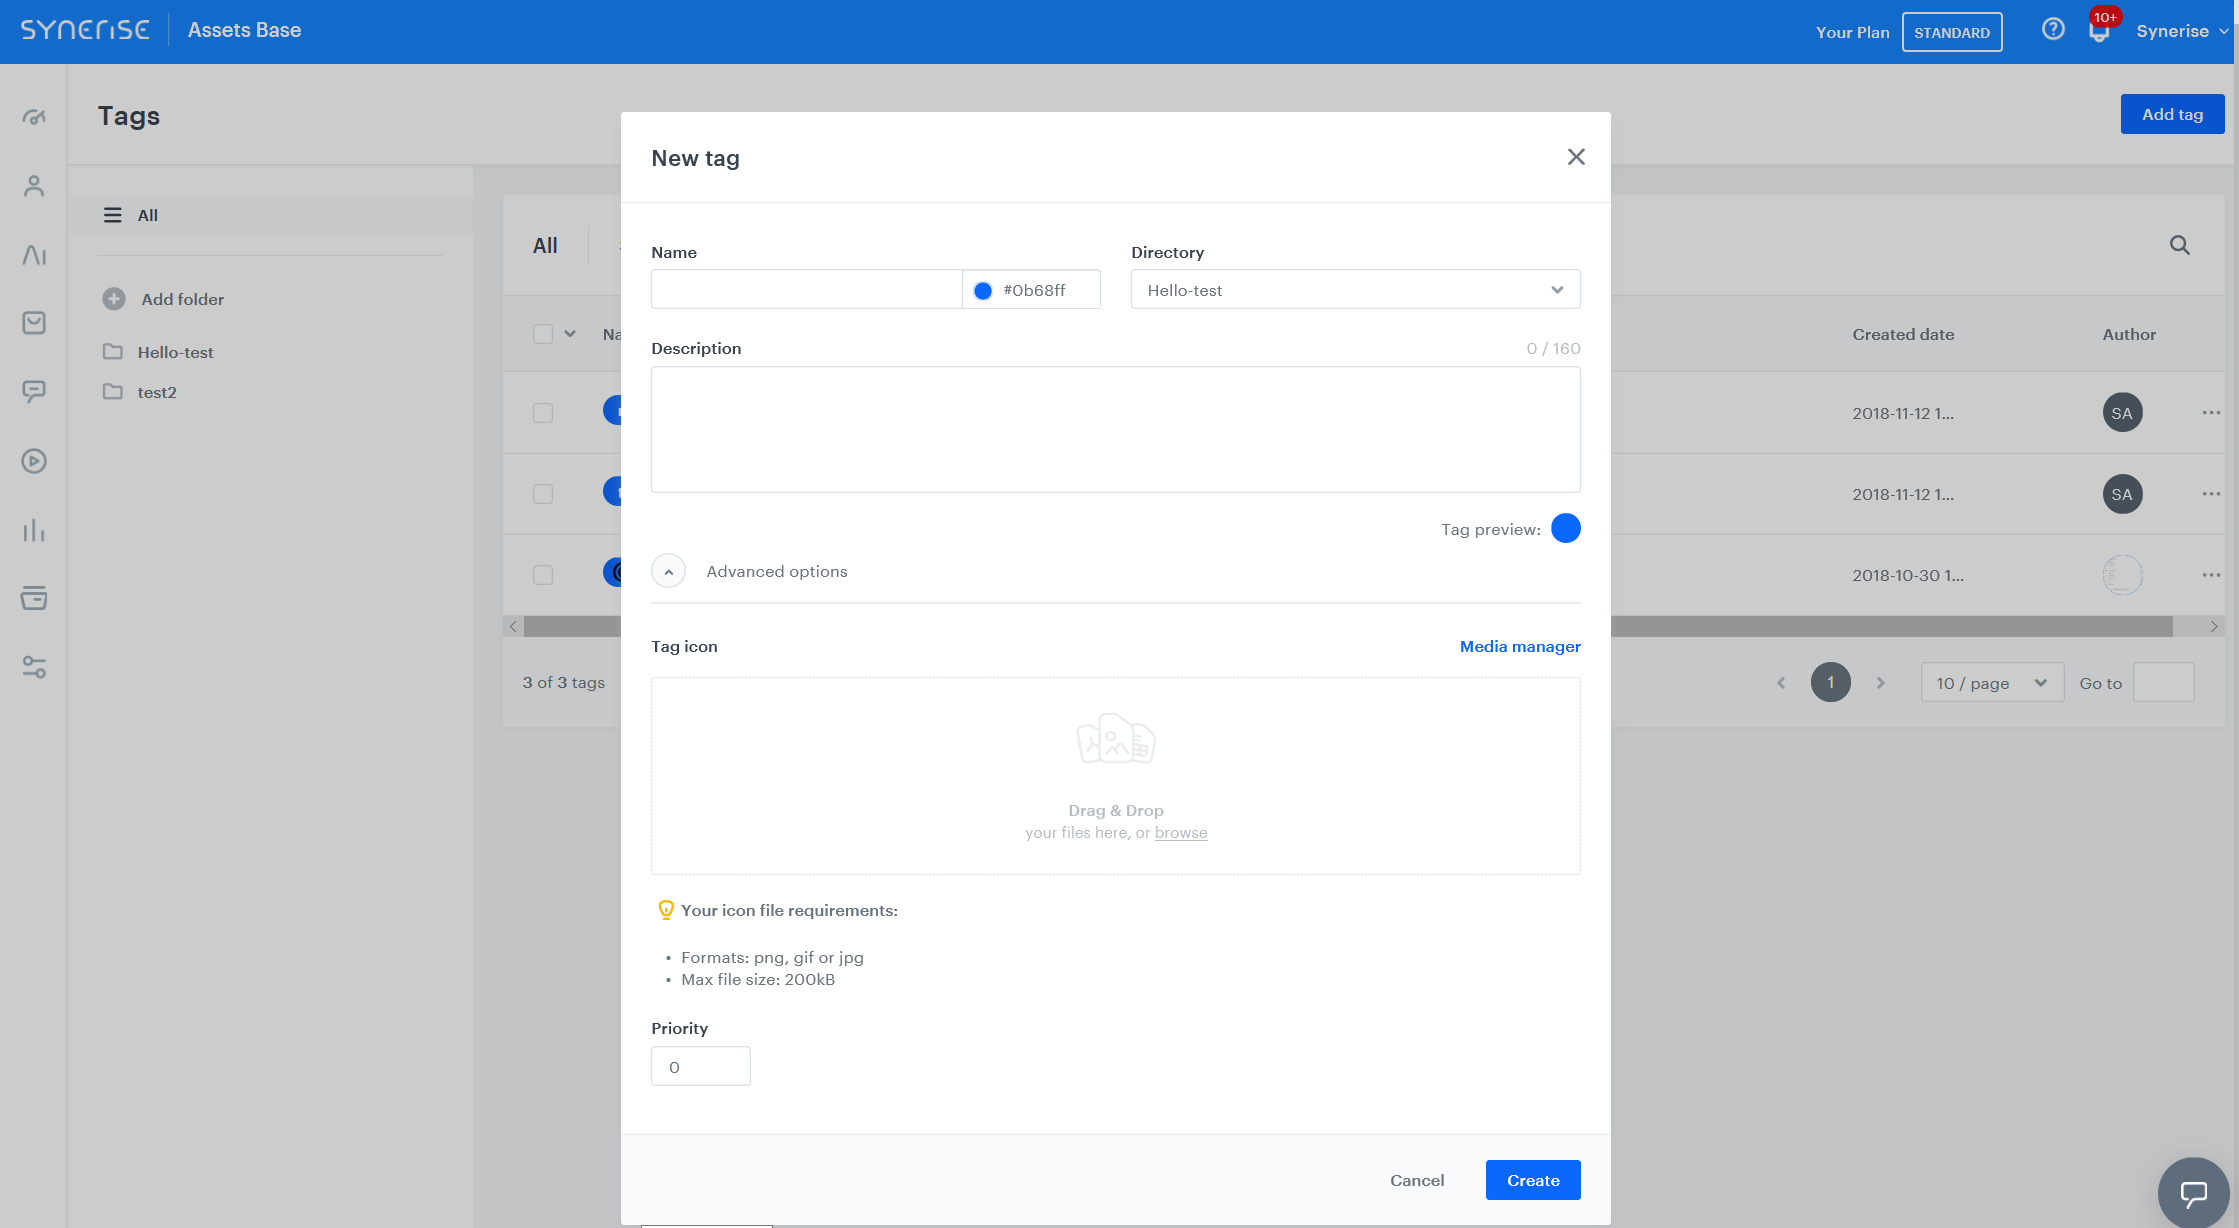
- Fill in the Name and Description fields; select the desired color from the color wizard (you can do it by clicking directly on the circle on the appearing board or enter the color code manually in the extension HEX or RGB).
- Select directory from the drop down list. The list contains formerly-laid folders (you can see them grayed out on the left side of the screen). Remember that by assigning them to a given directory, you give them the appropriate rules for the selected folder (the folder is the parent of the tag).
- In the “advanced options” section you can add the an icon to the tag (using the drag & drop option or the browse option); remember, however, that this icon should have the appropriate extension: png, gif or jpg; maximum size of the uploaded file up to 200 kb.Adding an icon is a possibility; if you do not want to, you do not have to add it.
- You can also give the tag to the desired priority. To do this, enter in the priority field a value from 1 to 100 (the lower the value, the higher the priority).
- Submit by clicking create button
Edit existing tag
Once you have added tags, you can edit them in the system at any time. Below you will find a description of how to do it.
- Search for a tag you want to edit using the search box marked with a magnifying glass placed above the section or chose a tag from the list.
- Click on the three dots on the right side of the tag view.
- Click on edit button.
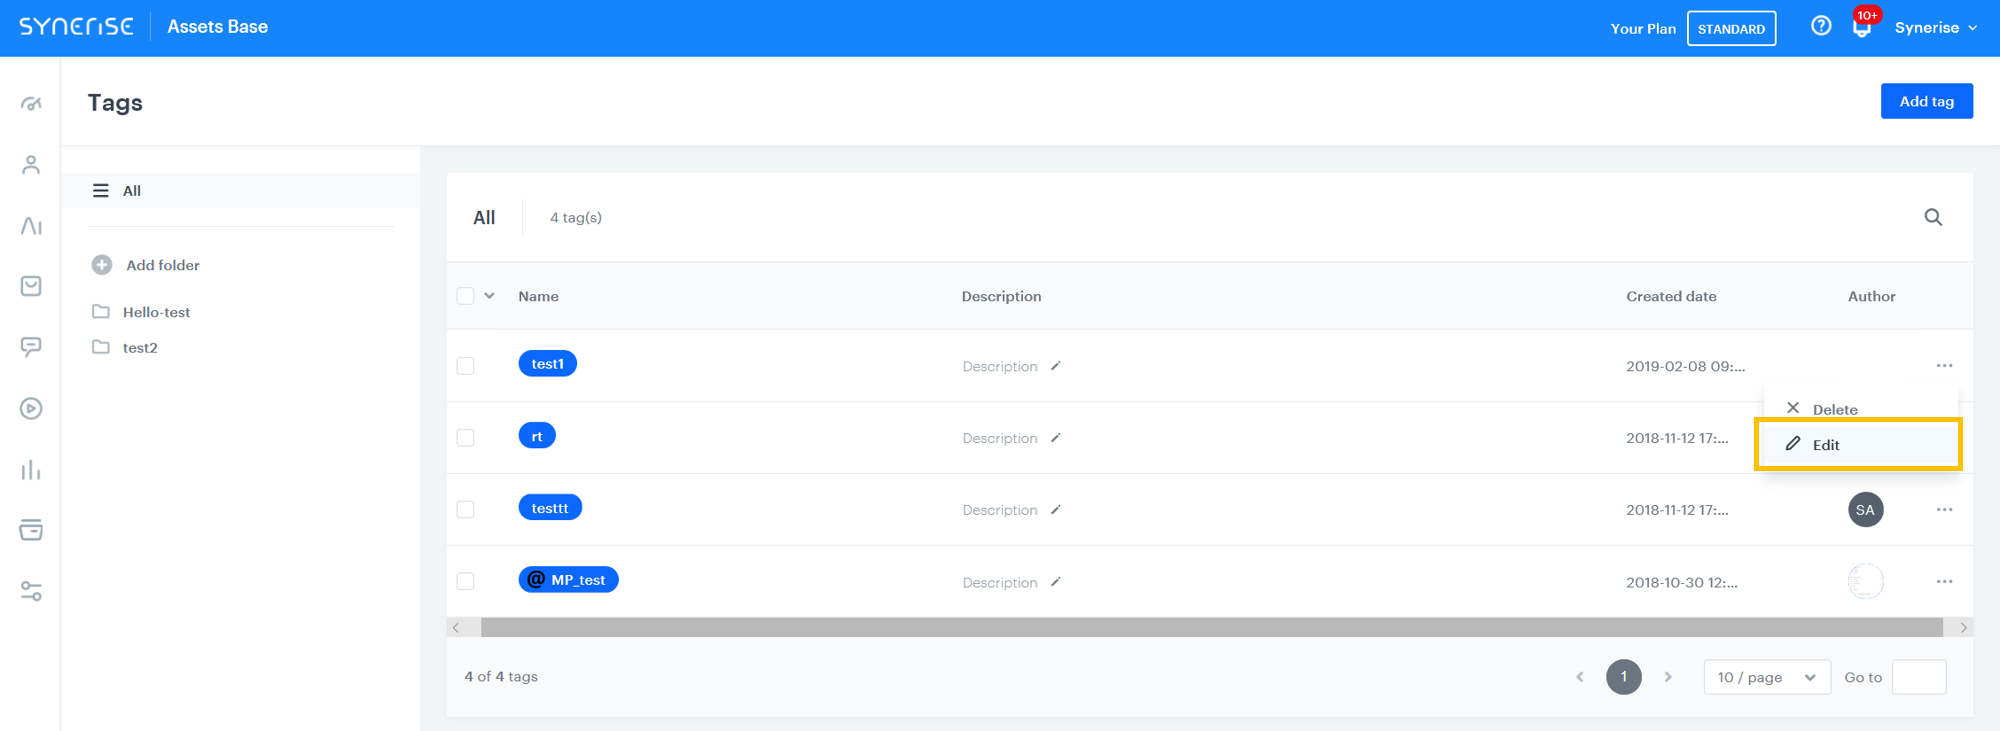
- After clicking the edit button, the platform will take you to a window identical to one used for creating a new tag. Change chosen items and submit by clicking save.
Delete existing tag
Once you have added the tag, you can remove them from the system at any time. Below you will find a description of how to do it.
- Find the tag you are interested in using the browse option (magnifying glass) located in the upper right corner of the section or chose one directly from the list.
- Click on the three dots on the right side of the tag view: you’ll see edit and delete options.
- Click on the delete button.
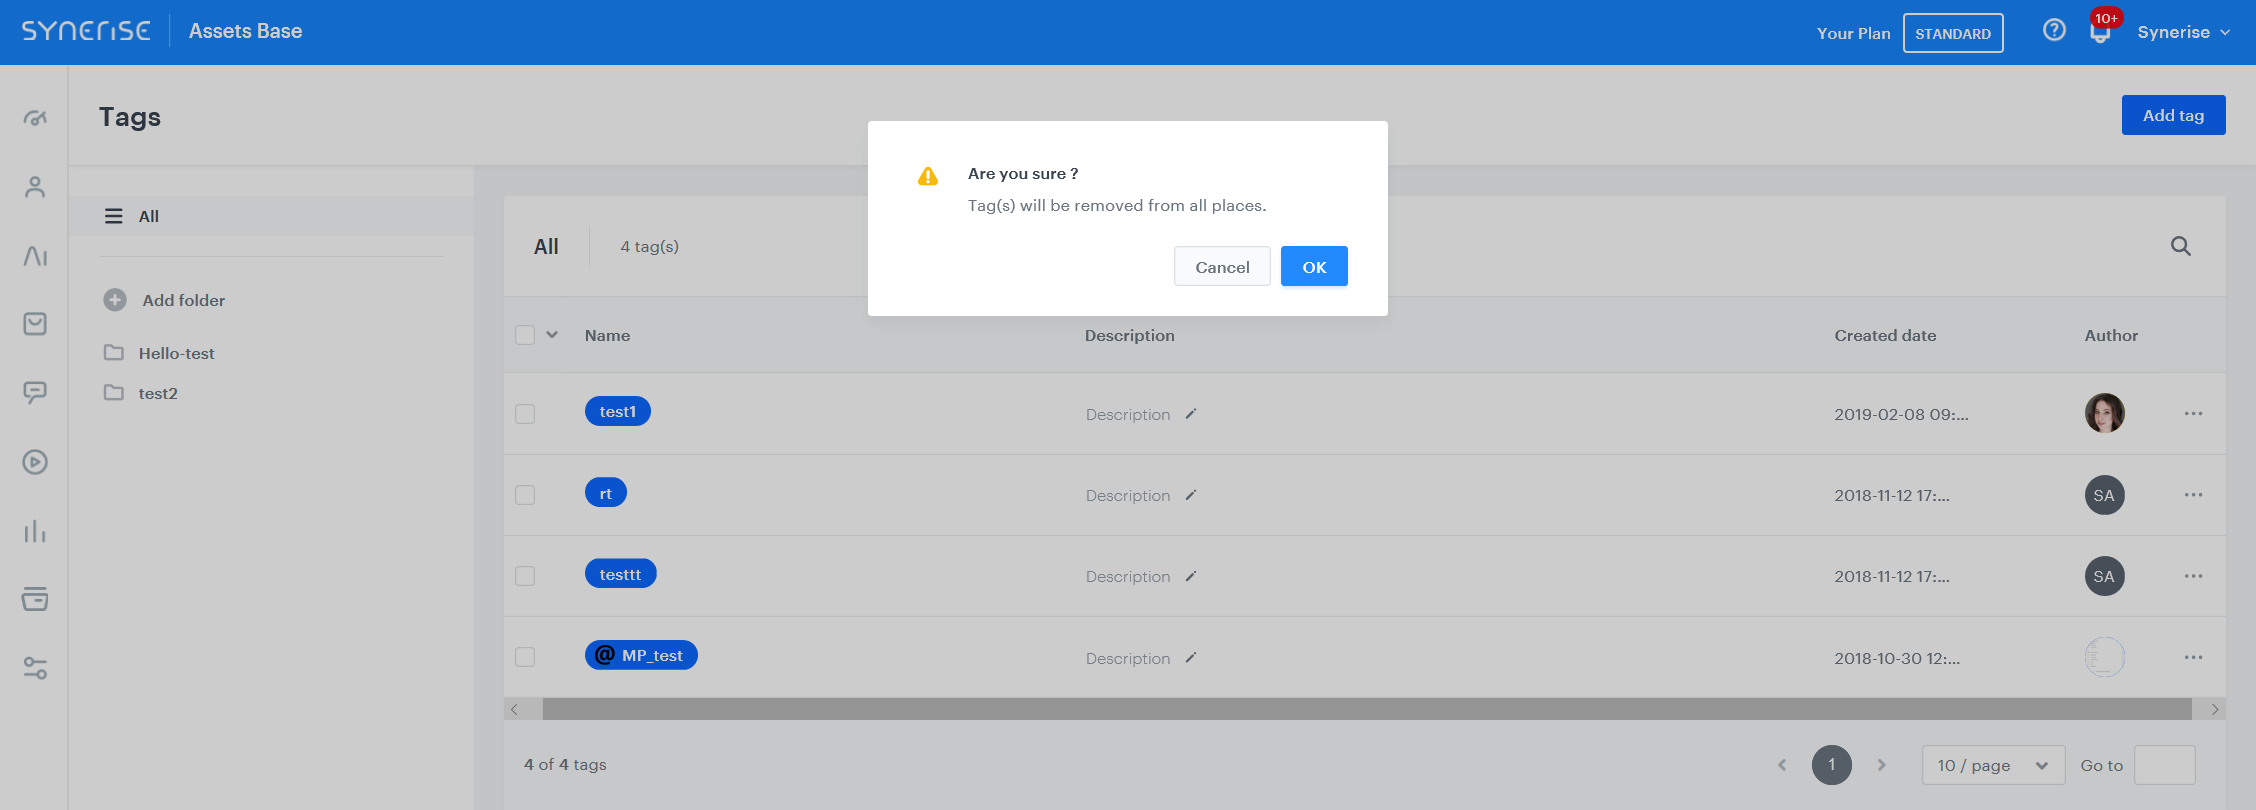
- After clicking delete, a tag deleting confirmation statement will appear.
- Submit by clicking OK.
Add new tag folder
In order to be able to group tags, it should be attached to the appropriate previously created folders. To create them follow the instructions below.
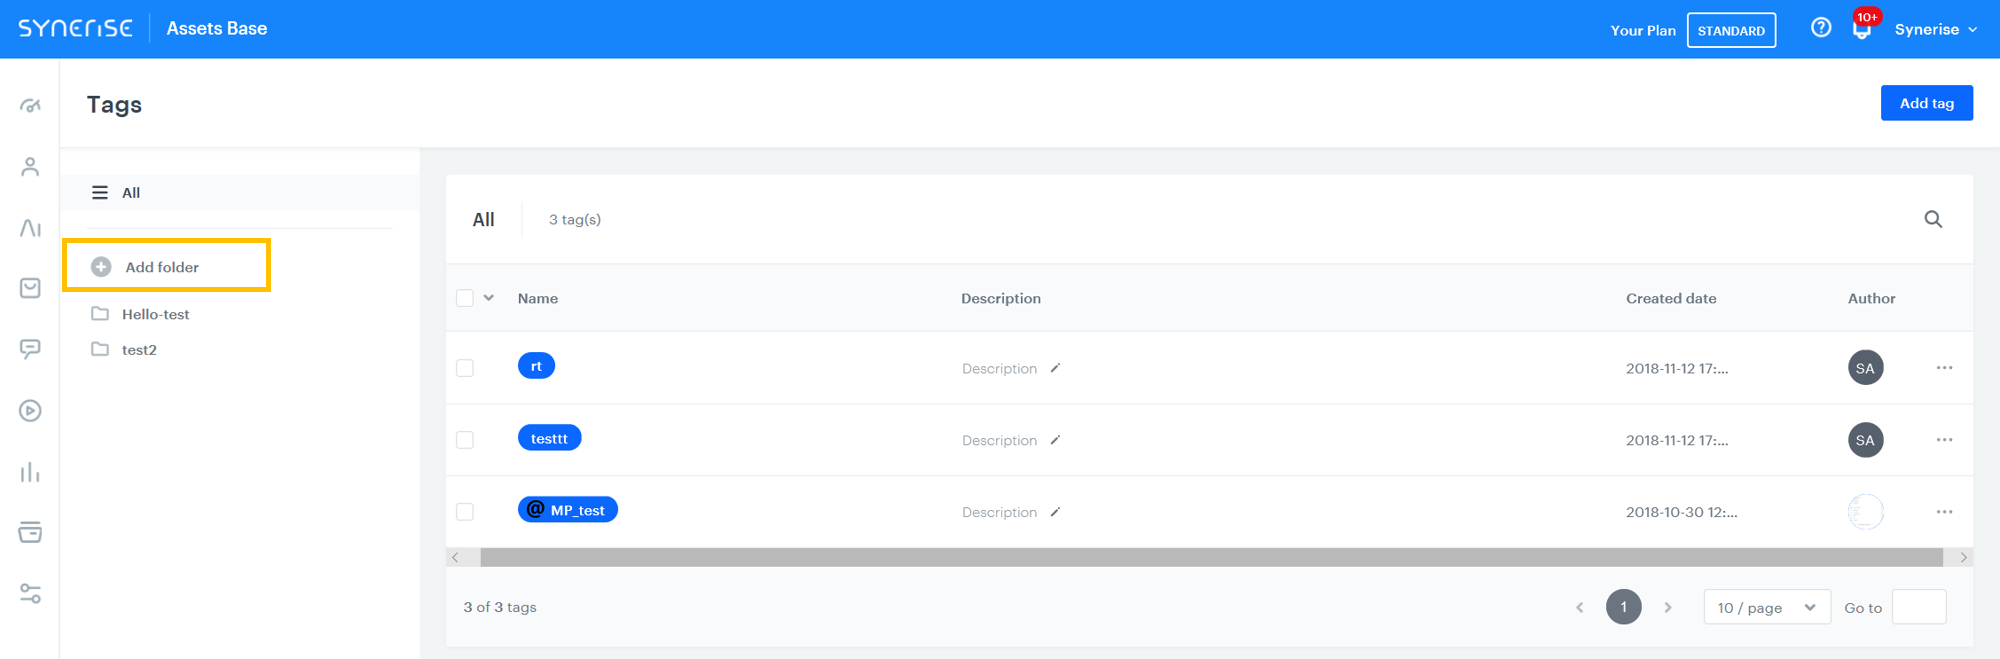
- Click on the plus button next to the add folder button on the left side of the tags section.
- Enter the name of the new folder and press ENTER on the keyboard.
Result:
The folder is created. To change its settings, for example set the folder type, see “Edit folder settings”.
Edit folder settings
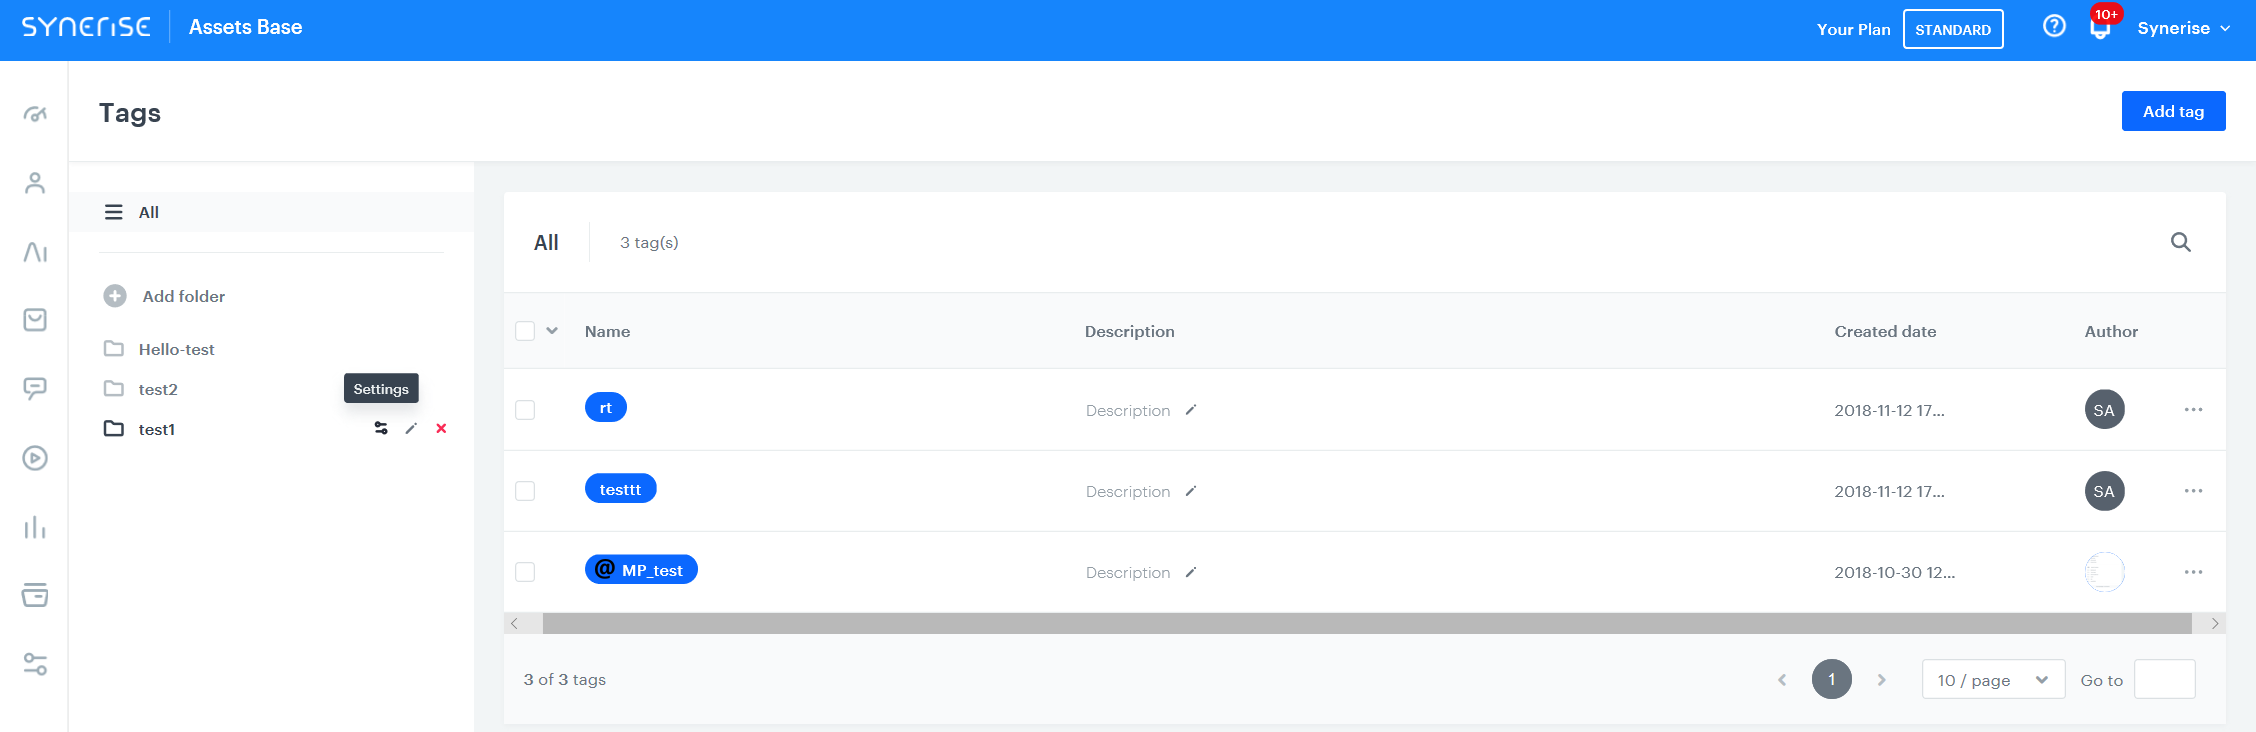
- In the list of tag folders, hover over the folder you want to edit.
Result: The folder management icons appear. - To open the folder settings, click the
 icon.
icon. - From the Type dropdown list, assign a type to the folder.
If the type you need doesn’t exist, you can create it with the API. See “Creating folder types”. After creating the folder type, you must re-open the folder settings view to refresh the list of types. - If you want to edit free-form parameters of the folder:
- Expand Advanced options.
- Add or remove parameters.
- Save the settings by clicking Save.
Creating folder types
Currently, folder types can only be created with the API.
The following cURL example shows how to create the promotion folder type. This folder type is required to create tags for promotions.
curl --location 'https://api.synerise.com/tags-collector/directories/types' \
--header 'Content-Type: application/json' \
--header 'Authorization: Bearer WORKSPACE_OR_USER_TOKEN' \
--data '{
    "name": "promotion"
}'
To learn more about the endpoint, see the Developer Reference.
To learn more about API authorization, see Introduction to API Authorization.
Remove existing tag folder
- In the list of tag folders, hover over the folder you want to edit.
Result: The folder management icons appear. - Click the
 icon.
icon. - Confirm by clicking OK.