Creating catalogs
You can create catalogs and upload there a CSV file with data that can be used to further actions in the application.
You can also upload JSON and XML files to catalogs through API or by importing.
- Uploading JSON through API
- Requirements for importing JSON and XML files
- Importing product feed to a catalog
Requirements
- Permissions that allow access to Catalogs section and adding new catalogs.
- CSV files only::
- Values in one column must be unique because the column itself serves as the key. Otherwise, the values may be overwritten.
- Avoid spaces and special characters in the column names and the name of the file.
- A file can contain up to 200 000 records.
- The separator must be a comma (
,)
WARNING: For MacOS users, if you prepared a CSV file in Excel, open it in a text editor to check whether commas are used as separators. If not, replace them with comma.
Creating a catalog
- Go to
 Data Management > Catalogs > New Catalog.
Result: A pop-up opens. - Enter the name of the catalog.
You can use the following characters:a-z;A-Z;0-9,-
Important: Spaces ( - Confirm creating the catalog by clicking Apply.
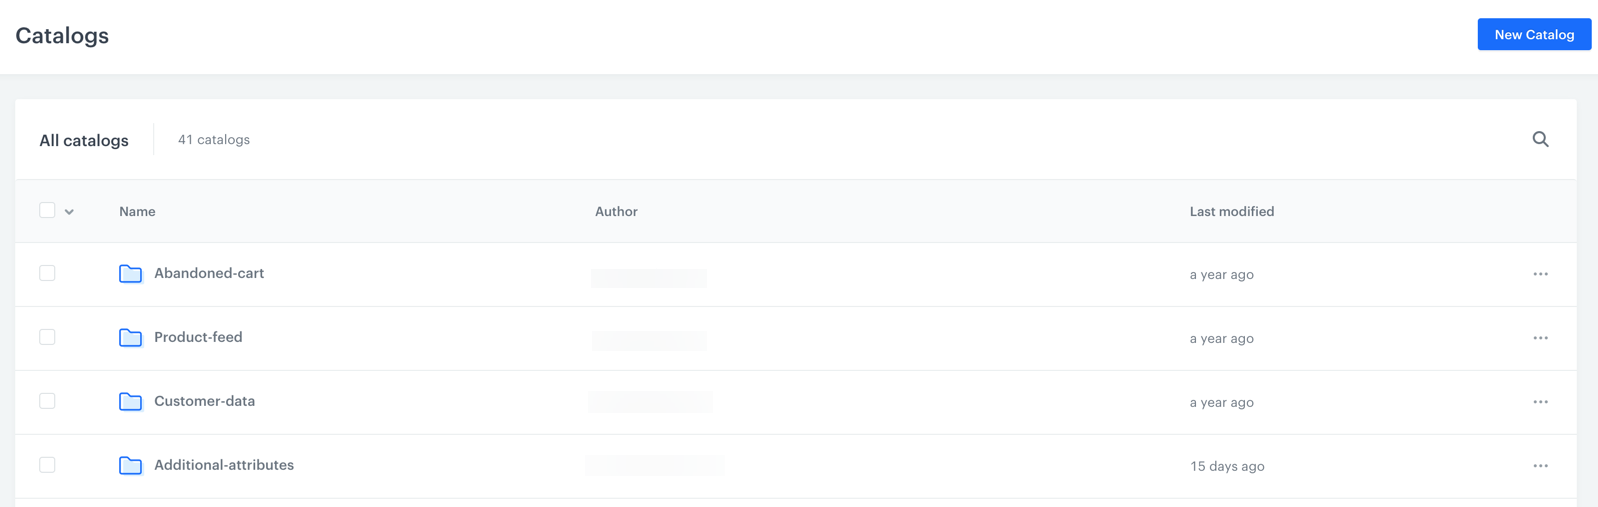
Result: A catalog appears on the list. Its position on the list is defined by alphabetic order (the list is arranged from Z-A).
Importing data into the catalog
To learn how to import data to a catalog, see this article.