Files explorer
File explorer is a place where you can store graphic files uploaded into the platform. Synerise makes it easy to upload them using drag and drop and makes it easy to sort and highlight the most important ones, thanks to the ability to give stars. In this part we will show you how to do it in a few simple steps.
Configure files explorer section
When you start working on the platform, you’ll probably need to put some graphical elements into Synerise files explorer in the Data Management section.
In order to set up the configuration, go to Data Management → Files Explorer.
Add new file
In the upper left corner of the section view you will see the number of currently uploaded files. You can search for any chosen catalog using the search box marked with a magnifying glass placed in the right up section corner.
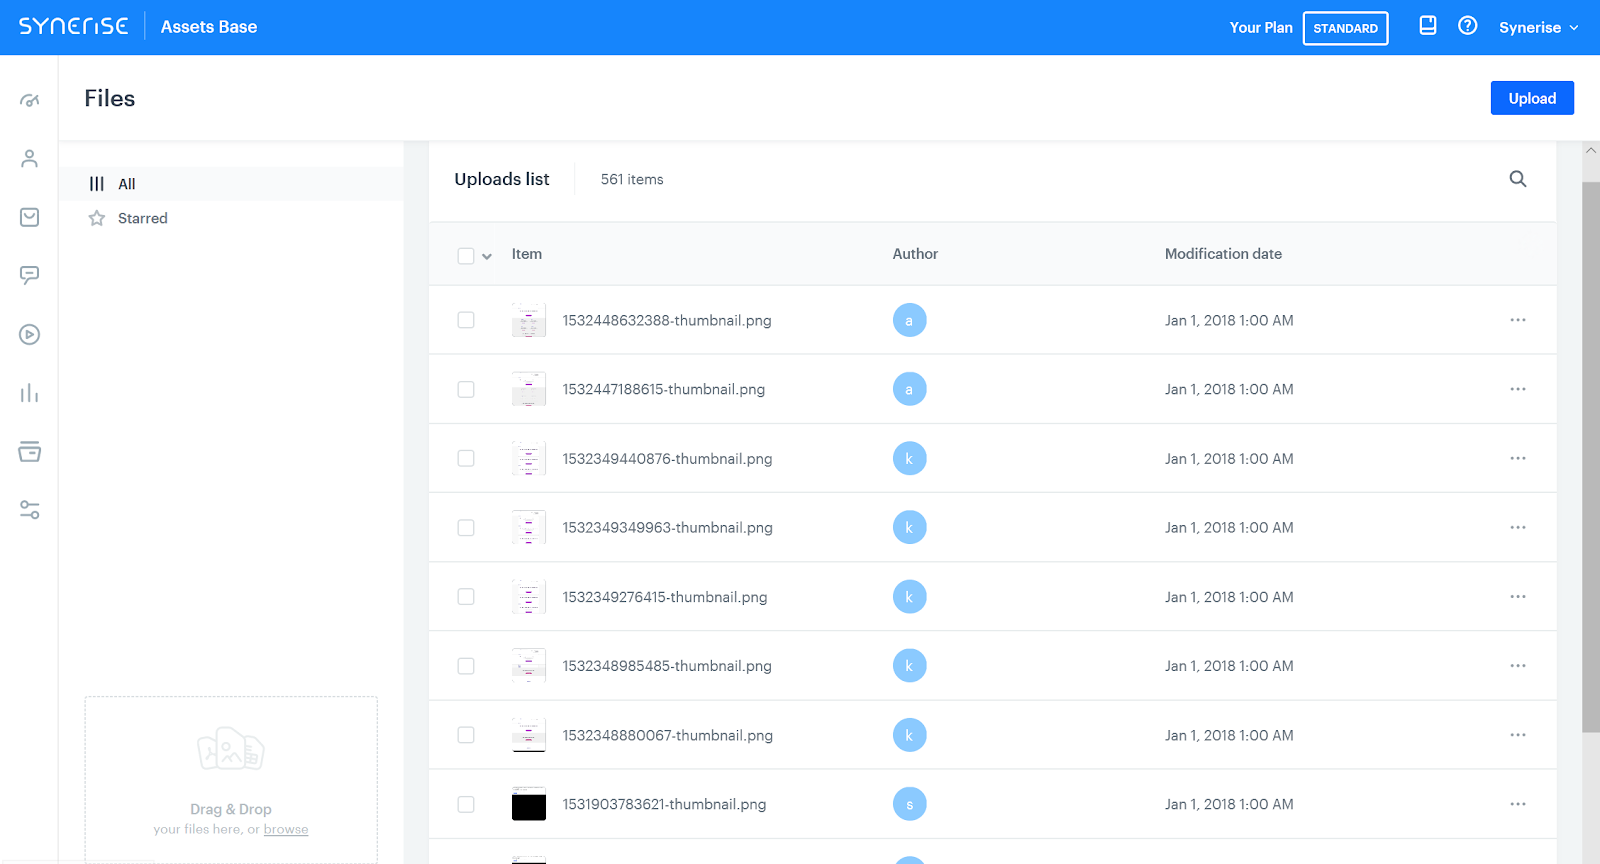
The file can be uploaded in two ways: by using the upload button placed in the right up corner or using the drag and drop option located in down left corner.
the following file extensions are accepted by the uploader:
- Graphical formats:
.jtif,.bmp,.tiff,.webp,.png,.gif,.jpg,.jpeg - Multimedia formats:
.gif,.mpg,.mpeg,.mp3,.webm,.mov,.mp4 - Text/Data/Document formats:
.xml,.pdf,.txt,.css,.csv,.json - Other:
.font,.ttf,.otf
Upload button
- Click on Upload button placed in the right up file explorer section corner.
- After the window appears allowing inserting the file, select the one you are interested in and click “open” button.
Drag and drop
- Click on browse button placed in the drag and drop section.
- After the window appears allowing inserting the file, select the one you are interested in and click “open” button.
or
- Choose the file you want to upload, and drag it to the drag and drop field
Copy file’s URL/HTML code
When you upload selected files, you can copy their URL and HTML code. Check below on how to do it.
- Find the file you are interested in using the browse option (magnifying glass) located in the upper right corner of the section.
- Click on the name of the uploaded file - a window will appear on the right side of the screen allowing you to view the file details (such as dimensions, type, size, author, adding date).
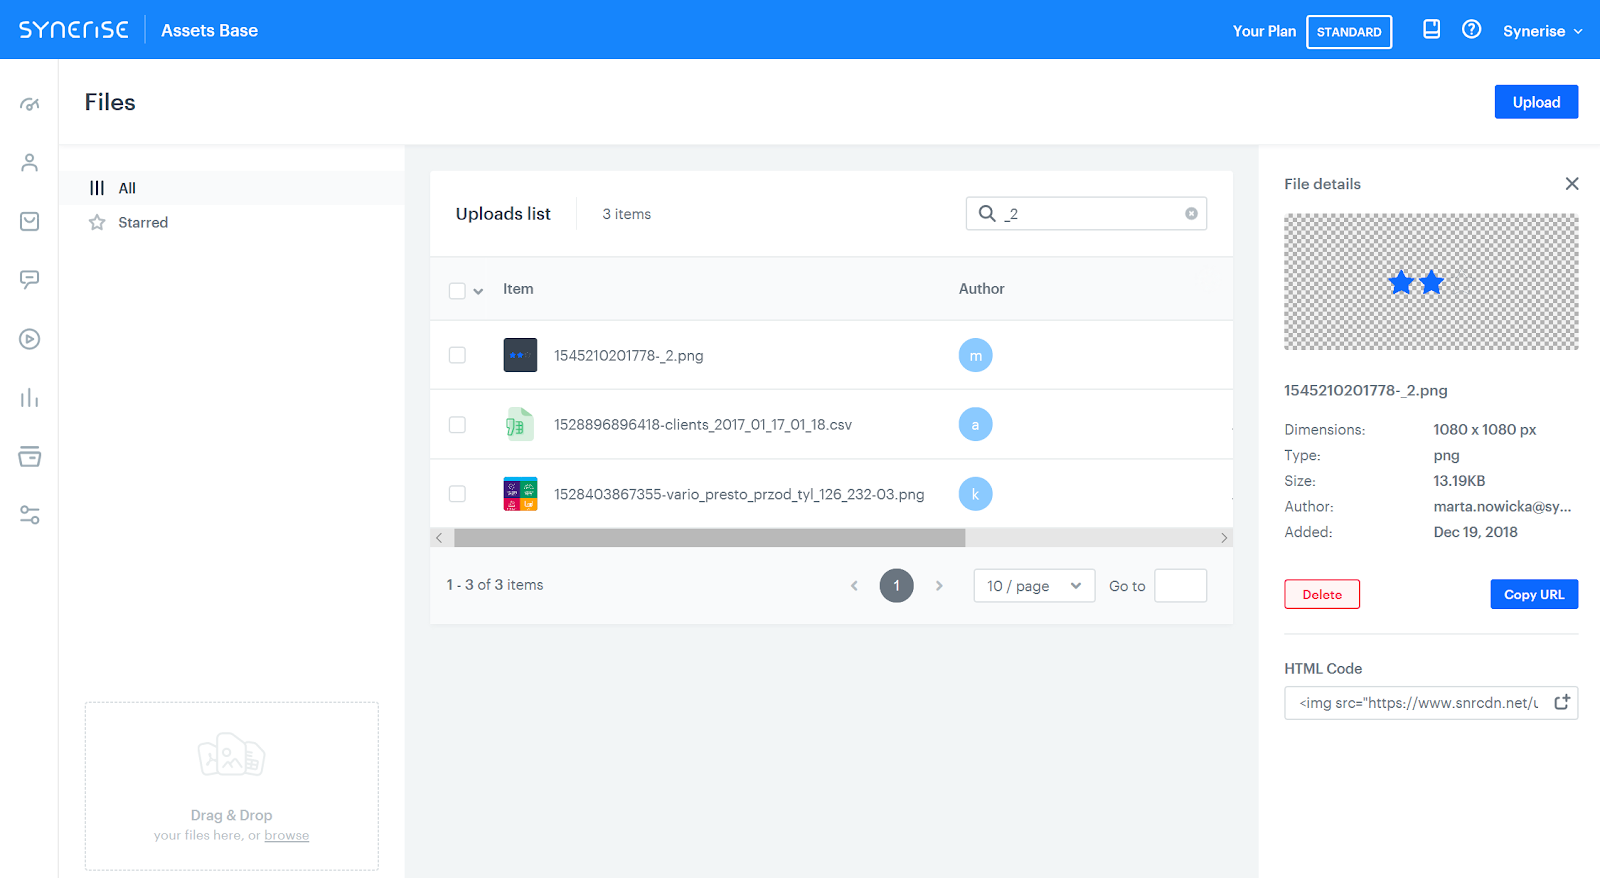
- Click on the Copy URL button if you want to get the URL address.
- Click on the square and plus icon located in the HTML Code if you want to copy the code.
Star/Un-star chosen file
Giving a star allows you to highlight selected files and their easier sorting. Below you will find a description of how to do it.
- Find the file you are interested in using the browse option (magnifying glass) located in the upper right corner of the section.
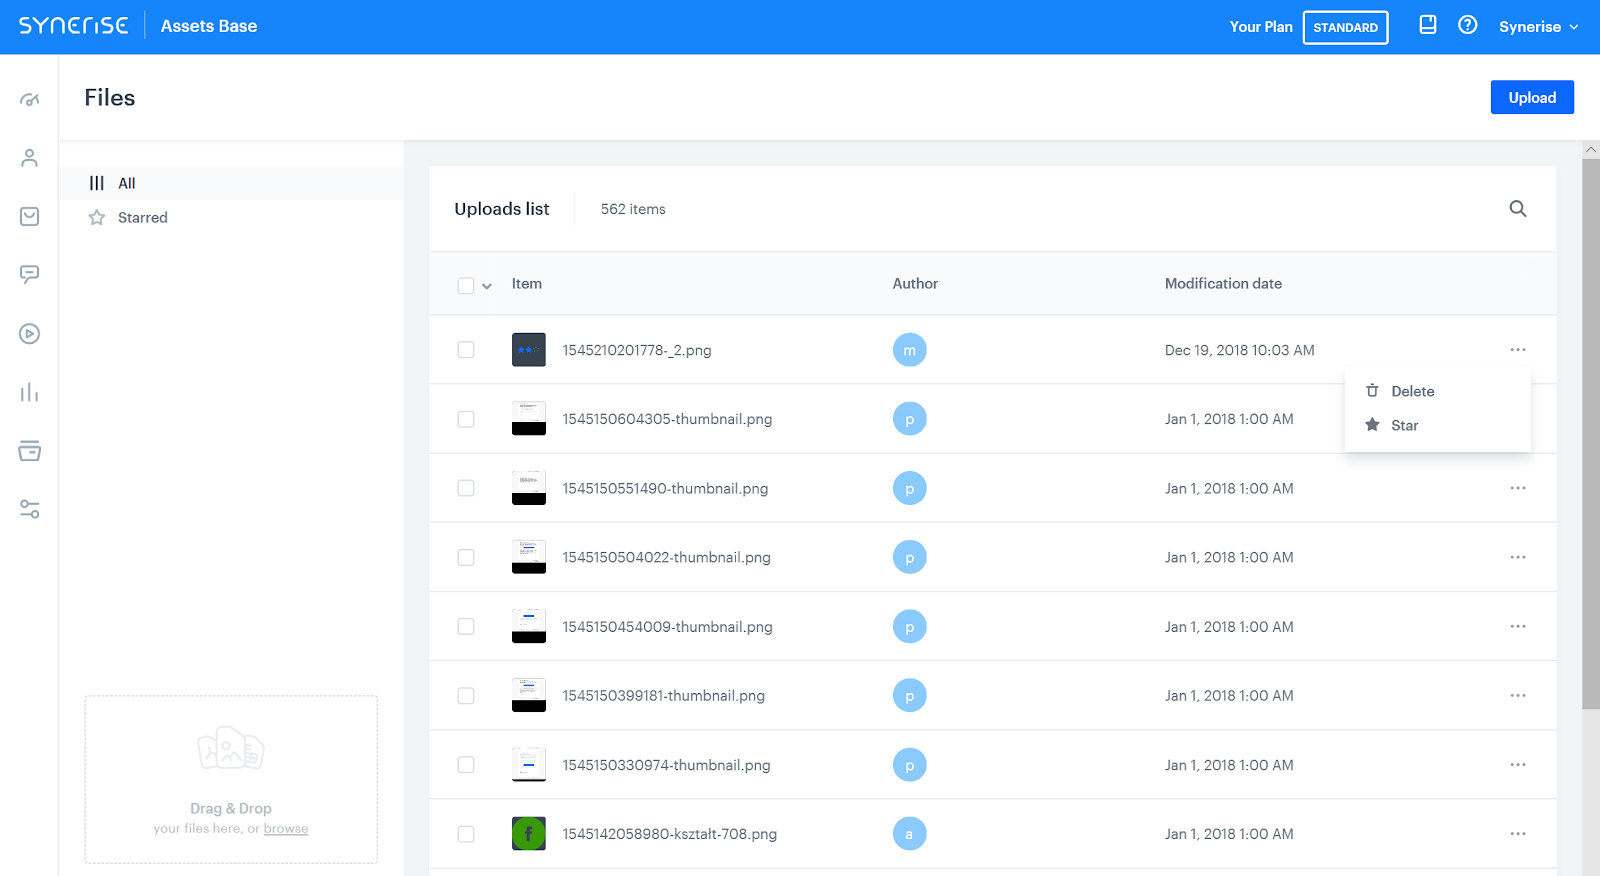
- Click on the three dots on the right side of the file view.
- After clicking 2 options will appear: delete and star. Choose the last option.
- To Un-star the chosen file repeat steps 1-3; in the last step instead, an d un-star option will appear. Click it.
Delete existing file
When you have added the file, you can remove them from the system at any time. Below you will find a description of how to do it.
- Find the file you are interested in using the browse option (magnifying glass) located in the upper right corner of the section.
- Click on the name of the uploaded file - a window will appear on the right side of the screen allowing you to view the file details (such as dimensions, type, size, author, adding date).
- Click on the delete button.
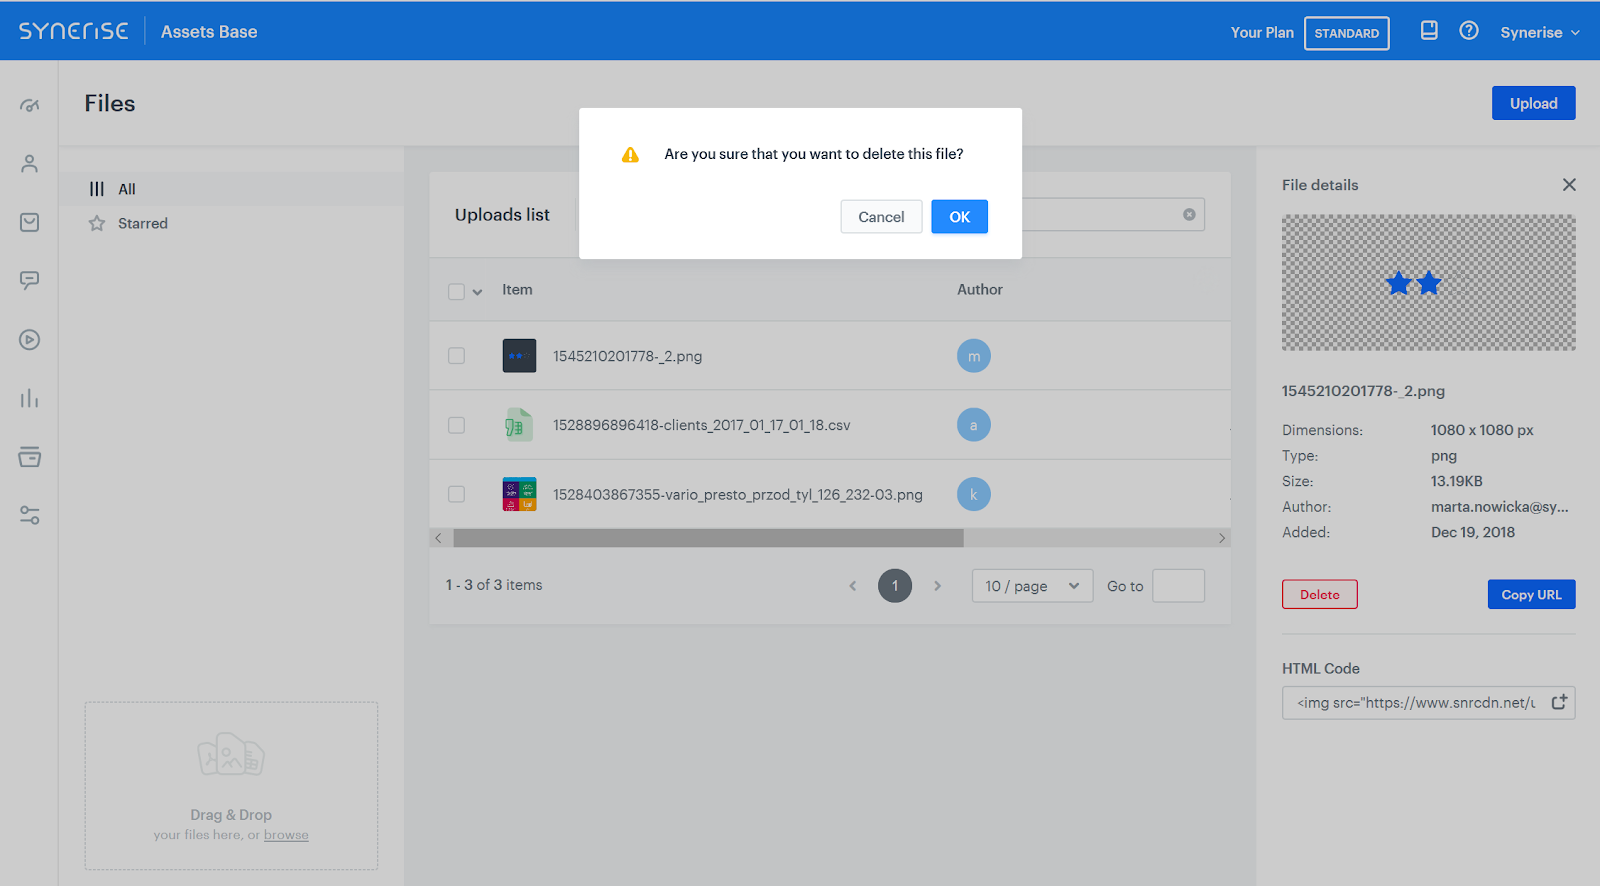
- After clicking delete, a catalog removing confirmation statement will appear.
- Submit by clicking OK.
FAQ
You can find answers to the frequently asked questions regarding file explorer here.