"Get Profiles" node
This node allows you to get the data of a selected group of customers with their attributes from Synerise. This allows you to create workflows in which the system retrieves the data of the selected customer groups at defined frequency, then you can edit the retrieved data by using data tranformation (for example, change the value of newsletter_agreement from enabled/disabled to true/false) and such modified data send further, for example to an external server using the SFTP protocol.
Prerequisites
Create a segmentation of customers whose attributes you want to extract and pass further.
Node configuration
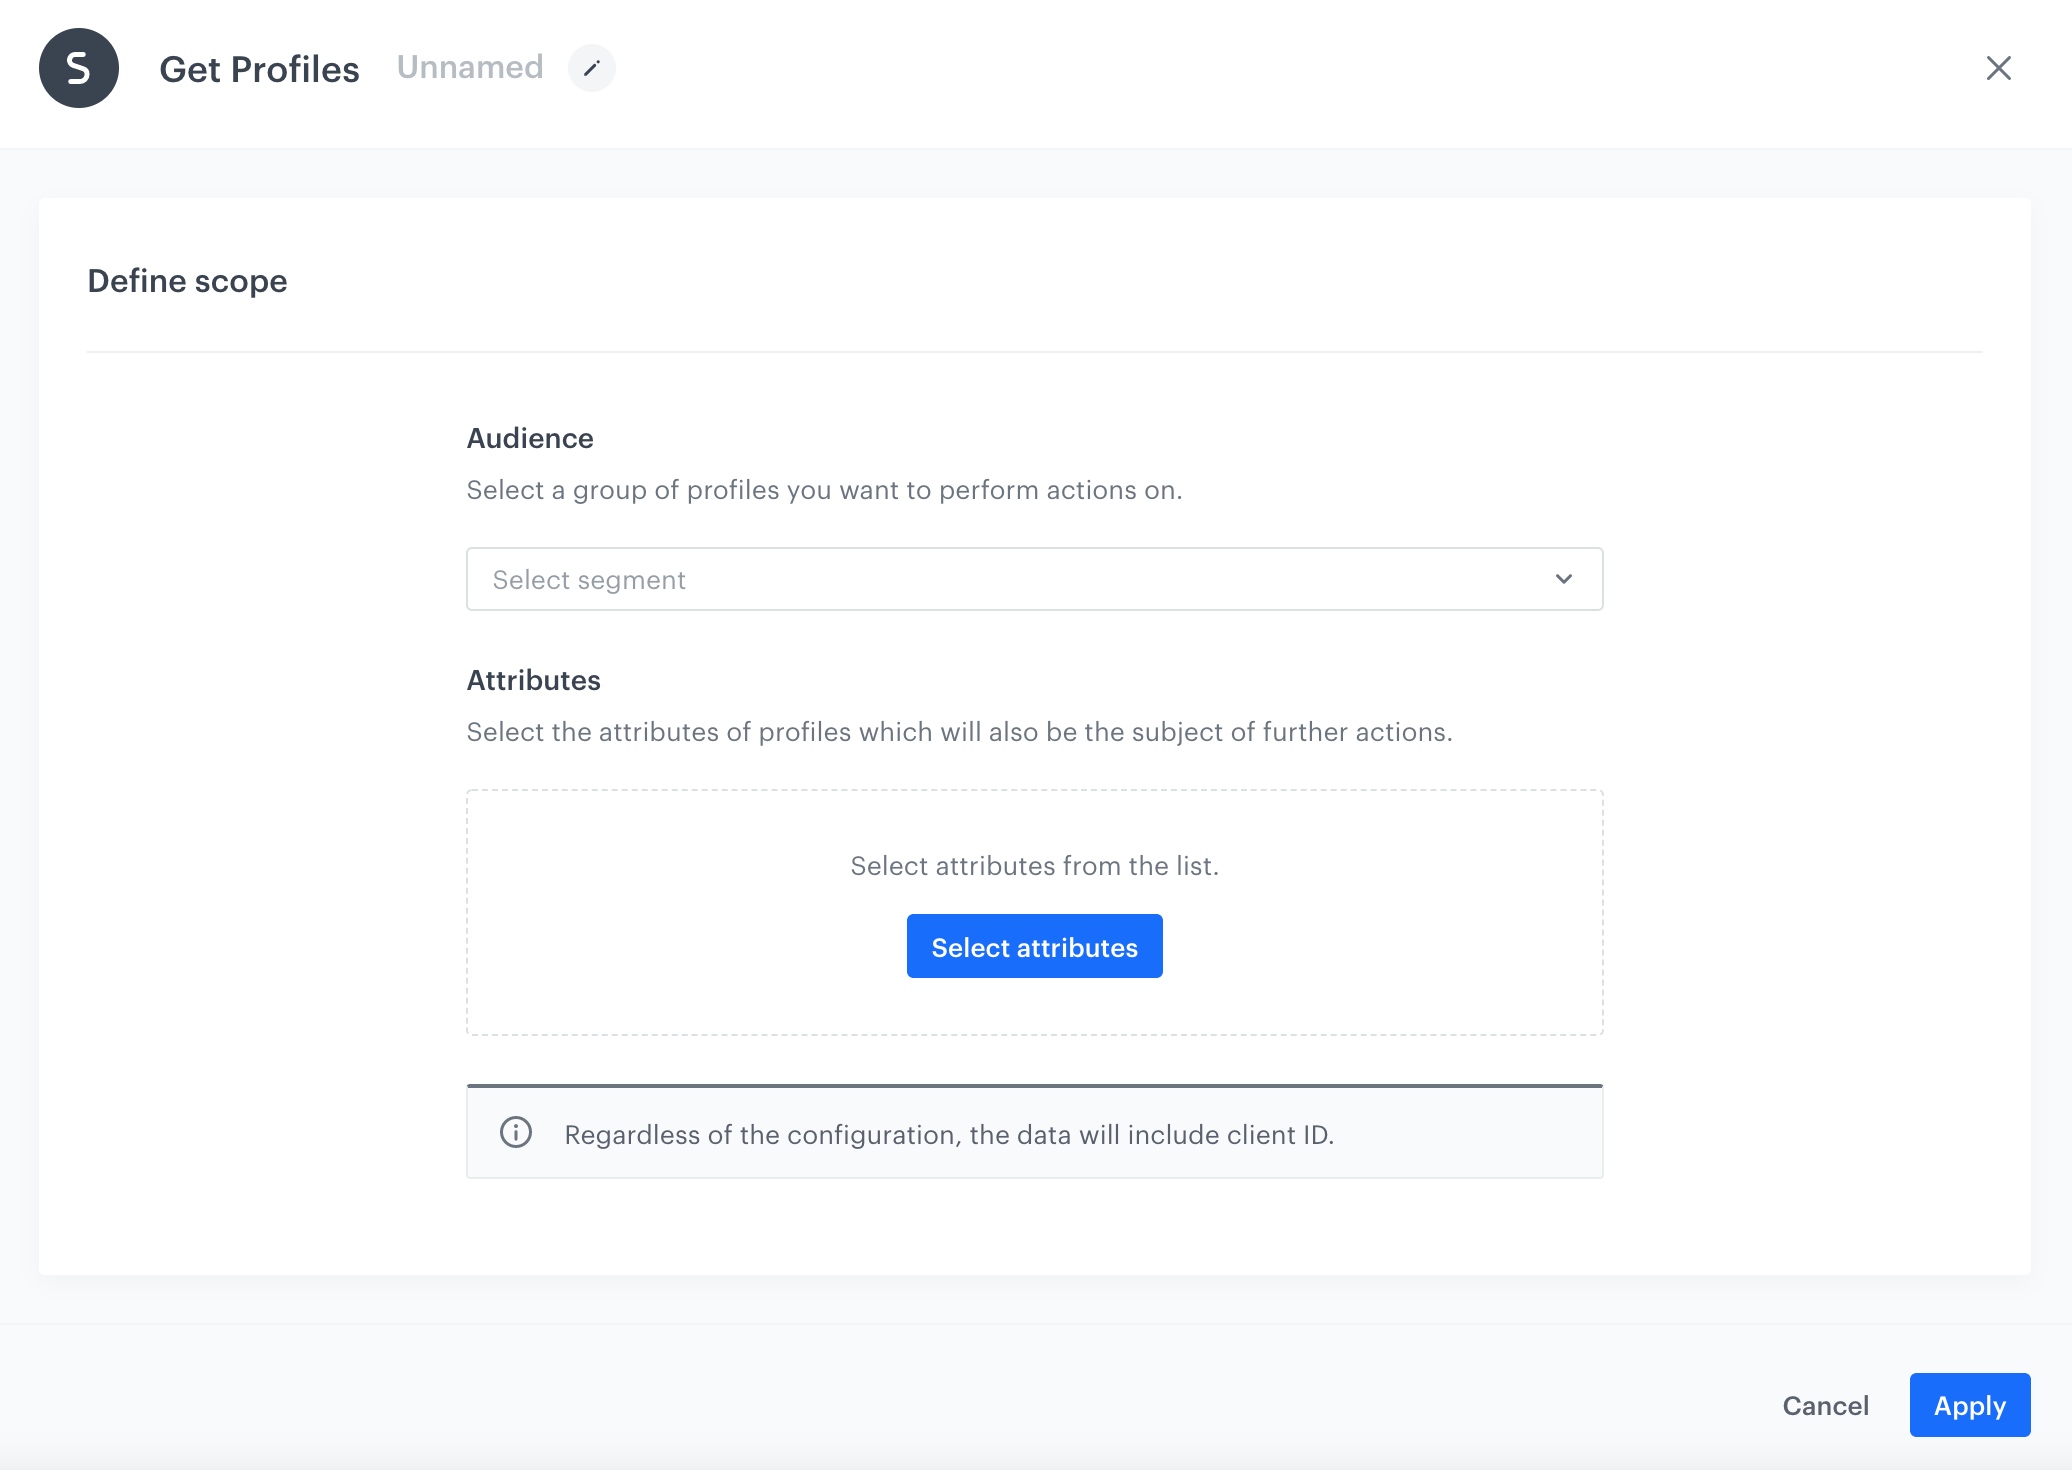
- Click the node.
- From the Audience dropdown, select a group of customers.
Important: A group of customers can have up to 10 000 000 customers. - Click Select attributes.
- On the pop-up, select the attributes you want to extract.
Important: You can select up to 100 attributes. - Confirm the settings of the node by clicking Apply.
Example of use
In this example, you can select a group of customers and their attributes to pass it further to the external resource (for example, Azure) by using HTTP protocol.

- Add the Scheduled Run node.
- In the configuration of the node, set it to immediately.
- Add the Get Profiles node.
- In the configuration of the node:
- Select a segmentation of customers.
- Select the attributes to be extracted.
- Confirm by clicking Apply.
- Add the HTTPS - Send File node.
- In the configuration of the node:
- Select the authentication method.
- If no connections are available or you want to create a new one, see Add connection.
- If you selected an existing connection, proceed to defining the integration settings.
- Select the method.
- Enter the URL of the endpoint.
- Select the format of the file.
- Only for CSV files, verify the following fields: Delimiter, Quotation mark, Escape character, Charset, Line ending.
- If required, enter the headers.
- Confirm by clicking Apply.
- Select the authentication method.
- Add the End node.