Creating transformation rules
Creating transformation rules involves uploading a sample of the file that will be transformed and then defining the rules according to which the data will be modified. Such transformation rules can be reused in workflows by means of the Data Transformation node. This way you may create workflows that retrieve data from external sources, modify them, and process them further.
- Go to
 Automation > Transformations > Create transformation.
 - Enter the name of the transformation.
Select a goal
Before you proceed with selecting sample data and defining transformation rules, optionally you can select a goal to help you structure the data. Your goal may be to an import of transactions, events, or profiles into Synerise (called standard goals). When you select one of the standard goals, you will see a list of columns with their names which are required as the output of the selected transformation. The system will automatically check which columns you included and inform you if some are missing.
If you want to create a transformation diagram without a specific goal and you know the structure of the output data, skip this step.
- On the dashboard, on the upper right corner, click Add goal.
- On the left pane, select a goal:
- Import profiles
- Import transactions
- Import vouchers
- Import events
- Import promotions
- On the right pane, expand the list of required columns the output data must contain.
- Click Apply.
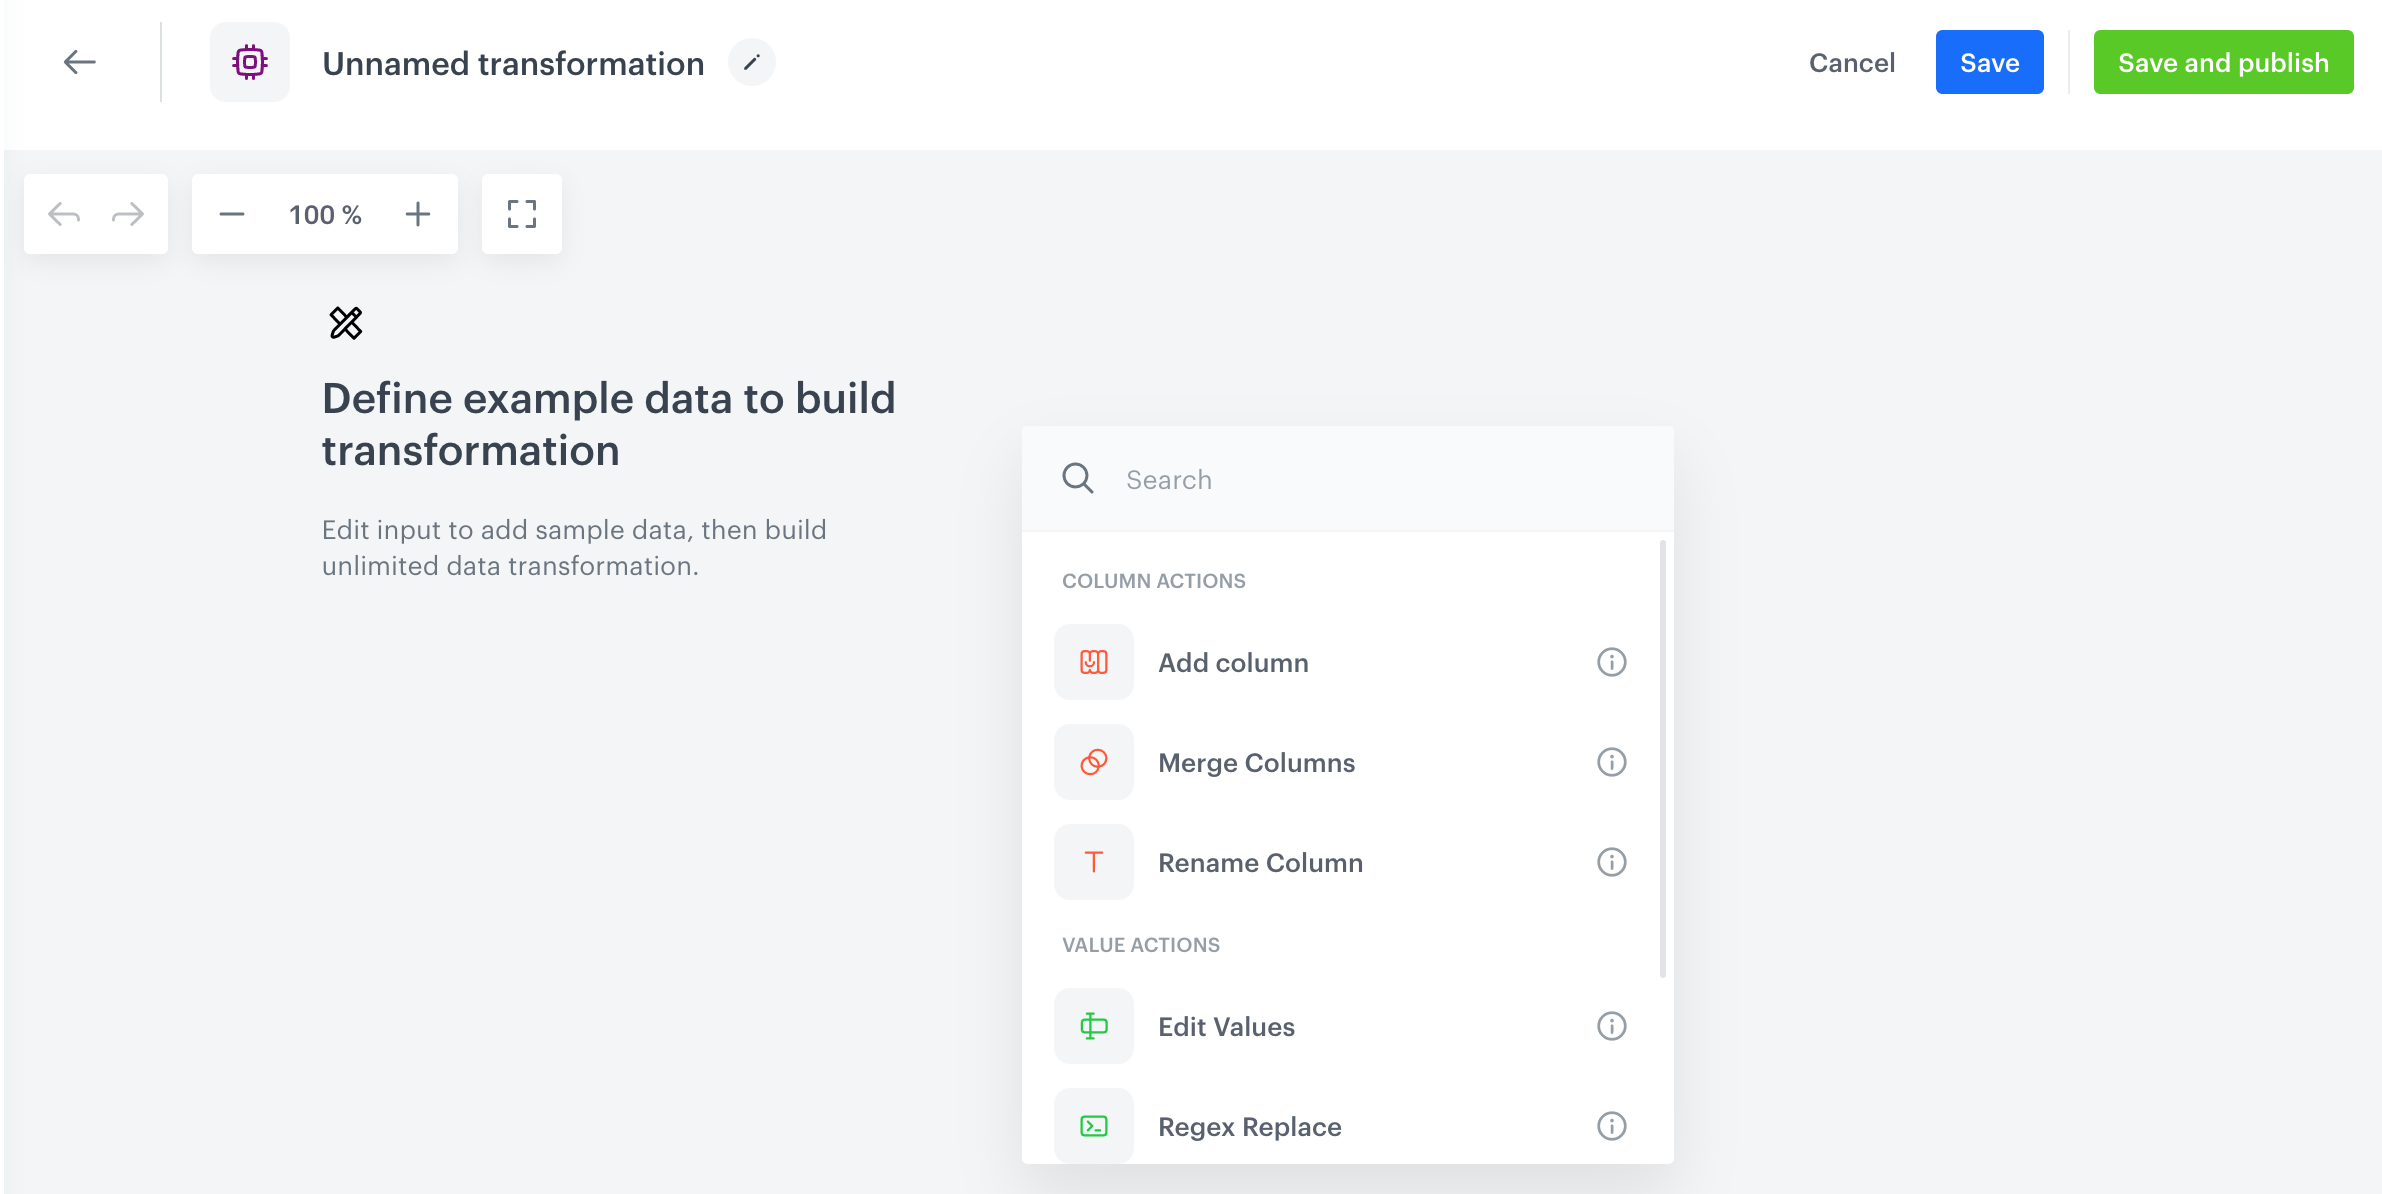
Create a rule diagram
- Upload a file with the sample data.
We recommend selecting a file that contains a sample of data you use.
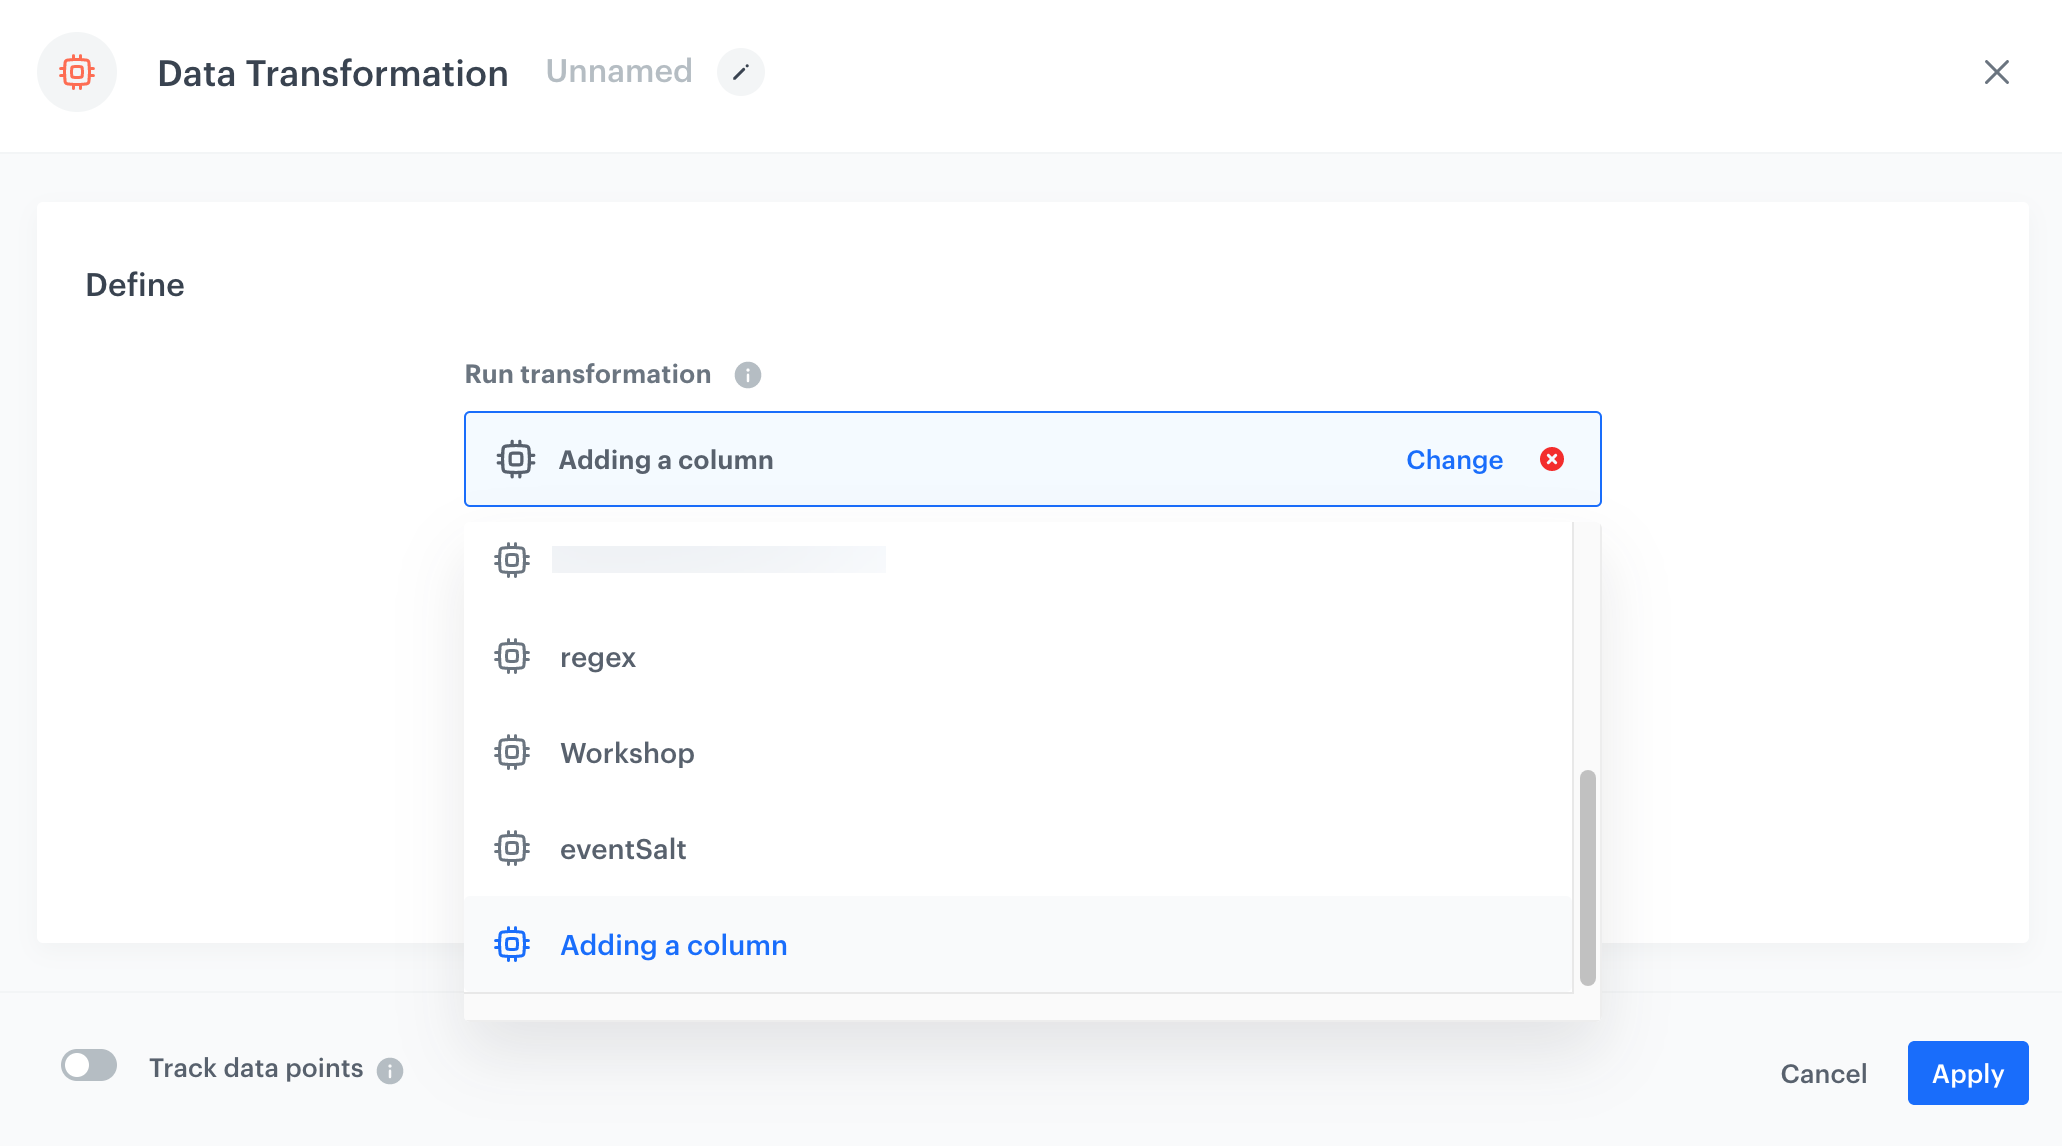
Tip: You can read more about the configuration of Data Input here. - Add subsequent nodes by clicking the right mouse button. The full documentation on the nodes available for data transformation is available here.
- As the final node, add Data Output in which you will see the final result of file modifications.
- Connect the nodes with each other.
- Saving the transformation:
- If you want to save it as a draft, click Save.
- If you want to save it and make it available in Automations, click Save and publish.
Example result:

An example transformation
What’s next
You can add a Data Transformation node with this transformation while preparing the workflow that includes transforming the source file.