"Upload data to a table" node
The integration between Synerise and Google BigQuery opens up possibilities of exporting data collected in Synerise. By means of the Upload data to a table node, you can push data from Synerise to add it in the form of rows in a BigQuery tables. You can use this connection in various scenarios such as exporting transactions, event data, customer information (such as marketing agreements), results of metrics, aggregates, expressions, reports, and many more to Google BigQuery.
During the configuration of the node, you can use Jinjava inserts which let you dynamically refer to the profile attributes and event parameters in the workflow.
Prerequisites
- You must have a Google BigQuery project created.
- Make sure that billing is enabled for your project. Learn how to check if billing is enabled on a project.
- Check the quota policy for streaming data.
- You must create a dataset and a table in a BigQuery project.
- You must define the schema of the BigQuery table (column definitions).
Node configuration
- Click Google BigQuery > Upload data to table.
- Click Select connection.
- From the dropdown list, select the connection.
- If no connections are available or you want to create a new one, see Create a connection.
- If you selected an existing connection, proceed to defining the integration settings.
Create a connection
To allow the data exchange, establish a connection between Synerise and Google BigQuery.
- At the bottom of the Select connection dropdown list, click Add connection.
- On the pop-up, click Sign in with Google.
- Select a Google account which has write access to the dataset that contains your destination table. Learn about required permissions.
- Follow the instructions on the interface.
- After the successful authentication, click Next.
- In the Connection name field, enter the name of the connection.
It’s used to find the connection on the list. - Click Apply.
Result: A connection is created and selected.
Define the integration settings
In this step, fill in the form that allows you to send data from Synerise to a table in Google BigQuery.
-
In the Project ID field, enter the unique identifier of your project in Google BigQuery.
You can learn how to find the project ID here. -
In the Dataset ID field, enter the unique identifier of the dataset in the BigQuery project.
-
In the Table ID field, enter the unique identifier of the table in the dataset.
-
In the Rows field, enter JSON with rows which you want to upload to BigQuery project.
- Optionally, you can add the
insertIdparameter to the request body. It is a property used in the BigQuery streaming API to ensure the uniqueness of records being inserted into a BigQuery table. When you stream data into BigQuery,insertIdacts as a unique identifier for each record. To ensure an automatic generation of theinsertIdparameter value, we recommend using the following Jinjava:{{ currentStep.actionId }}. This will generate a unique value of this parameter for each request sent from Synerise to BigQuery.Note: You can read more about insert ID in the Google Big Query documentation. - Each object in the array of the request body inserts data into a row. The
jsonproperty contains keys (columns names) and values (column values). You can use Jinjava inserts as the values of columns to dynamically send data stored in Synerise. This way, Jinjava dynamically fills in values (for example, ID, email address, expression/aggregate result) for each profile/item.Click here to see example of the request body[ { "insertId": "{{ currentStep.actionId }}", "json": { "name": "{{ customer.firstname }}", "email": "{{ customer.email }}" } } ]
- Optionally, you can add the
-
Confirm the settings by clicking Apply.
Example of use
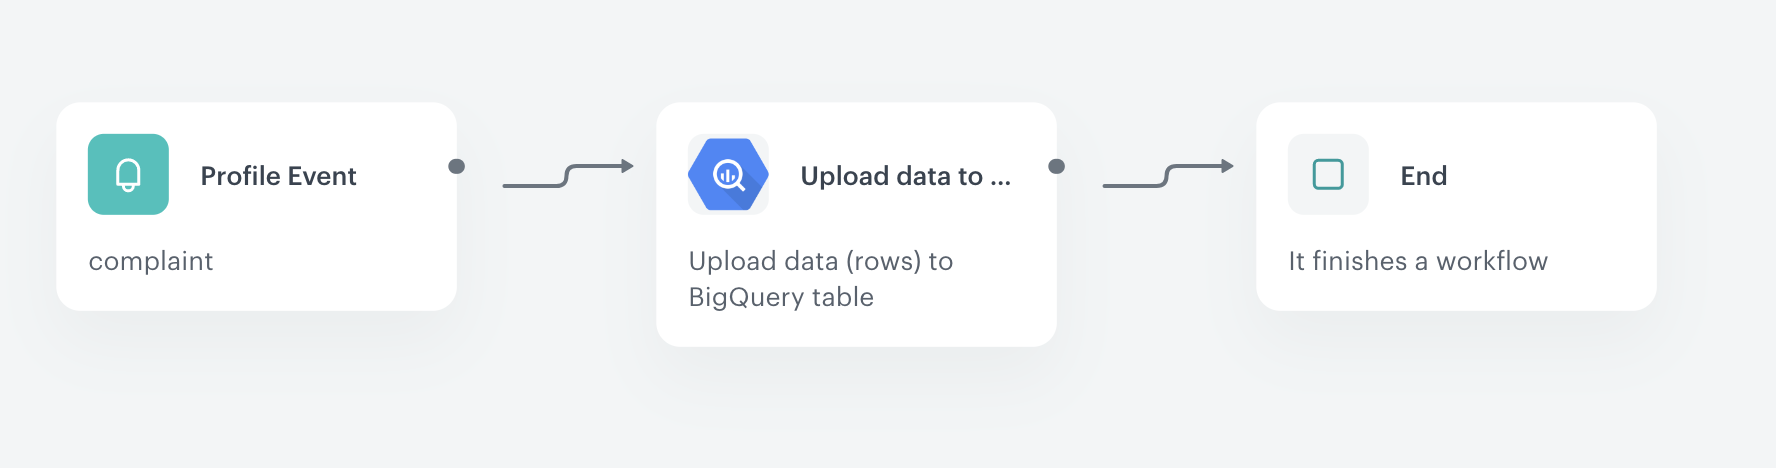
You can use the integration to send information about complaint to Google BigQuery. So every time the complaint event is generated, the data from the event will be sent automatically to BigQuery. In this example, we use a custom event - complaint.filed. If you want to collect such event in your workspace, you must implement it first.
-
Start the workflow with the Profile Event node. In the configuration of the node:
- Enter the following title to the node:
complaint. - Select the event that signifies a customer’s complaint.
Click here to see example event and its parameters for an example customer
    {
    "time": "2023-02-15T15:24:49Z",
    "action": "complaint.filed",
    "label": "",
    "client": {
        "id": 5092159999,
        "email": "e0097757-d1e2-44ac-ba3c-d97979a354c1@anonymous.invalid",
        "uuid": "e0097757-d1e2-44ac-ba3c-d97979a354c1"
    },
    "params": {
        "eventCreateTime": "2023-02-15T15:25:08.861Z",
        "name": "John",
        "surname": "Doe",
        "complaintNumber": "123",
        "complaintText": "Hello, my order didn't arrive."
    }
}
- Enter the following title to the node:
-
As the next step of the workflow, select Upload data to a table node. In the configuration of the node:
- Fill out the form according to the instructions in the Define the integration settings section.
- In the Rows field, enter the JSON that extracts name, surname, complaint number and the contents of complaint from the event selected in the Profile Event node. The example body contains the Automation inserts that retrieve data from the event included in the Profile Event node.
[
    {
      "insertId": "{{ currentStep.actionId }}",
      "json": {
        "name": "{{ automationPathSteps['complaint'].event.params.name }}",
        "surname": "{{ automationPathSteps['complaint'].event.params.surname }}",
        "complaintNumber": "{{ automationPathSteps['complaint'].event.params.complaintNumber }}",
        "complaintText": "{{ automationPathSteps['complaint'].event.params.complaintText }}"
      }
    }
]
-
As the finishing node, add the End node.
Result: The event data is sent to a BigQuery table.