"HTTPS - Get File" node
You can use the HTTPS - Get File node to transfer the files from your server to the workflow using HTTP protocol.
Node configuration
Set up a connection
In this part of the process, you must define how you will get access to your source. By selecting the authentication method and providing required information, you establish a connection.
- Click HTTPS - Get File.
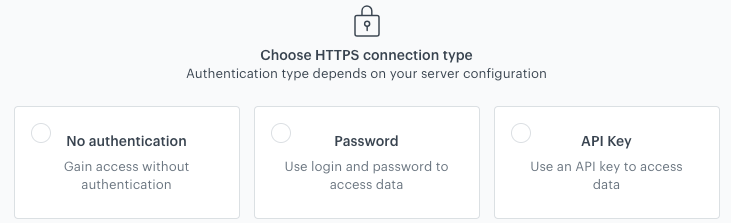
Selecting the authentication method - Select the authentication method:
- No authentication - No authentication is required.
- Password - Authentication is based on a log-in and a password.
By API key - This option allows you to select an API key. The selected key is used to generate a JWT for request, which lets you skip the authorization header. This works only with the Synerise API.Click here to see the instructions- Click Select connection.
- If the connection you want to use is in the list, select it and proceed to Filling out the configuration form.
- If the connection list is empty or you don’t see a connection you need to use:
- At the bottom of the dropdown list, click Add connection.
- In the Connection name field, enter the name of your connection (it’s visible only on the Select connection dropdown list).
- In the HTTPS login field, enter a log-in.
- In the HTTPS password field, enter the password.
- Click Save.
The connection you created can be used later in other nodes and workflows.
- If the connection list is empty or you don’t see a connection you need to use:
Click here to see the instructions- Click Select connection.
- If the connection you want to use is in the list, select it and proceed to Filling out the configuration form.
- If the connection list is empty or you don’t see a connection you need to use:
- At the bottom of the dropdown list, click Add connection.
- In the Connection name field, enter the name of your connection (it’s visible only on the Select connection dropdown list).
- In the API key field, paste the API key.
- Click Save.
The connection you created can be used later in other nodes and workflows.
- If the connection list is empty or you don’t see a connection you need to use:
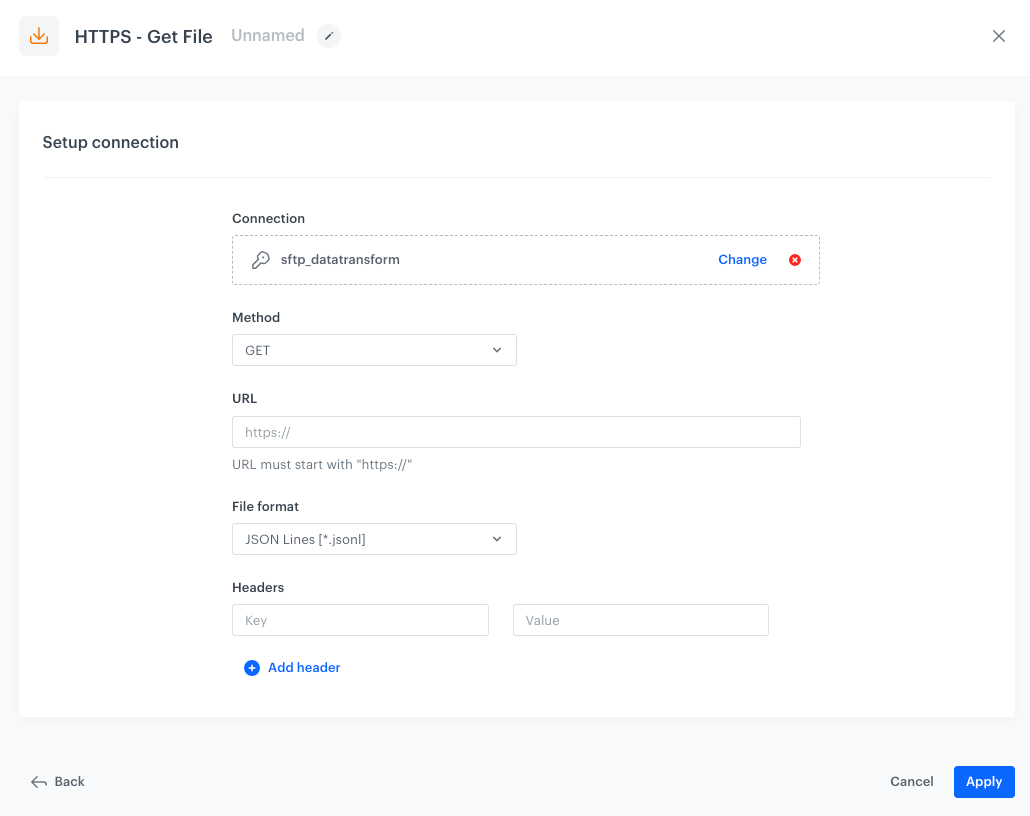
Fill out the configuration form
-
From the Method dropdown list, select the method.
-
In the URL field, enter the endpoint.
-
From the File format dropdown list, select the format of the file:
- XML Feed
- JSON
- JSON Lines
- CSV - Provide the details on how to format the imported file:
- From the Delimiter dropdown, select the character that marks the end of a column.
- From the Quotation mark dropdown list, select the characters that contain the text or data type.
- From the Escape character dropdown lists, select the character changes the default interpretation of a character or a string followed by the character.
-
In the Headers fields, define request headers required by the HTTP API.
-
Confirm the settings by clicking Apply.
Examples of use
In this example, you can launch a workflow which retrieves a Synerise catalog by means of HTTPS protocol and send it further to a SFTP server. If needed, the workflow can perform a transformation of data retrieved from the catalog in order to meet data structure requirements in the SFTP server.

- Add the Scheduled run node.
- In the configuration of the node, set it to immediately.
- Add the HTTPS - Get File node.
- In the configuration of the node:
- Select the authentication method.
- If no connections are available or you want to create a new one, see Add connection.
- If you selected an existing connection, proceed to defining the integration settings.
- Leave the method at default (GET).
- In the URL, enter the address of the endpoint (you can get it here
- As a file format, from the dropdown list, select CSV file.
- Verify the following fields: Delimiter, Quotation mark, Escape character, Charset, Line ending.
- Configure settings for the Headers section.
- Confirm by clicking Apply.
- Select the authentication method.
- Optionally, you can add the Data Transformation node to modify the data retrieved from the catalog to comply with the data structure standards in your SFTP.
- Add the SFTP - Send File node.
- In the configuration of the node:
- Select the authentication method.
- If no connections are available or you want to create a new one, see Add connection.
- If you selected an existing connection, proceed to defining the integration settings.
- Enter the URL to the server.
- Enter the path to the directory.
- Enter the name of the file under which you want to send the data to the server.
- Select the format of the file.
- Confirm by clicking Apply.
- Select the authentication method.
- Add the End node.