"SFTP - Send File" node
You can use the SFTP - Send File node to transfer the files to your server using SFTP protocol.
Node configuration
Set up a connection
In this part of the process, you must define how you will get access to your source. By selecting the authentication method and providing required information, you establish a connection.
- Click the SFTP - Send File node.
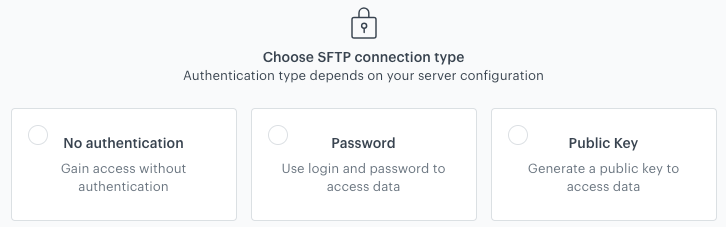
Selecting the authentication method - On the pop-up, select the authentication method:
- No authentication - No authentication is required.
- Password - Authentication is based on a log-in and a password to your resource.
Click here to see the instructions- Click Select connection.
- If the connection you want to use is in the list, select it and proceed to Filling out the configuration form.
- If the connection list is empty or you don’t see a connection you need to use:
- At the bottom of the dropdown list, click Add connection.
- In the Connection name field, enter the name of your connection (it’s visible only on the Select connection dropdown list).
- In the Login field, enter a log-in.
- In the Password field, enter the password.
- Click Save.
The connection you created can be used later in other nodes and workflows.
- If the connection list is empty or you don’t see a connection you need to use:
- Public key - Authentication is based on a public SSH key which is issued for a selected integration. This option lets you generate a public key and download it. Then, you must add it to your server configuration. After you download the key, you must secure it, because you won’t be able to download it later for security reasons.
Click here to see the instructions
- Click Select connection.
- If the connection you want to use is in the list, select it and proceed to Filling out the configuration form.
- If the connection list is empty or you don’t see a connection you need to use:
- At the bottom of the dropdown list, click Add connection.
- In the Connection name field, enter the name of your connection (it’s visible only on the Select connection dropdown list).
- In the Login field, enter your login to your resource.
- In the Password field, enter your password to your resource.
- Click Generate key. Download it and secure it.
- Click Save.
The connection you created can be used later in other nodes and workflows.
- If the connection list is empty or you don’t see a connection you need to use:
Fill out the configuration form
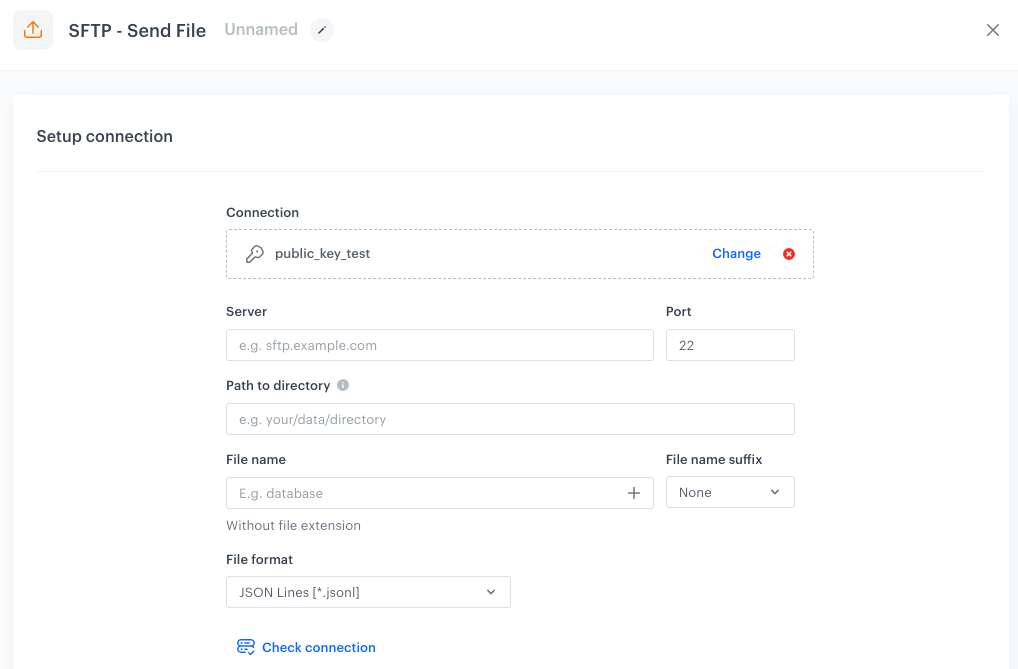
- In the Server field, enter the URL of the server.
- In the Port field, set the port. The default value is the most commonly used SFTP port.
- If your data are stored in a directory, in the Path to directory provide a path to a directory (for example:
/home/file-directory/). - In the File name field, enter the name of the file under which it will be passed to your SFTP server.
- From the File format dropdown list, select the format of the file:
- JSON
- JSON Lines
- CSV - Provide the details on how to format the file for sending:
-
From the Delimiter dropdown, select the character that marks the end of a column.
-
From the Quotation mark dropdown list, select the characters that contain the text or data type.
-
From the Escape character dropdown lists, select the character changes the default interpretation of a character or a string followed by the character.
-
From the Line ending dropdown list, select:
- Line feed - This option shifts the cursor to the next line vertically.
- Carriage return and line feed - This option points the cursor to the beginning of the line horizontally and shifts the cursor to the next line vertically.
-
Optionally, select the Quoting style only if required checkbox, to wrap the values with characters selected in the Quotation mark field when the delimiter occurs in the value. For example, for the following values:
- one
- two,three,four
The output with the enabled Quoting style only if required option will be as follows:
one,"two,three,four"
- Optionally, by clicking Check connection, you can verify if your connection you created in Set up a connection procedure is ready.
- Confirm by clicking Apply.
Examples of use
In this example, you can launch a workflow which retrieves a Synerise catalog by means of HTTPS protocol and send it further to a SFTP server. If needed, the workflow can perform a transformation of data retrieved from the catalog in order to meet data structure requirements in the SFTP server.

- Add the Scheduled run node.
- In the configuration of the node, set it to immediately.
- Add the HTTPS - Get File node.
- In the configuration of the node:
- Select the authentication method.
- If no connections are available or you want to create a new one, see Add connection.
- If you selected an existing connection, proceed to defining the integration settings.
- Leave the method at default (GET).
- In the URL, enter the address of the endpoint (you can get it here
- As a file format, from the dropdown list, select CSV file.
- Verify the following fields: Delimiter, Quotation mark, Escape character, Charset, Line ending.
- Configure settings for the Headers section.
- Confirm by clicking Apply.
- Select the authentication method.
- Optionally, you can add the Data Transformation node to modify the data retrieved from the catalog to comply with the data structure standards in your SFTP.
- Add the SFTP - Send File node.
- In the configuration of the node:
- Select the authentication method.
- If no connections are available or you want to create a new one, see Add connection.
- If you selected an existing connection, proceed to defining the integration settings.
- Enter the URL to the server.
- Enter the path to the directory.
- Enter the name of the file under which you want to send the data to the server.
- Select the format of the file.
- Confirm by clicking Apply.
- Select the authentication method.
- Add the End node.