Business Event node
The Business Event trigger allows users to launch a workflow without the customer context. This way users get an opportunity to create a new type of workflows. The Business Event can be used to receive information about the product storage changes, price changes, and so on. If the data sent to the system contains a customer ID, you can also transform a joruney into customer-oriented one and send events by means of the Outgoing Webhook node.
What is it
Business Event allows users to create workflows without customer-related data, based only on the input data. This way you can automate your business activities and build integrations between them.
Prerequisites
Prepare the Incoming webhook integration.
How it works
- Click the pencil icon on the Business Event node.
Result: A pop-up opens. - From the Incoming webhook dropdown, select the incoming integration you have prepared before.
- If
If you want to monitor the entries into this step, switch the Track datapoints toggle on. As a result, events related to the movement between nodes (
automation.clientPathStep) will be available in the Analytics module to use. These events (automation.clientPathStep,automation.clientEndStep,automation.startPath) are displayed on the activity list on the profile card regardless of the configuration of this option. - Confirm by clicking Apply.
Example of use
The aim of the workflow is to receive data that contains indirect customer information and then to process and to transform the data in such a way that further actions become customer oriented.
-
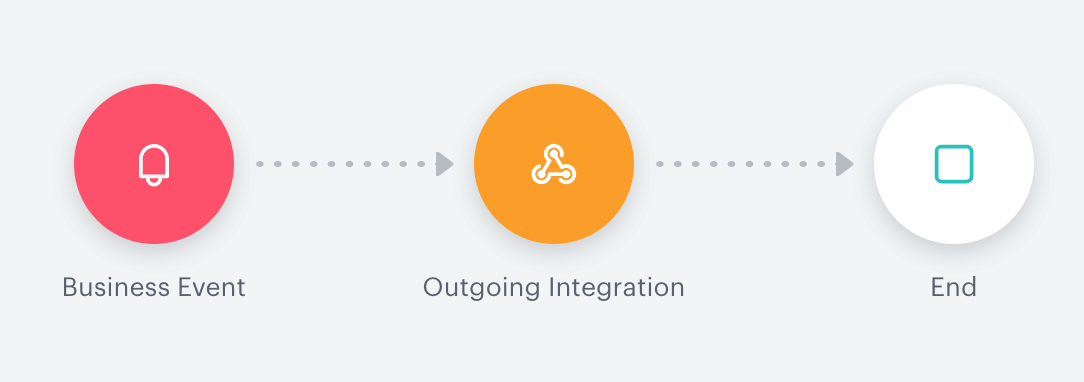
Add a Business Event trigger node.
-
Use the incoming webhook integration by means of which the system receives data about products in the cart and the email as the identifier.
-
Connect the Business Event trigger node with the Outgoing Integration node. The body transferred from the Incoming webhook selected in the Business Event is passed to an endpoint. In this example, the Incoming webhook uses the endpoint documented here. To pass further the values received in the Incoming webhook, you can use jinja.
{{request.body.paramName}} for the parameters in the request body
{{request.headers.headerName}} for the parameters in the request headers
Below you can find an example of data received from the external service to an endpoint indicated in the Incoming webhook settings.
{ "body": { "parameter1": "value1" }, "businessProfileId": 611, "endpointId": "XXXX-XXXX-XXXX-XXXX-XXXXXXXXXX", "eventId": "XXXXX-XXXX-XXXX-XXXX-XXXXXXXXXXXX", "headers": { "X-Request-ID": "XXXXXXXXXXXXXXXXXXX", "X-Forwarded-Host": "example host", }, "method": "POST", "time": 1583206296408 }- To pass the value of
parameter1, in the body of the Outgoing Integration enter:
{{request.body.parameter1}} - To pass the value of the
X-Request-IDheader, in the body of the Outgoing Integration enter:
{{request.headers["X-Request-ID"]}}
Result: A new event appears on the activity list on the customer card.
- To pass the value of
-
Connect the Outgoing Integration with the End node.