Importing email templates
Synerise users can create email templates on their own and import it to Synerise. They can import templates either in the form of .zip files or URL.
While importing templates from .zip files and URLs, the system automatically uploads images from files to Data Management > Files and replaces image references in the template with URLs to the images uploaded to Synerise, as shown in the After import tab in the example below.
For example:
<!DOCTYPE html>
<html>
<body>

<h1>My First Heading</h1>
<p>My first paragraph.</p>
<img src="cat.png" alt="cat" width="104" height="142">


</body>
</html>Requirements
- A
.zipfile must contain.htmlfile, images,.cssfile(s), which cannot be nested in catalogs. - The size of the
.zipfile cannot exceed 10MB.
Tip: To make sure that your
.zip has flat structure, select a HTML file and images, and create a .zip from them, not from the catalog with those files.Importing an email template
- Go to
 Communication > Email.
 - On the left pane, click Templates.
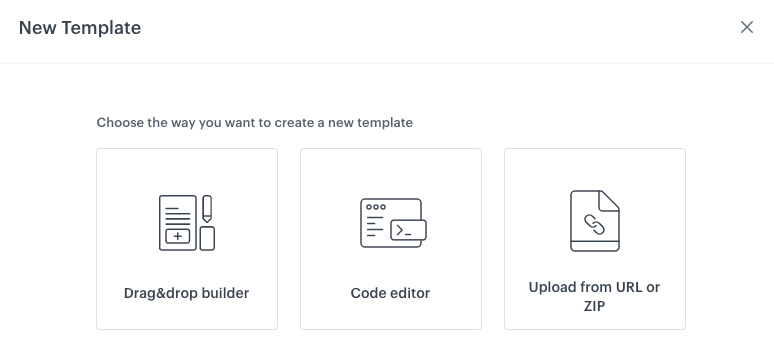
- In the upper right corner, click New template.
Result: A pop-up appears. - To import a template from ZIP or a URL, select Upload from URL or ZIP.
- To import a template:
- from ZIP:
- Select the ZIP tab.
- Upload a
.zipfile. - Click Apply.
- from URL:
- Select the URL tab.
- Enter a URL address.
- Click Apply.
- from ZIP:
- If needed, make necessary modifications.
Note: Learn how to use the email code editor. - If you implemented the Service approval feature, a template will require an approval. For the instructions what to do next in such case, read the [Service approval documentation][/docs/settings/configuration/service-approval/]. If in your workspace Service approval is not implemented, in the upper right corner, click Use in communication.