Enabling predictions
To be able to create predictions, you must enable them first.
Enabling Lookalikes
The Lookalikes model allows you to compare two groups (source and target) and search the target group for customers whose behavior is predicted to be similar to those from the source group.
Prerequisites:
- A product feed must be configured.
- Transaction events must exist in the system.
To enable this prediction model:
- Go to Settings > AI Engine Configuration.
- Click the Predictions tab.
- In the Lookalikes section, click Define.
- Switch the toggle to Enabled.
- In the Events section, select at least one event which the model will use for the training and for scoring the customers.
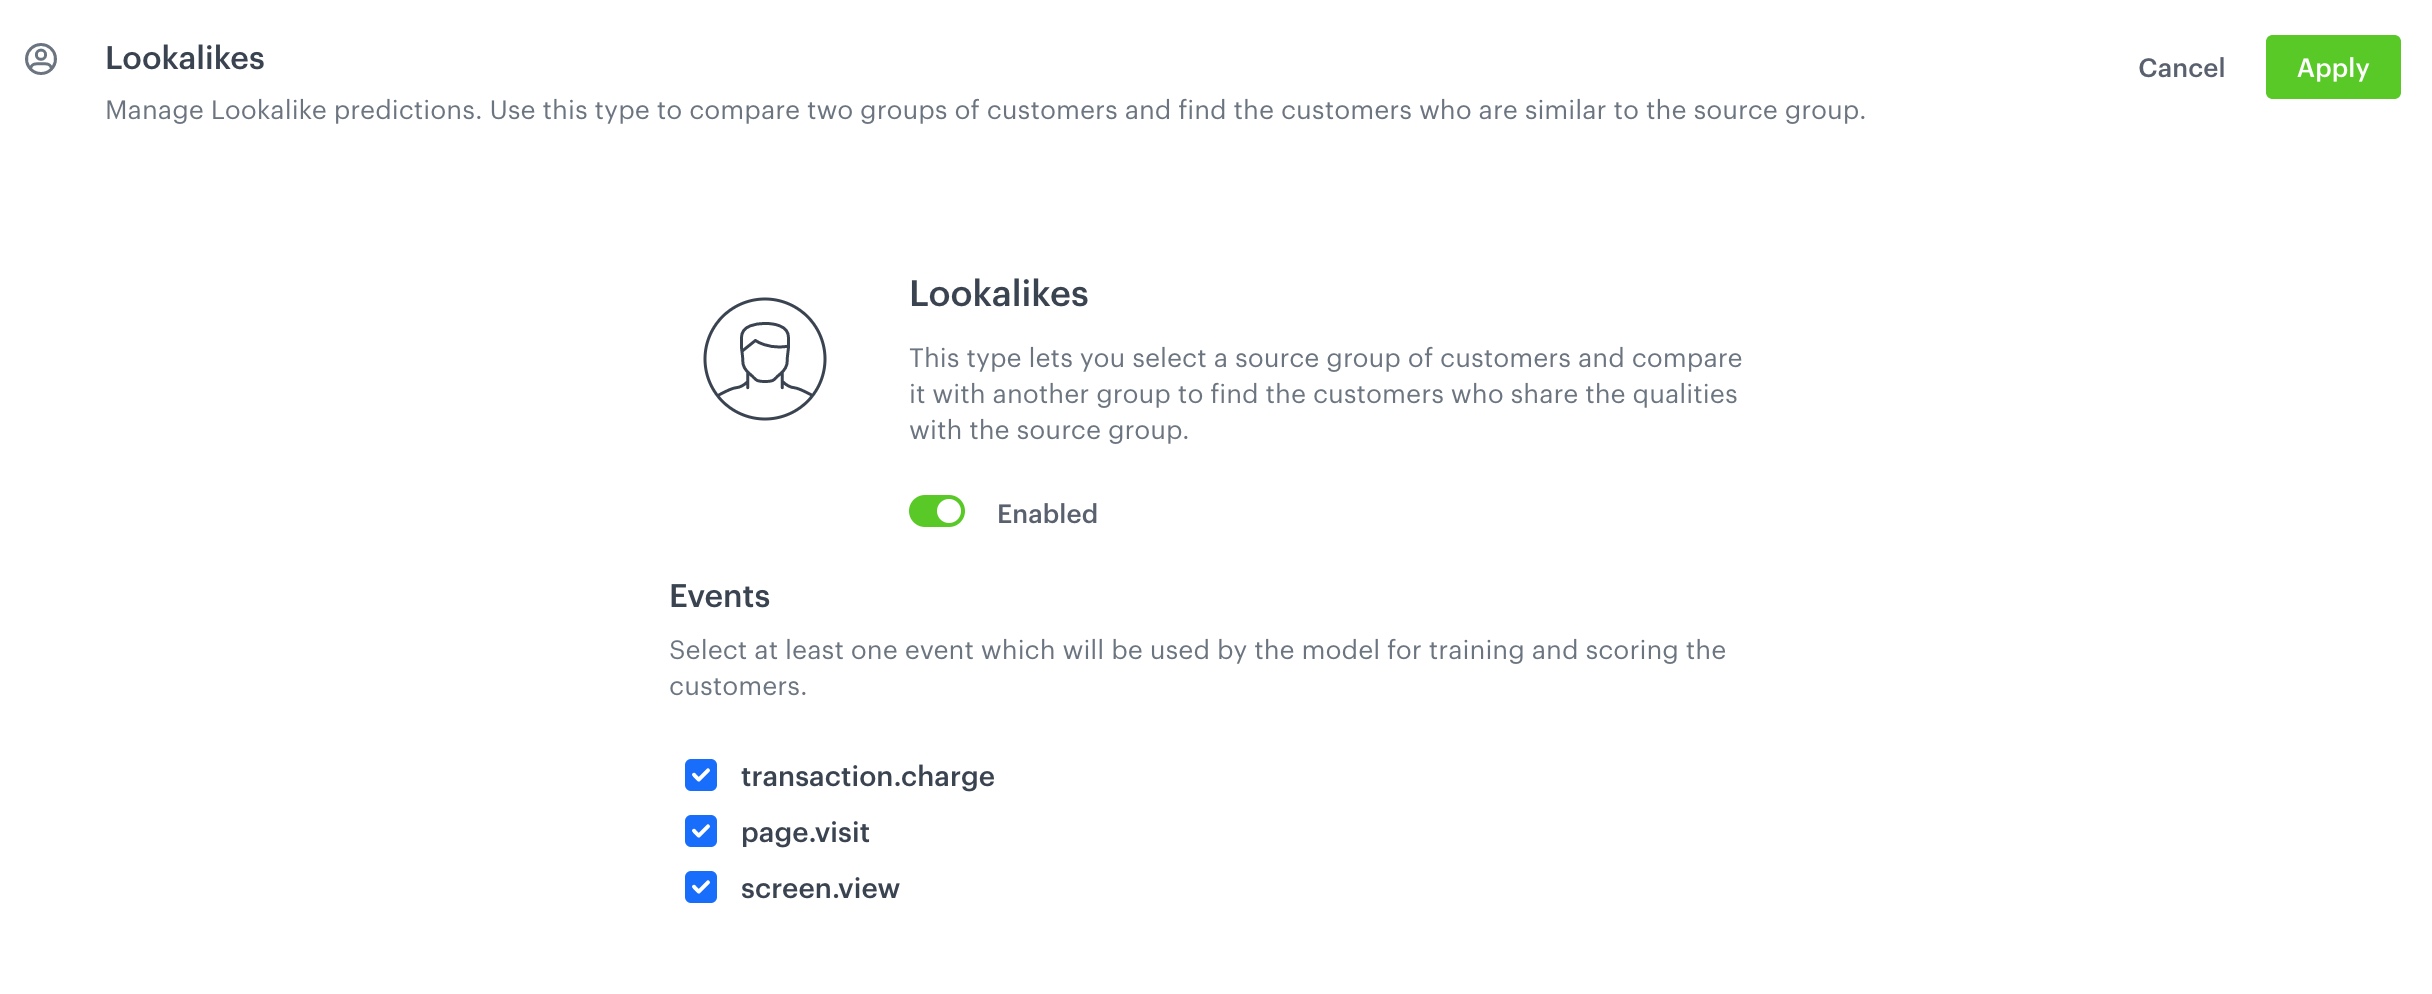
Configuration of the Lookalikes model in the item feed - Confirm the settings by clicking Apply.
After enabling the Lookalikes module, you must wait 2-3 hours for the model to become ready. After that, you can create the first lookalike prediction.
You can get inspired by uses cases with the Lookalikes model:
Enabling Custom Predictions
The Custom model allows you to create two types of predictions, which differ in terms of the result types.
- You can create a prediction that produces a numerical value, it works best with forecasting customer LTV or the number of purchased products.
- The other type produces true/false values, which is best used to answer yes/no questions, such as “will this customer leave next month?”
To enable this prediction model:
- Go to Settings > AI Engine Configuration.
- Click the Predictions tab.
- In the Custom section, click Define.
- Switch the toggle to Enabled.
- In the Time shift section, define three time ranges for later selection in the settings of a single prediction as the How many days in advance do you want to make a prediction? option.
WARNING: Editing time ranges will be impossible after you click Apply.
- Optionally, in the Custom events section, you can add custom events which will be analyzed by the model while calculating the results of a prediction.
- Confirm the settings by clicking Apply.
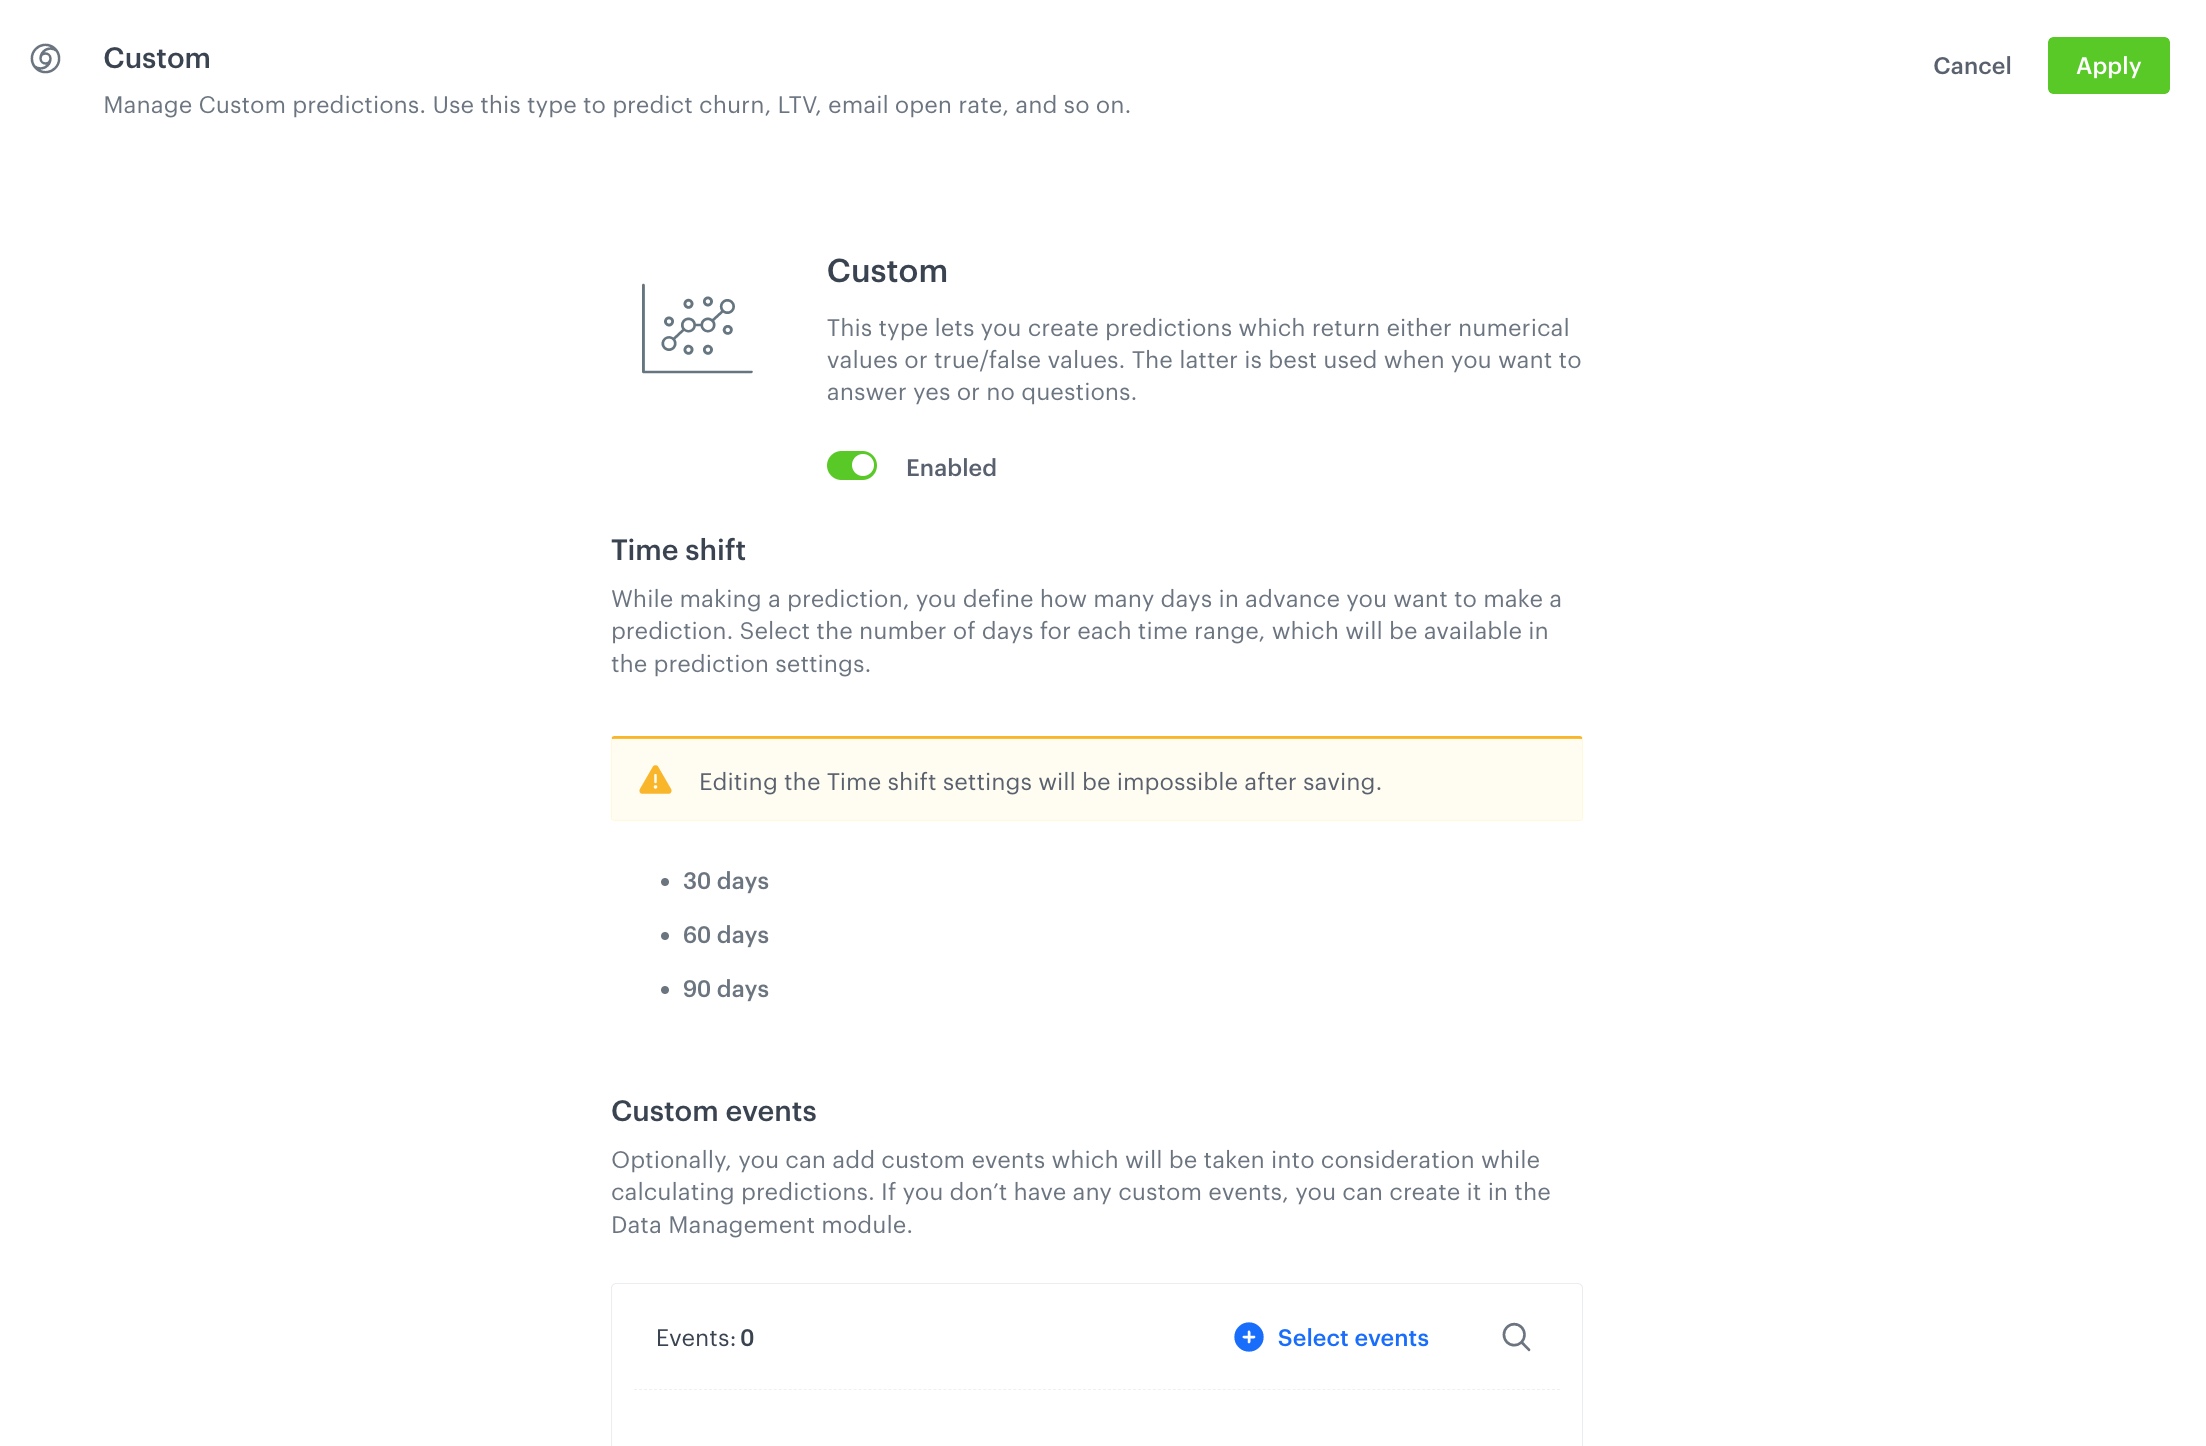
Configuration of the Custom model in the item feed
After enabling the Custom model, you must wait 2-3 hours for the model to become ready. After that, you can create the first custom prediction.
You can get inspired by uses cases with the custom model:
Enabling Propensity Predictions
The full instruction on enabling Propensity prediction is available at this link.
After enabling the Propensity module, you must wait 2-3 hours for the model to become ready. After that, you can create the first propensity prediction.
You can get inspired by uses cases with the propensity model: