
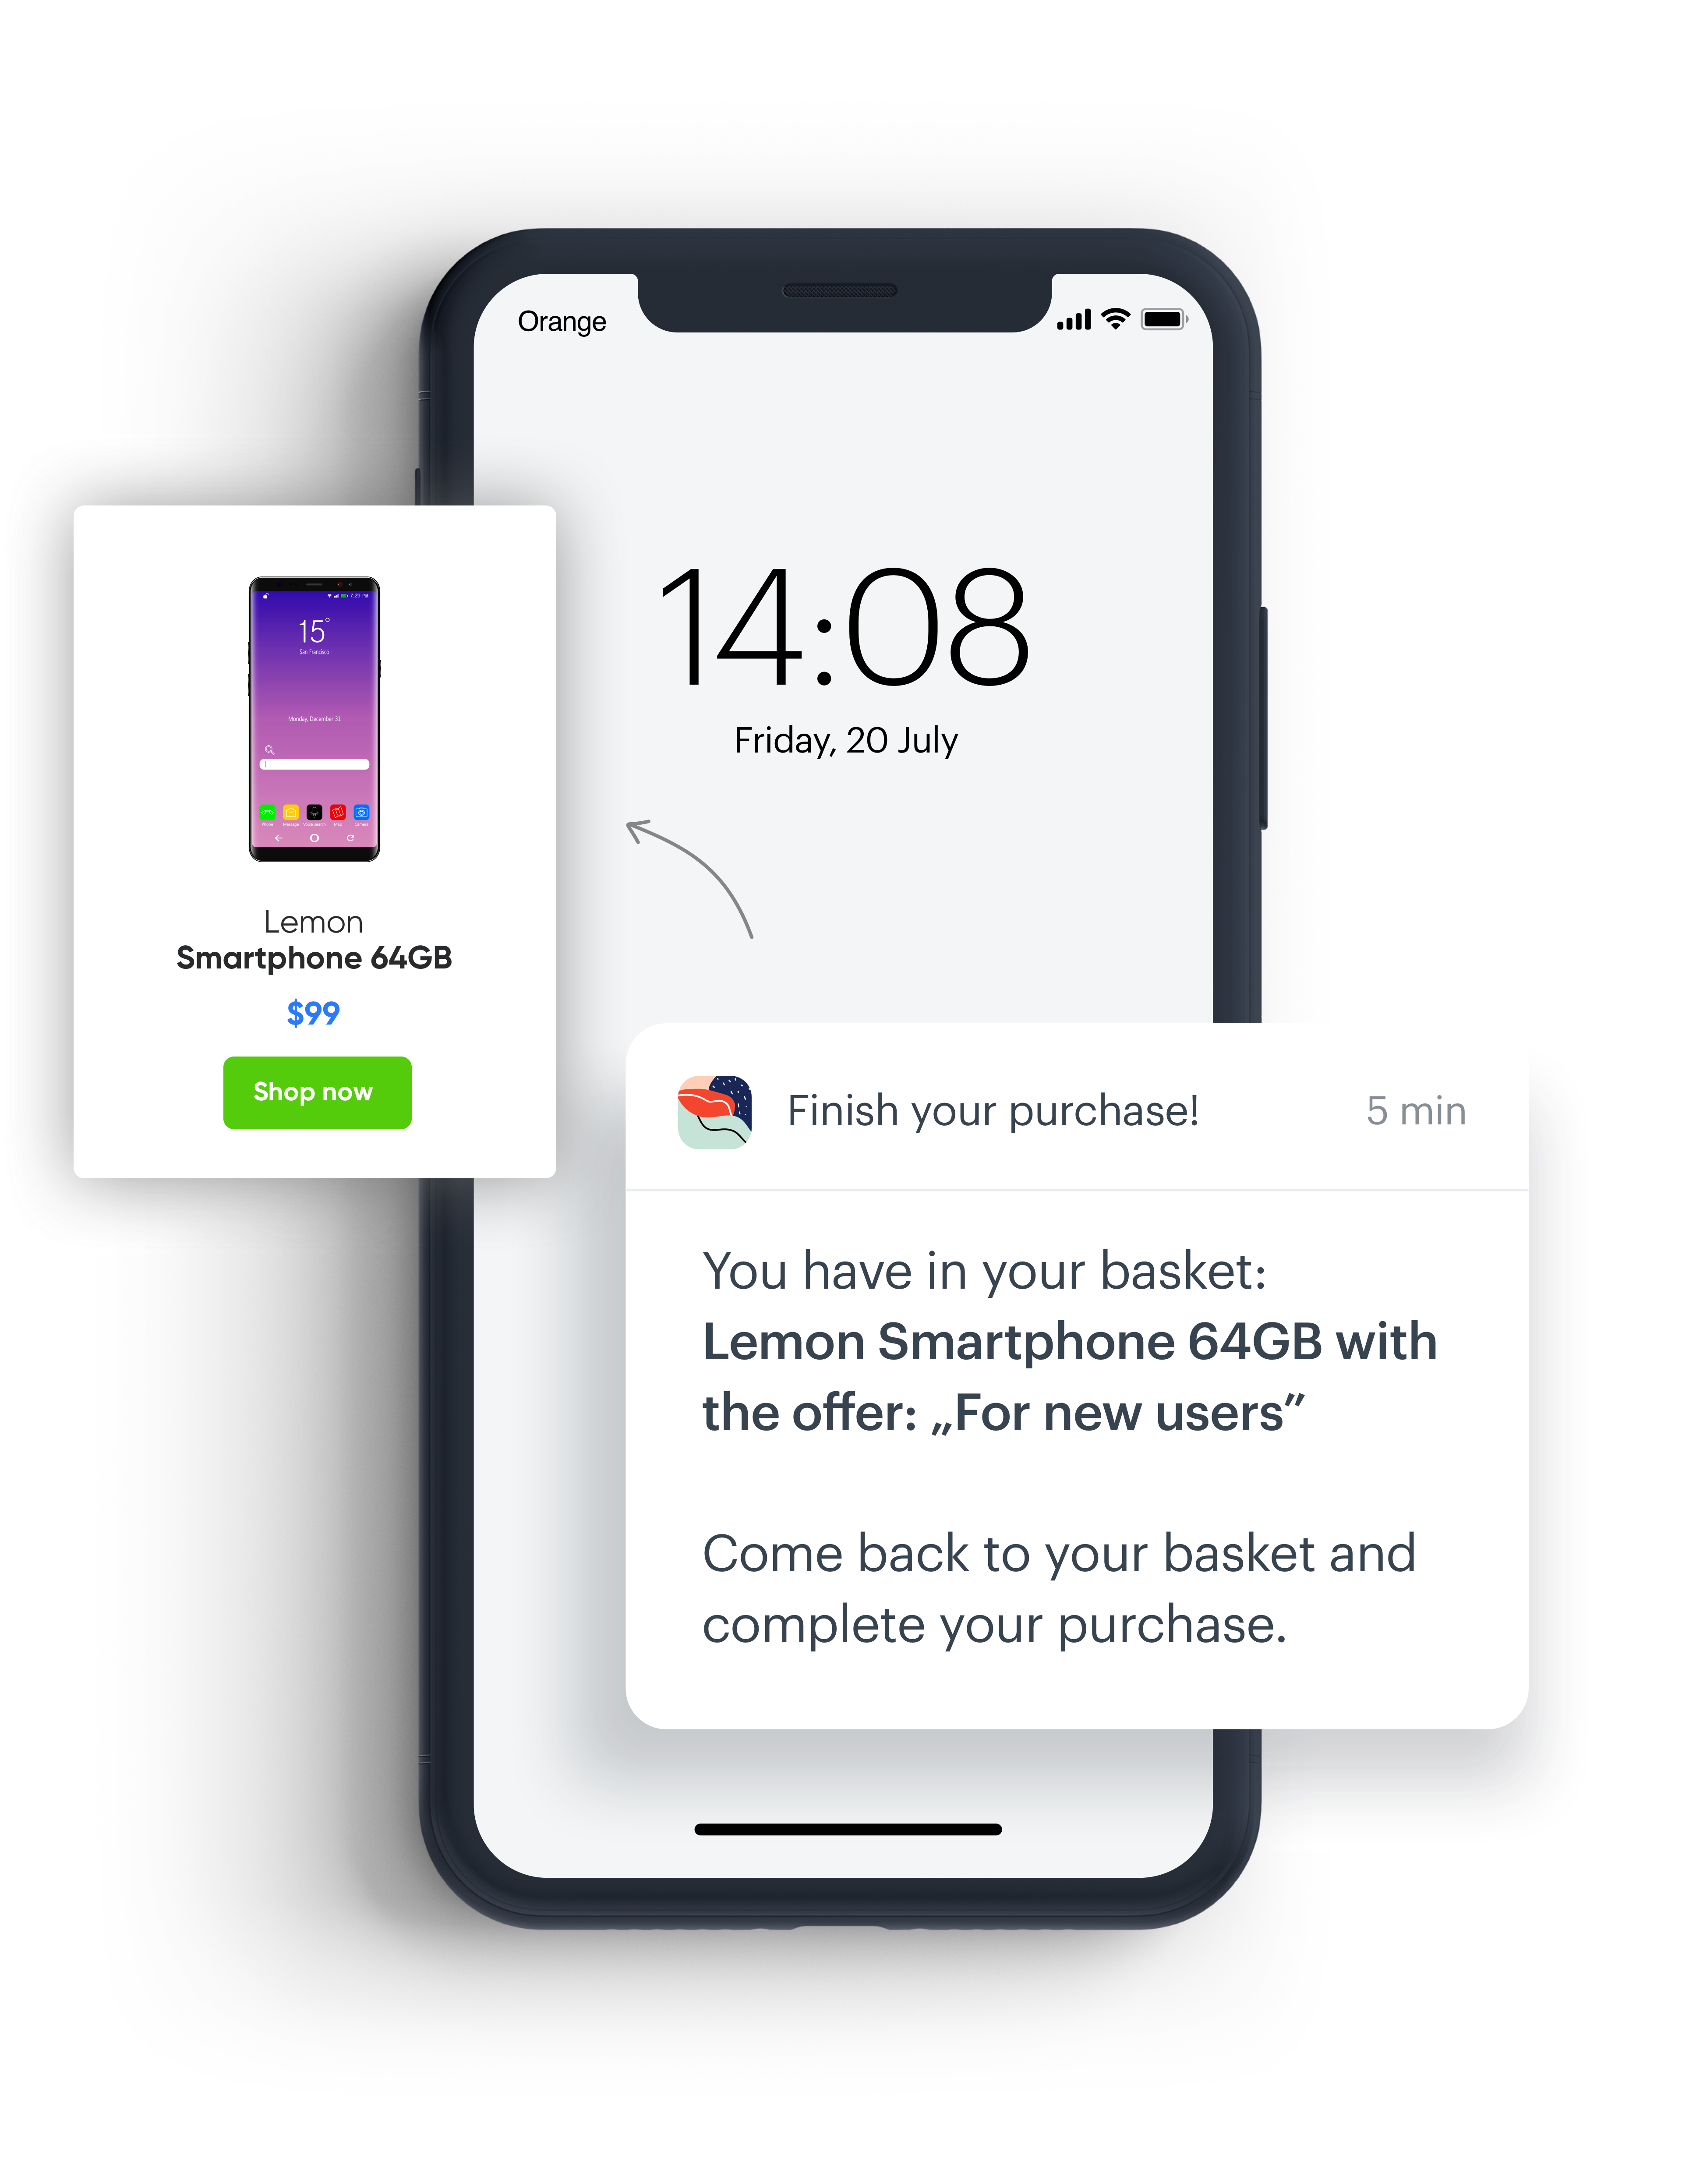
Mobile push with abandoned cart notification
The effectiveness of abandoned cart scenarios in mobile push notifications lies in their ability to significantly boost conversion rates by reminding customers about items they have shown interest in but have not yet purchased. This strategy leverages the power of timely, personalized communication to encourage users to complete their transactions, often incorporating incentives like discounts or free shipping to further entice the customer back to their cart.
In this use case, we will outline the steps to create an abandoned cart scenario specifically for mobile push notifications. The scenario begins when a customer adds items to their shopping cart but exits the app without completing the purchase. After a predetermined period of inactivity, the system triggers a push notification that is sent to the customer’s mobile device.
Prerequisites
- Add product Feed.
- Create product catalog.
- Integrate Synerise mobile SDK in your mobile application.
- Implement mobile pushes in your mobile application: iOS, Android.
- Implement the transaction events using SDK or API.
- Implement the
cart.statusevent, which stores the current status of the basket in the form of an event on the customer’s card. The event has to be sent to Synerise after every change in the cart status. - Collect product.addToCart event.
Process
In this use case, you will go through the following steps:
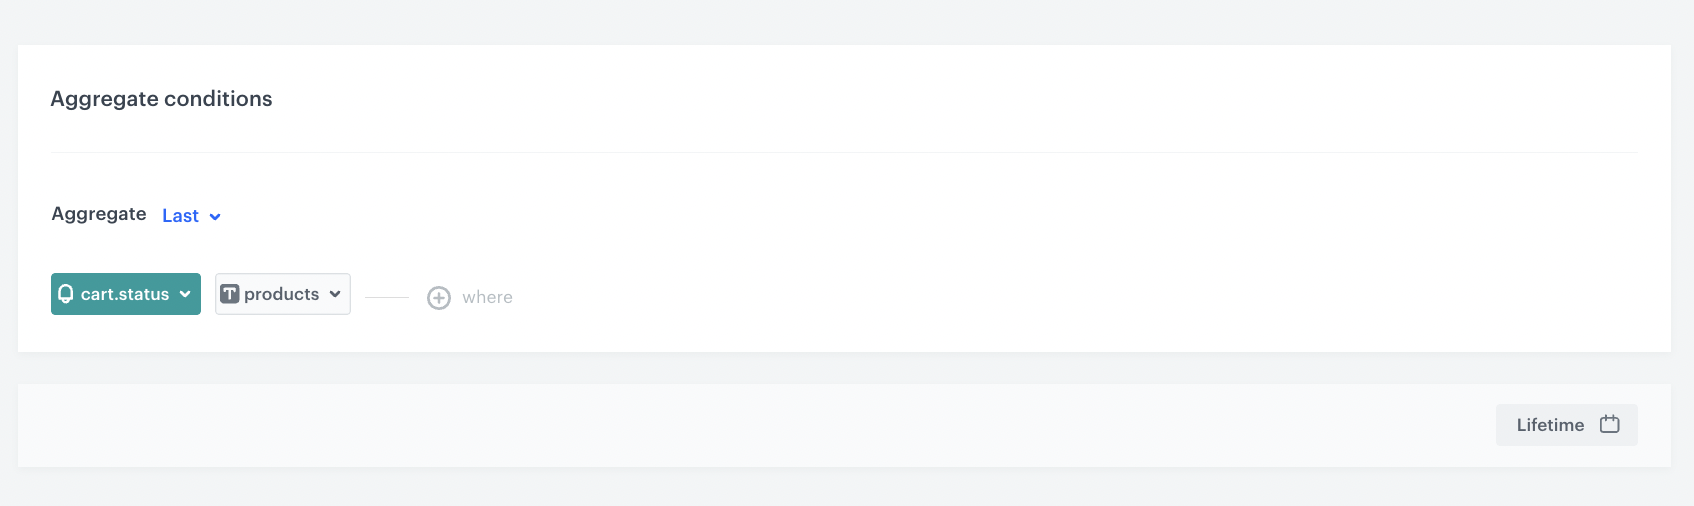
Create an aggregate
In this step, create an aggregate that returns the list of products in a cart. The result of the aggregate will be used to display products in your mobile push notification.
- Go to
 Analytics > Aggregates > New aggregate.
 - Enter the name of the aggregate.
- As the type of the aggregate, select Last.
- From the Choose event dropdown list, select the
cart.statusevent. - As the event parameter, select products.
- Set the period from which the aggregate will analyze the results to Lifetime.
- Save the aggregate.
Create mobile push template
- Go to Communication > Mobile Push > Templates.
- You can use the template from the folder or create your own one using the mobile push code editor.
To use the template, click New Template. - Choose what type of message you want to create. In our case it’s Simple Push.
- Choose how you want to create mobile push message. In this use case we will use Visual Builder.
- Create your mobile push message according to your business needs. For more information on creating a mobile push, visit our User Guide.
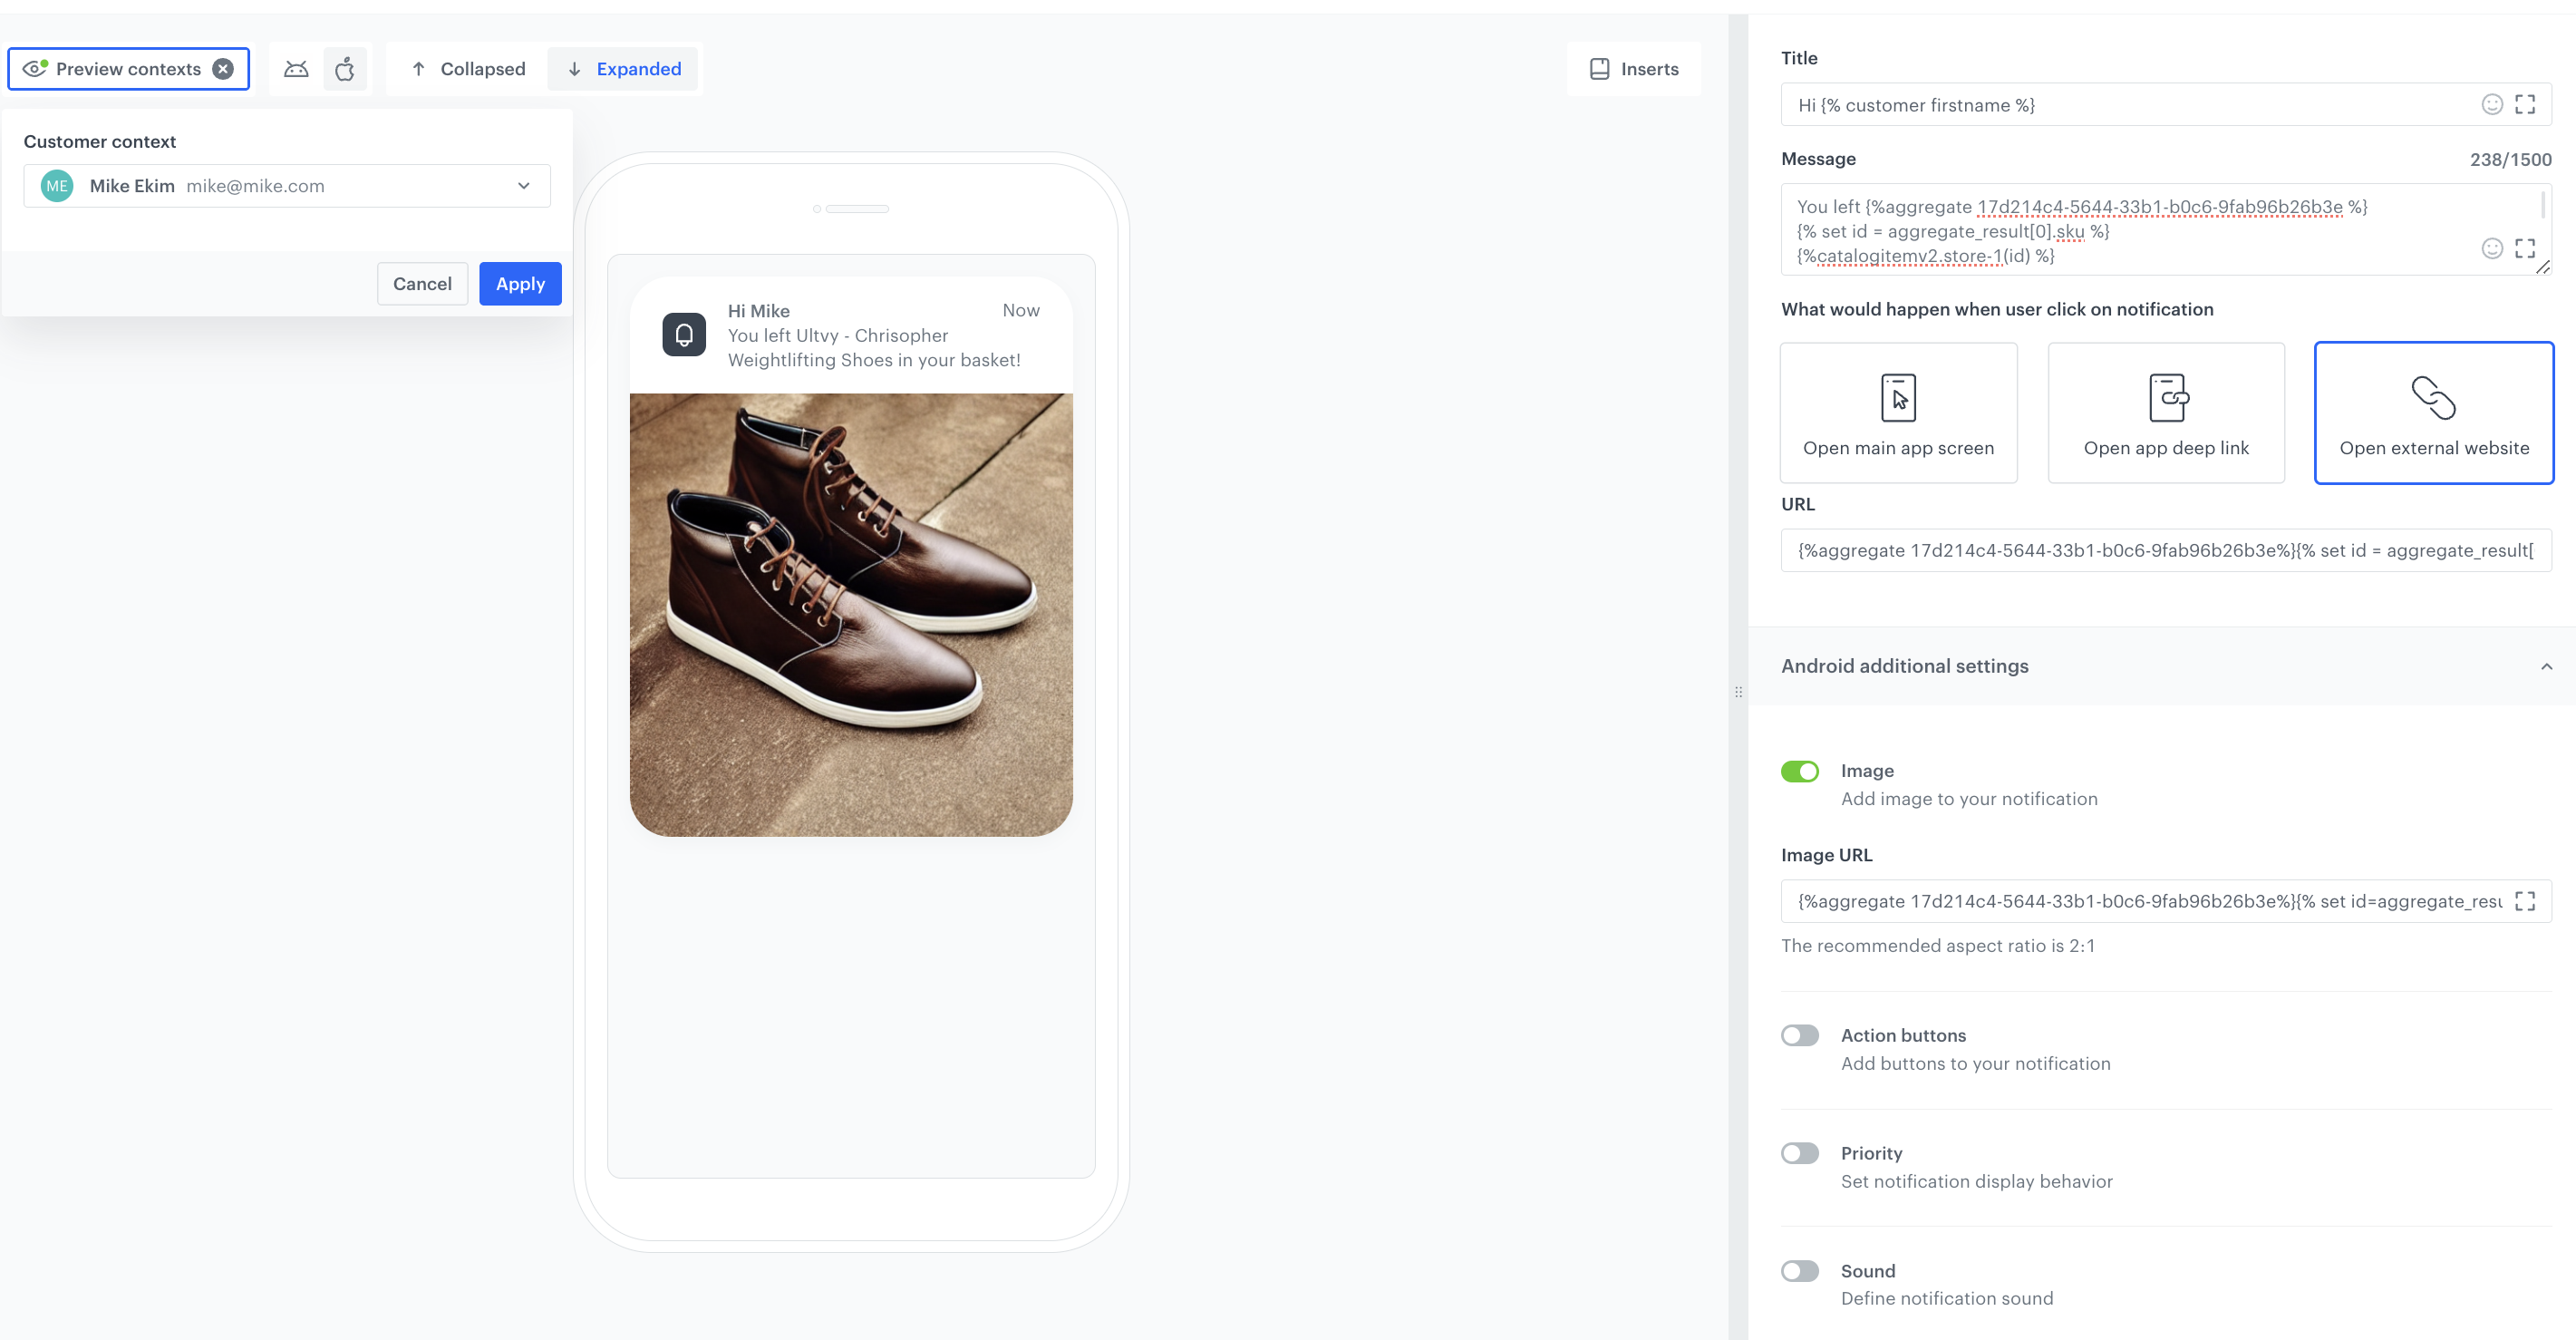
Below you can find exemplary jinjava codes for the fields Message, URL and Image.
- In the Message section, we add the product title
- In the URL section given link to the product page.
- In the Image section added URL to the image, which is in the catalog.
Message section
You left {%aggregate 17d214c4-5644-33b1-b0c6-9fab96b26b3e %}
{% set id = aggregate_result[0].sku %}
{%catalogitemv2.store-1(id) %}
{%set itemObject=catalog_result%}
{{itemObject.name}}
{%endcatalogitemv2%}
{%endaggregate%} in your basket!
URL section
{%aggregate 17d214c4-5644-33b1-b0c6-9fab96b26b3e%}{% set id = aggregate_result[0].sku %}{%catalogitemv2.store-1(id) %}{%set itemObject=catalog_result%}{{itemObject.productUrl}}{%endcatalogitemv2%}{%endaggregate%}Image section
{%aggregate 17d214c4-5644-33b1-b0c6-9fab96b26b3e%}{% set id = aggregate_result[0].sku %}{%catalogitemv2.store-1(id) %}{%set itemObject=catalog_result%}{{itemObject.image}}{%endcatalogitemv2%}{%endaggregate%}Usage:
- Replace aggregate ID with the ID you’d like to use.
- In
{% set id = aggregate_result[0].sku %}replaceskuwith the name of the catalog’s attribute that holds sku. - In
{%catalogitemv2.store-1(id) %}replacestore-1with the name of your item catalog. - In
{{itemObject.link}},{{itemObject.name}},{{itemObject.imageLink}}make sure to put a correct name of an attribute which holds product’s link, name or imageLink.
Disabling this option will result in the icon not displaying on mobile push.
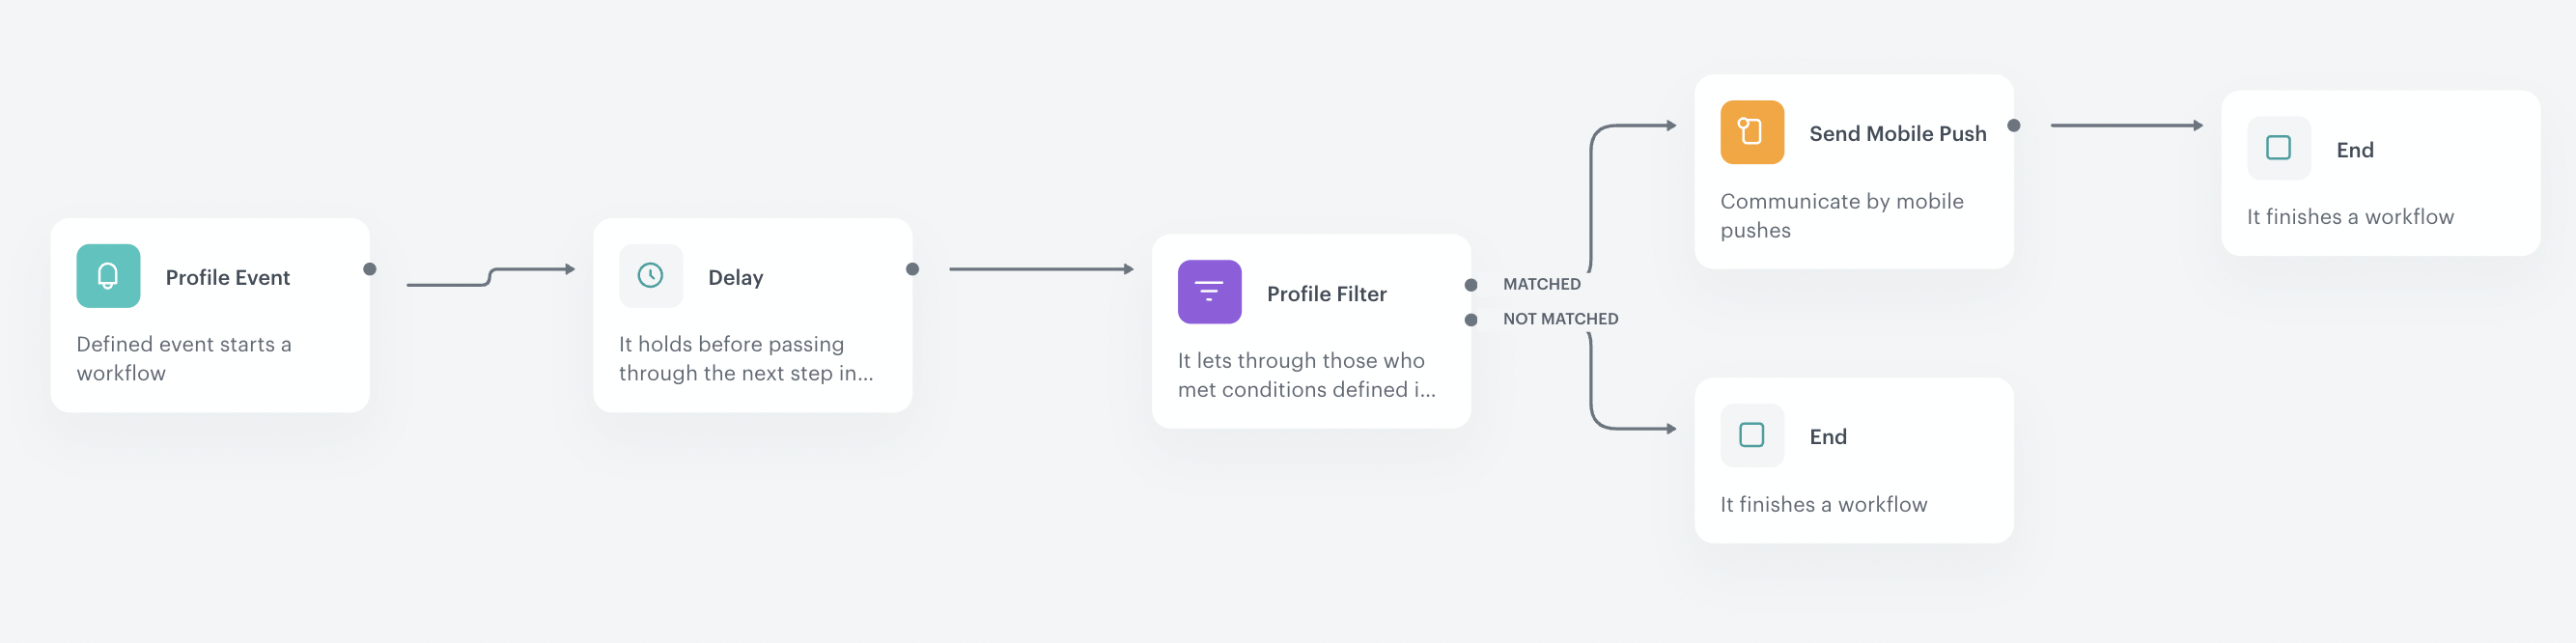
Create a workflow
The workflow will be triggered by the product.AddToCart event. The delay is defined up to 1 day. If a customer does not make a transaction within one day, we will send a push notification with a reminder to buy products left in the cart.
- Go to
 Automation > Workflows > New workflow.
 - Enter the name of the workflow.
Define the trigger node
-
As the first node, add the Profile Event. In the settings of the node, select the productAddToCart event.
-
Click Apply.
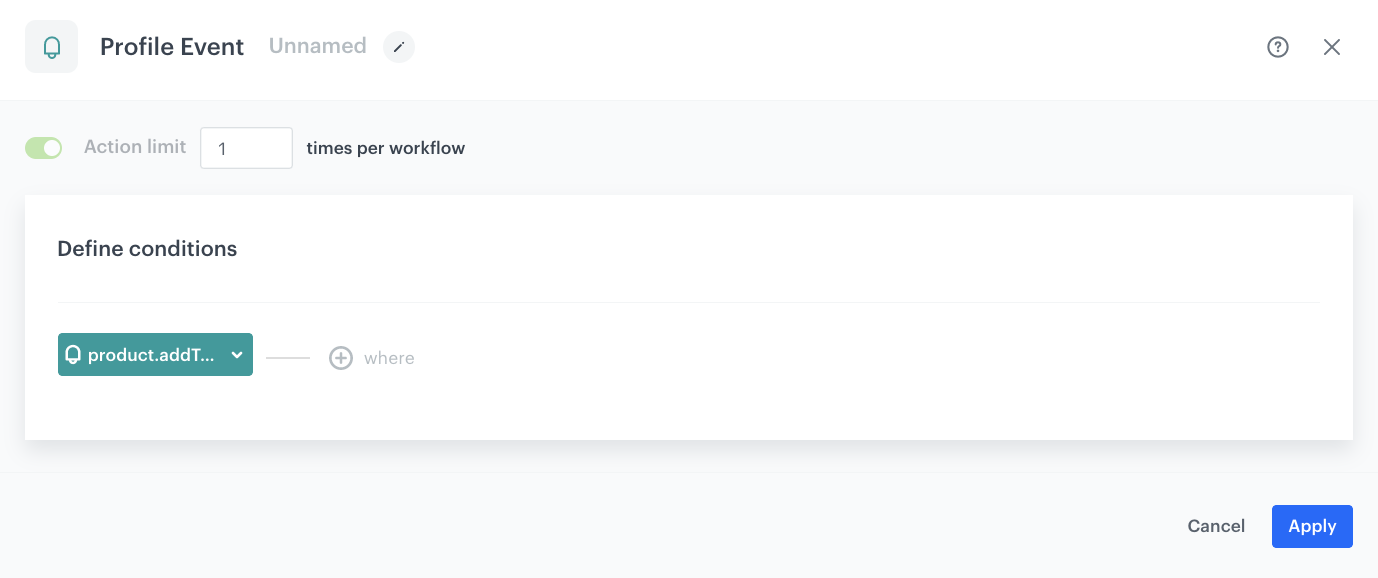
Configuration of the Profile Event node
Configure the Delay node
-
Add the Delay node. In the node settings:
- In the Delay field, type
1. - From the dropdown list, choose Day.
- In the Delay field, type
-
Click Apply.
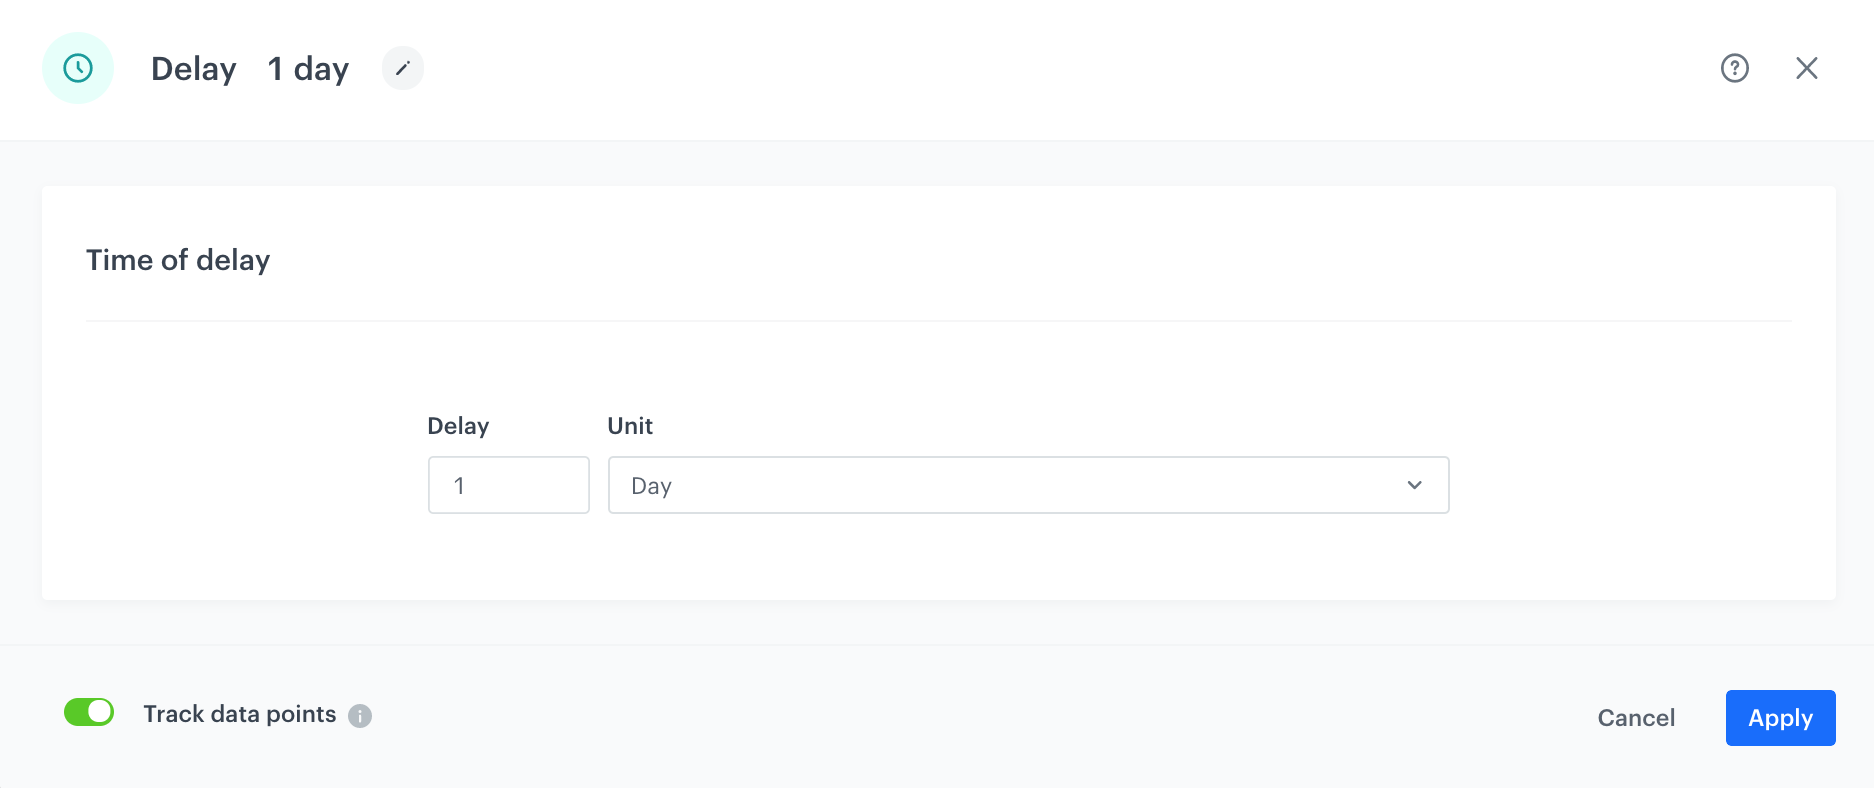
Configuration of the Delay node
Define the Profile Filter node
As the next node, choose Profile Filter to check if a customer have made a transaction in the last 24 hours.
- Add the Profile Filter node. In the node settings:
- From the Choose filter dropdown, select the
transaction.chargeevent. - Change matching to not matching.
- Set the date range to the last 1440 minutes.
Important: Use 1440 minutes instead of 1 day – use smaller granulation, as in this case 1 day would take the time from current hour till the midnight, so such an analysis would not take into consideration all customers who meet the filter conditions.
- From the Choose filter dropdown, select the
- Click Apply.
Define the Send Mobile Push node
-
Add the Send Mobile Push node to the Matched path.
-
In the settings of the node, choose the type of the mobile push and the template you have prepared in the previous steps.
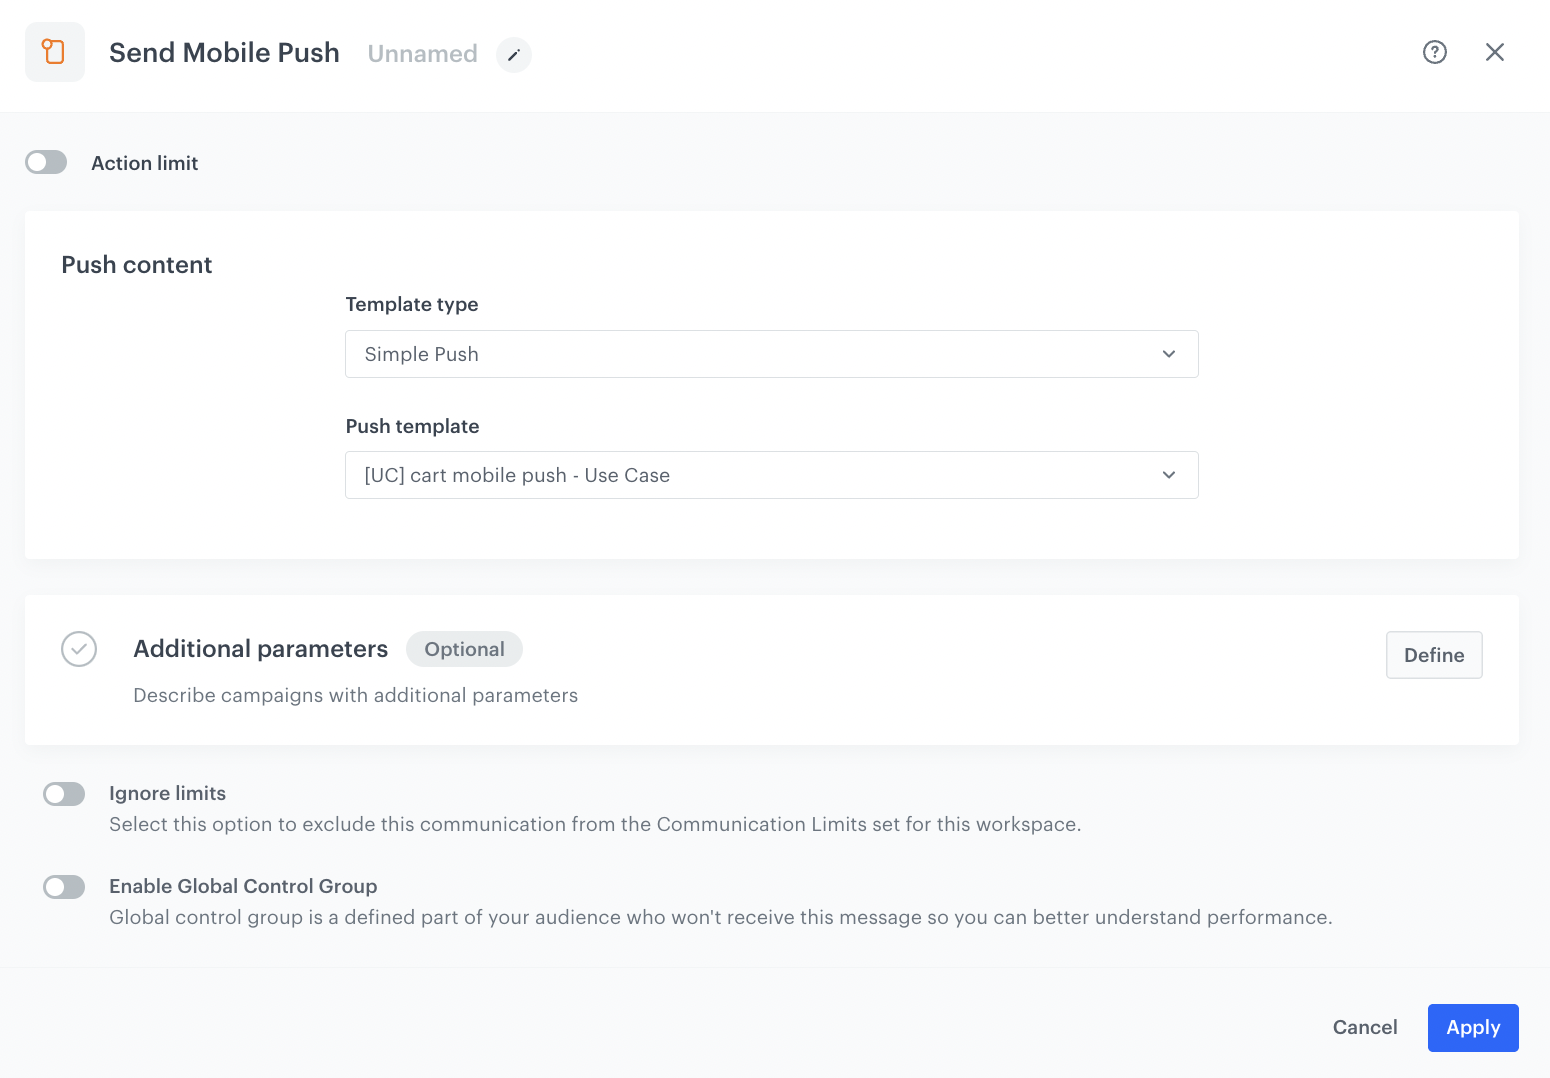
Configuration of the Send Mobile Push node
Add the finishing node
- Add the End node to the Send Mobile Push node and Not Matched path from the Profile Filter node.
- In the upper right corner, click Save & Run.
Check the use case set up on the Synerise Demo workspace
You can check the configuration of each step from this use case in our Synerise Demo workspace:
If you don’t have access to the Synerise Demo workspace, please leave your contact details in this form, and our representative will contact you shortly.