
Sending metrics results to Google BigQuery
The integration between Synerise and Google BigQuery allows users to export various types of data from Synerise to BigQuery. This is a convenient solution as it allows data to be exported and used for further analysis in BigQuery and other Google tools such as Google Analytics.
In this use case, we will show how to send metrics results (CTR, CTOR, and OR) to a BigQuery table using a dedicated node (Upload data to a table) in our Automation module. The process of creating these metrics has already been described in this use case. In the following steps, we will create a workflow for uploading these analytics to BigQuery.
Prerequisites
- Check the requirements you must meet to integrate Synerise with Big Query.
- Prepare metrics that counts OR, CTR and CTOR based on the use case.
Create a workflow
Create a workflow which sends metrics results to Google BigQuery. The workflow starts at 6 A.M. daily and automatically sends the up-to-date metrics results to BigQuery.
- Go to
 Automation > Workflows > New workflow.
 - Enter the name of the workflow.
Define the Scheduled Run trigger node
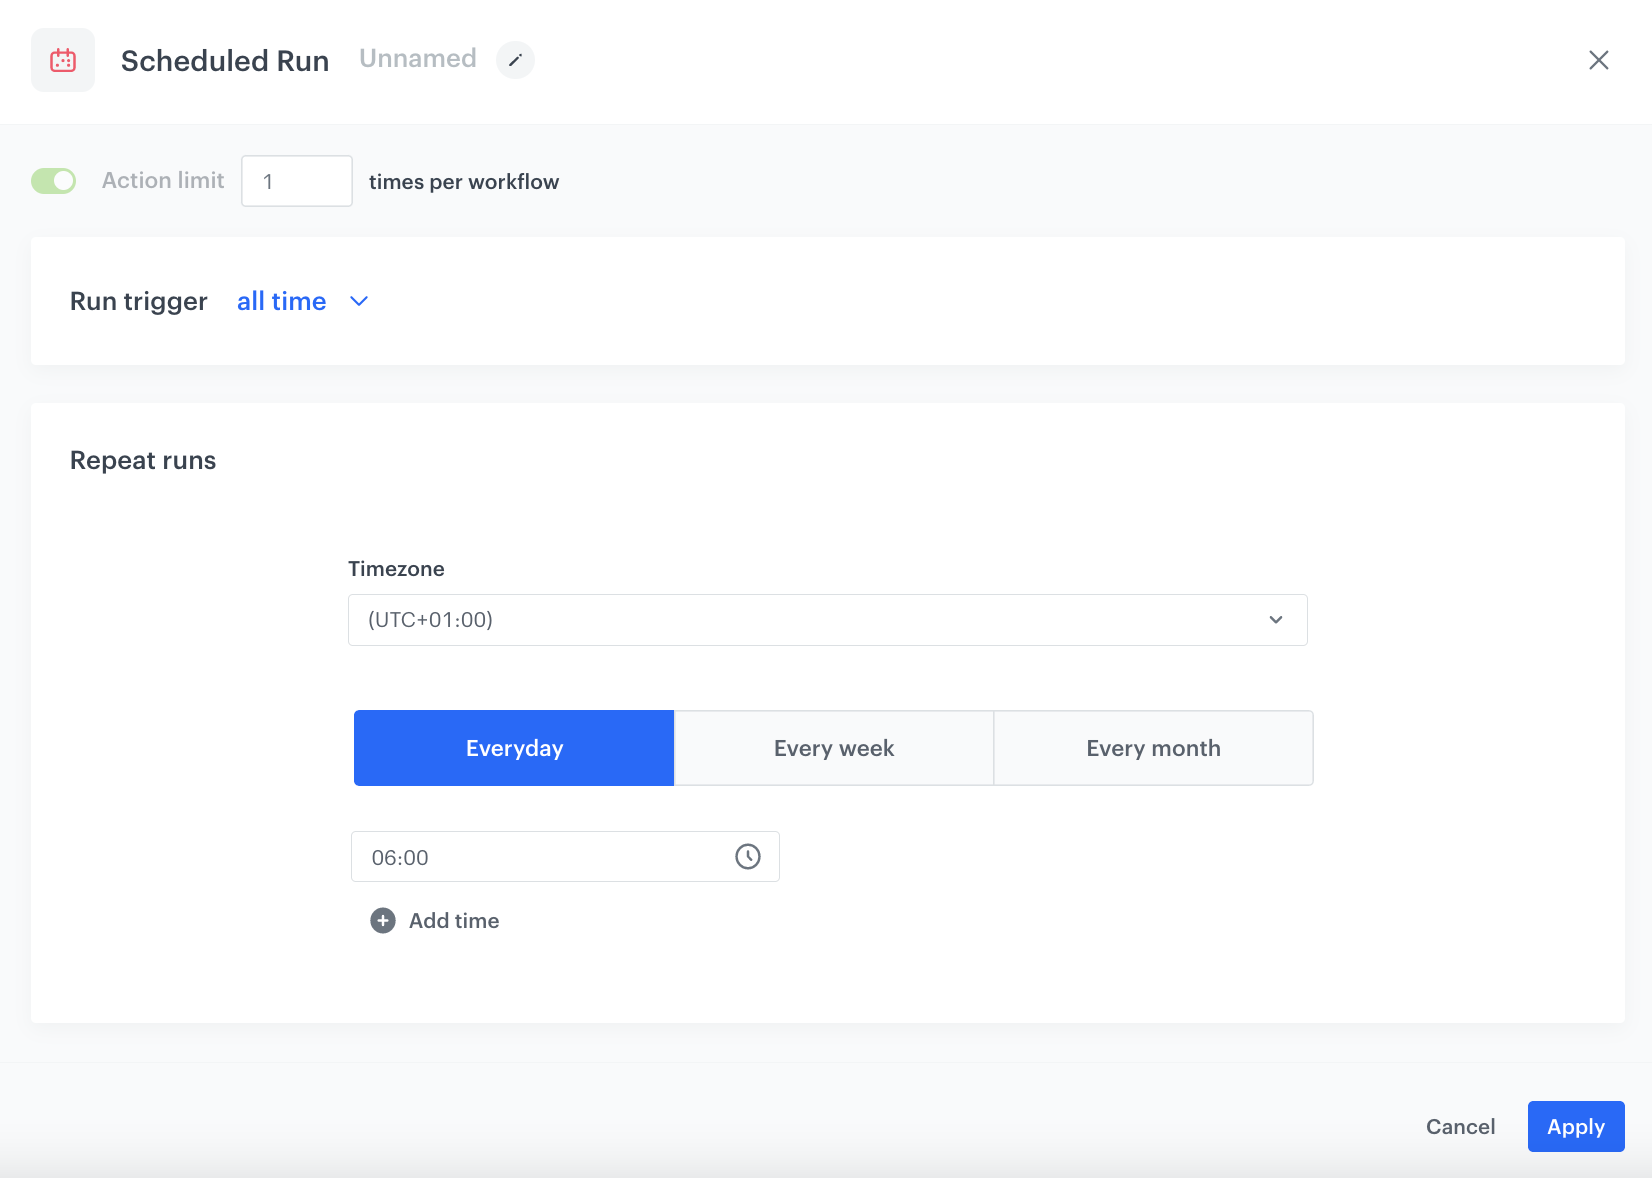
At this stage, we will configure conditions that launch the workflow. As a trigger, we will use the Scheduled Run node.
- As the trigger node, add Scheduled Run.
- In the configuration of the node:
- Leave the Run trigger option at default (all time).
- From the Timezone dropdown list, select the time zone consistent with the timezone selected for your workspace.
- Define the frequency of the workflow. In this use case, it’s every day at 6:00 A.M.
- Confirm by clicking Apply.
Configure the Upload data to a table node
At this stage, we will configure the BigQuery node.
- As the next node, add Google BigQuery > Upload data to a table.
- Fill out the form according to the instructions in the Define the integration settings section.
- In the Rows field, enter JSON that extracts the ID of specific metrics.
[{
	"insertId": "{{ currentStep.actionId }}",
	"json": {
			"data": "{% set today = timestamp|timestamp_to_time|datetimeformat('%d.%m.%Y', tz="Europe/Warsaw" ) %}{{today}}",
			"ctr": "{% metricvar d3cbeffb-4883-4621-a403-15e4bddc4650 %}",
			"or": "{% metricvar 69af6a34-02d9-4a11-8436-1c8967b0abf3 %}",
			"ctor": "{% metricvar 373dc09a-552d-4108-a713-e0261ac86516 %}"
		}
}]
Add the finishing node
- Add the End node.
- In the upper right corner, click Save & Run.

Check the use case set up on the Synerise Demo workspace
You can check the configuration of the workflow directly in the Synerise Demo workspace.
If you don’t have access to the Synerise Demo workspace, please leave your contact details in this form and our representative will contact you shortly.