
Predict churn
Churn prediction is a business strategy that involves identifying customers who are likely to stop using a product or service in the near future. Churn prediction can help businesses reduce customer churn rates, increase customer loyalty, and improve overall business performance. With the Prediction module you can create predictive models that accurately forecast customer behavior, enabling you to take targeted actions to reduce churn and improve customer satisfaction.
In this use case, we will create a prediction which will help us identify customers likely to churn. As the prediction target we will use an expression with the segmentation of customers who had a transaction and have not visited our page in the last 30 days.
Prerequisites
Process
In this use case, you will go through the following steps:
Create a segmentation
In this step, we create a group of customers who have made at least one transaction but have not visited the site in the last 30 days. This segmentation will be used in an expression in the next step.
- Go to
 Analytics > Segmentations > New Segmentation.
 - Optionally, switch the Show in profile card toggle on.
- Enter the name of the segmentation.
- From the Performed action dropdown list, select the
transaction.chargeevent.Tip: Events may have different labels between workspace, but you can always find them by their action name (in this step, it’s transaction.charge). - Using the date picker in the lower-right corner, set the time range to Relative time range > More > Lifetime.
- From the Performed action dropdown list, select the
Visited pageevent. - Change Performed action to Not performed.
- Using the date picker in the lower-right corner, set the time range to Relative time range > Custom > Last 30 days.
- Save the segmentation.
Create an expression
In this part of the process, create an expression that will serve as the target for the prediction model. The expression will return 1 if a customer belongs to the previously defined segmentation and 0 if they don’t.
- Go to Analytics > Expressions > New expression.
- Enter the name of the expression.
- From the Expressions for dropdown list, select Attribute.
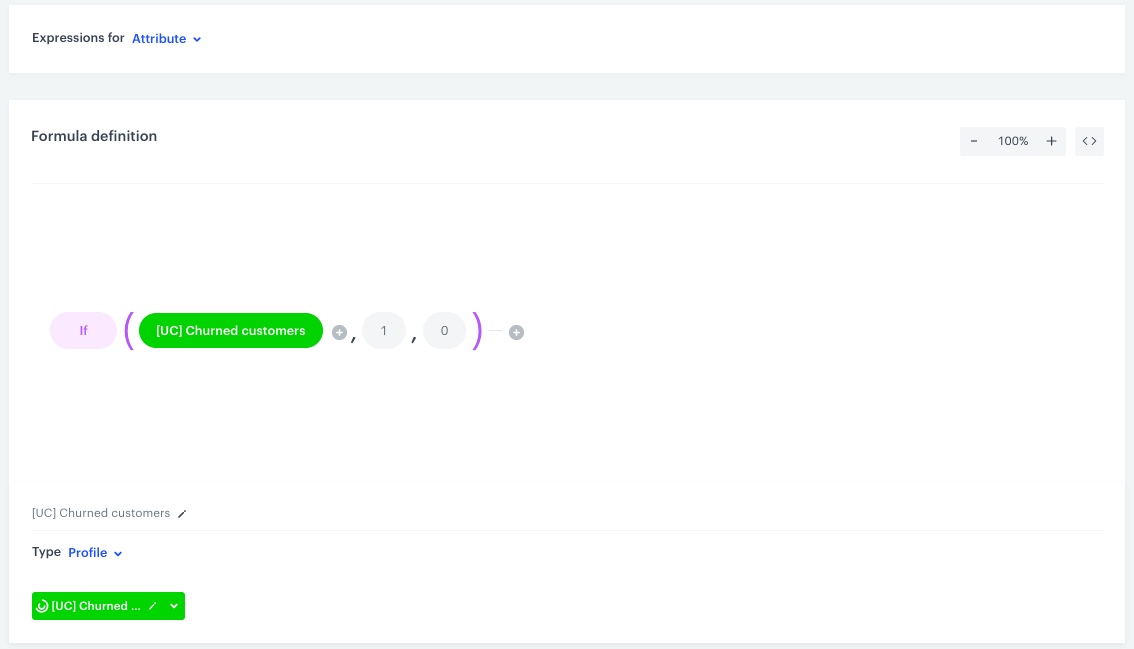
Predictions work only with attribute expressions. - In the formula creator, click the Select node and from the drop-down list select Function > If.
- As the first argument, select the segmentation you created earlier.
- As the second argument, select Constant and set its value to
1. - As the third argument, select Constant and set its value to
0. - Save the expression.
Create a prediction
- Go to
 Predictions > New prediction.
 - In the upper-right corner, enter a name for the prediction.
- In the Prediction type section, click Define.
- Select Classification and click Apply
Select the audience
In this section you decide which segment of the customers should be taken into account while making a prediction. For every individual in the segment, Synerise produces a single prediction.
Segmentations can be very complex and the possibilities of building the conditions are practically unlimited. In this example, a simple segmentation will include customers who have a marketing agreement.
- In the Audience section, click Define.
You can use existing segmentations. This example shows how to create a new one. - Click Choose segmentation > Create new.
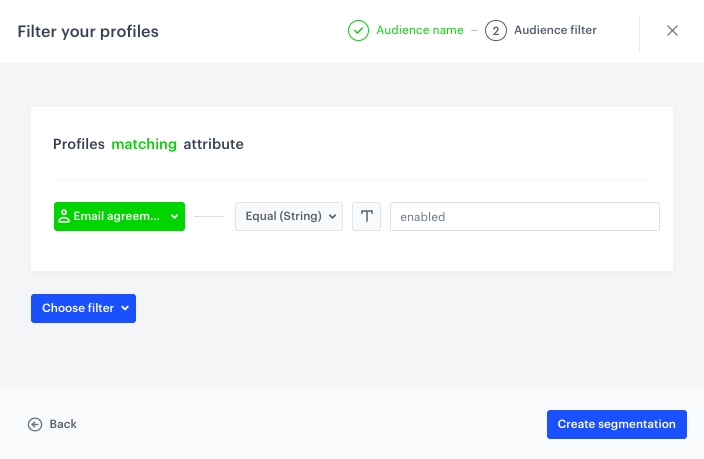
- Enter a segmentation name and click Next step.
- Click Choose filter, from the dropdown list, select Attribute> Email agreement.
- From the choose operator dropdown list, select Equal (String).
- In the text field, enter
enabled. - Click Create segmentation.
Result: The segmentation is saved as the audience of the prediction and also becomes available in the Analytics module for other uses. - Click Apply.
Select prediction target
- In the What would you like to predict? section, click Define.
- Click Select expression and select the expression created earlier.
- Click Apply.
Select inputs
In this section, you set up input features based on which the prediction model will be trained.
It is possible to select feature inputs manually, but we recommend using the automatic selection, as explained below. Our algorithms evaluate feature relevance in context of the prediction target and are, in most cases, more effective than manual selection.
- In the Model inputs section, click Define.
- Click Add feature > Automatically.
Result: The list is populated with input features. - Click Apply.
Configure additional settings
The additional settings define how often re-calculations are made and the content of events produced by the prediction.
- In the Settings section, click Define.
- From the How many days in advance do you want to make a prediction list, select 30 days.
- In the Calculation frequency section, select Recurring calculation.
- From the How frequently should the model be trained? list, select 30 days.
- In the Prediction start section, select Immediately.
- In How would you like to display results, select 5-point scale.
The algorithm detects the importance of a prediction. - In the Define the value of the score name parameter section, enter a user-friendly name for the prediction score.
The name is shown as the value of thescoreNameparameter in thesnr.prediction.scoreevent. - Click Apply.
- To finish and calculate the prediction, click Save & Calculate.
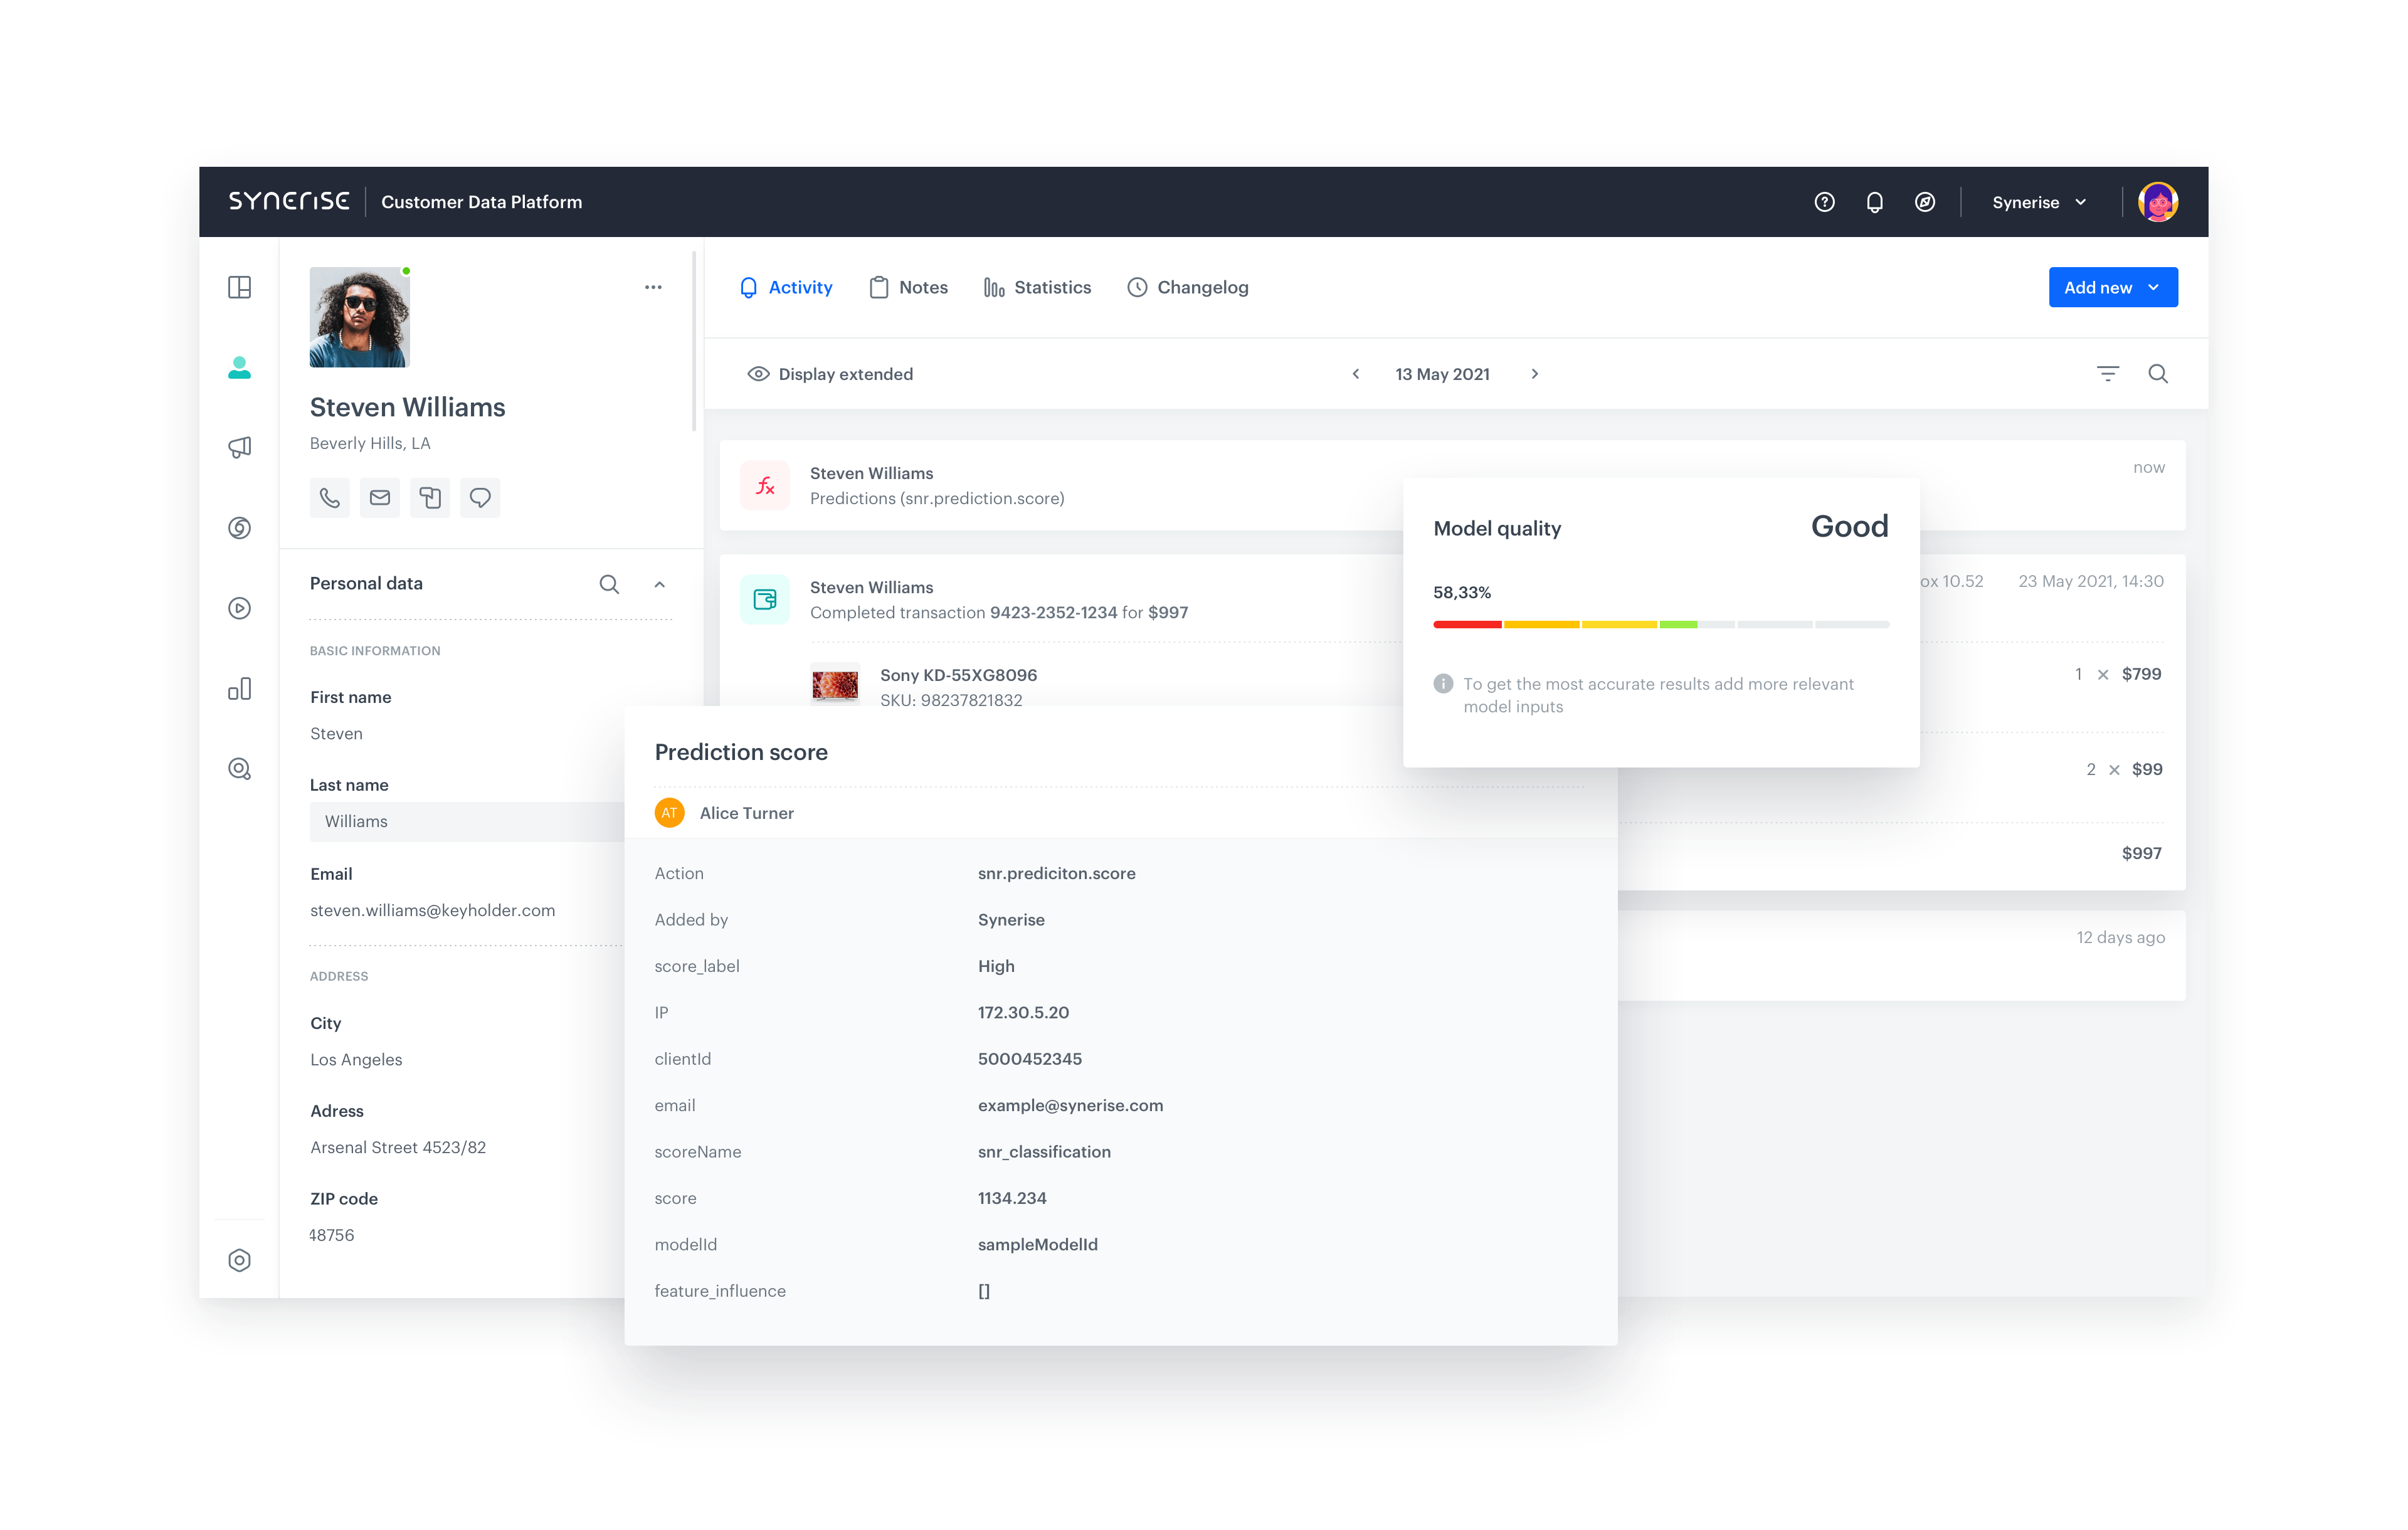
Result:
The prediction results are saved as snr.prediction.score events in customer profiles.
What’s next
You can use the prediction results in your work, for example to Create an automation to reduce churn or Evaluate results of churn prediction.
A more advanced example of using a segmentation created from a churn prediction is described in Promote discounted items to customers at risk of churn.
Check the use case set up on the Synerise Demo workspace
You can check all configurations directly in Synerise Demo workspace:
If you don’t have access to the Synerise Demo workspace, please leave your contact details in this form, and our representative will contact you shortly.