
Coupon for membership anniversary
The main reason why it is worth having a loyalty program is to retain customers by rewarding them for their repeat purchase behavior. Also, customers appreciate such programs because they can get access to rewards and special offers.
Setting up loyalty programs can help improve your brand recognition, increase growth and improve customer service.
It is also worth remembering special days for your club members, not only their birthday, but also membership anniversary, which can be a great opportunity to send them special rewards like coupons.
Example of use - Retail industry
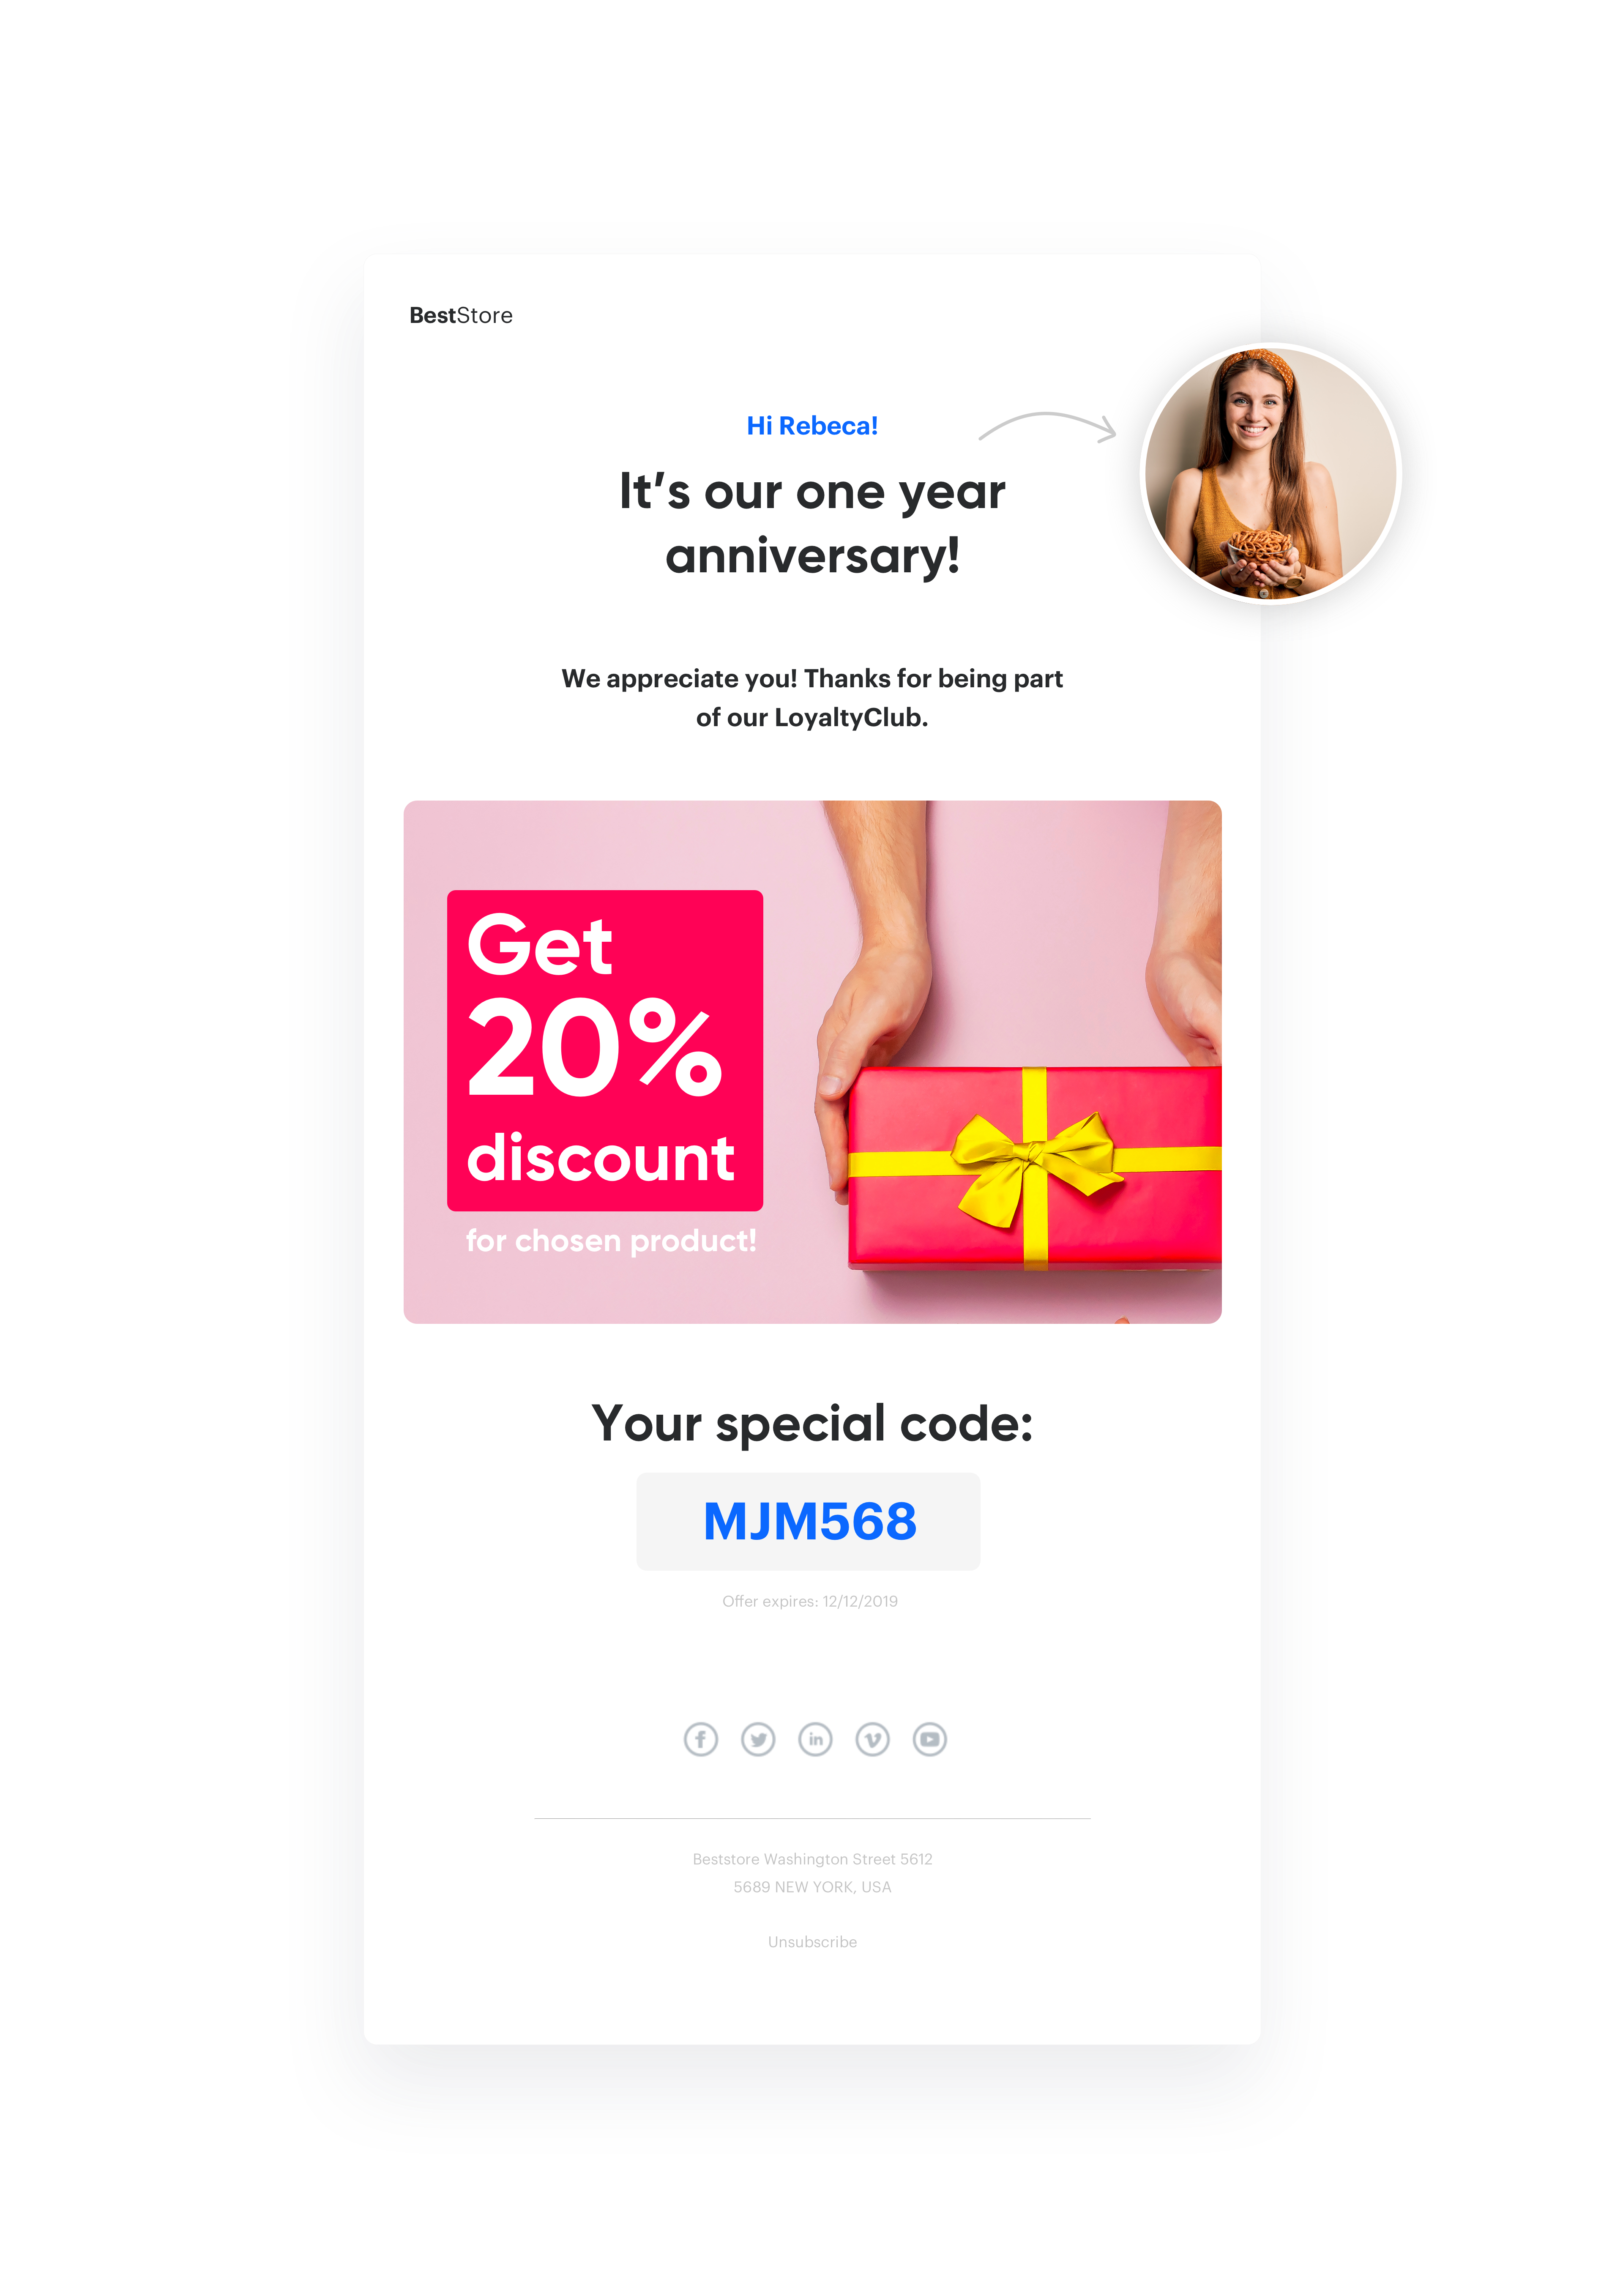
A customer from the footwear industry has had a customer club for several years and makes special offers and promotions available to members. They decided to show their appreciation for such clients by sending them an email on the anniversary of joining the club. Each email contained an individual rebate code.
Prerequisites
To implement this use case, you have to:
- Configure your email account.
- Import customer base with
email addres. andregistration date. - Implement tracking code.
Process
Prepare use case that will consist of 4 steps:
Prepare a coupon pool
On user registration anniversaries, it’s good to send each of them individual coupon codes with a discount. To do it you will have to import to Synerise coupons previously prepared in your ecommerce platform, which will apply the appropriate discount in the shopping cart.
- To import such coupons, go to Data Management > Voucher Pools and prepare a Voucher pool, to which you will add your coupons.
- Add an obligatory Pool name, and set the Emission start and end dates.
- When the pool is created, click Import and choose CSV with vouchers.

Prepare an email template
To distribute coupon codes in an email, prepare a template - design banners, copy and add the ID of the coupon pool.
- Go to Communication > Emails > Templates > Drag&drop builder or Code editor to create an email template..
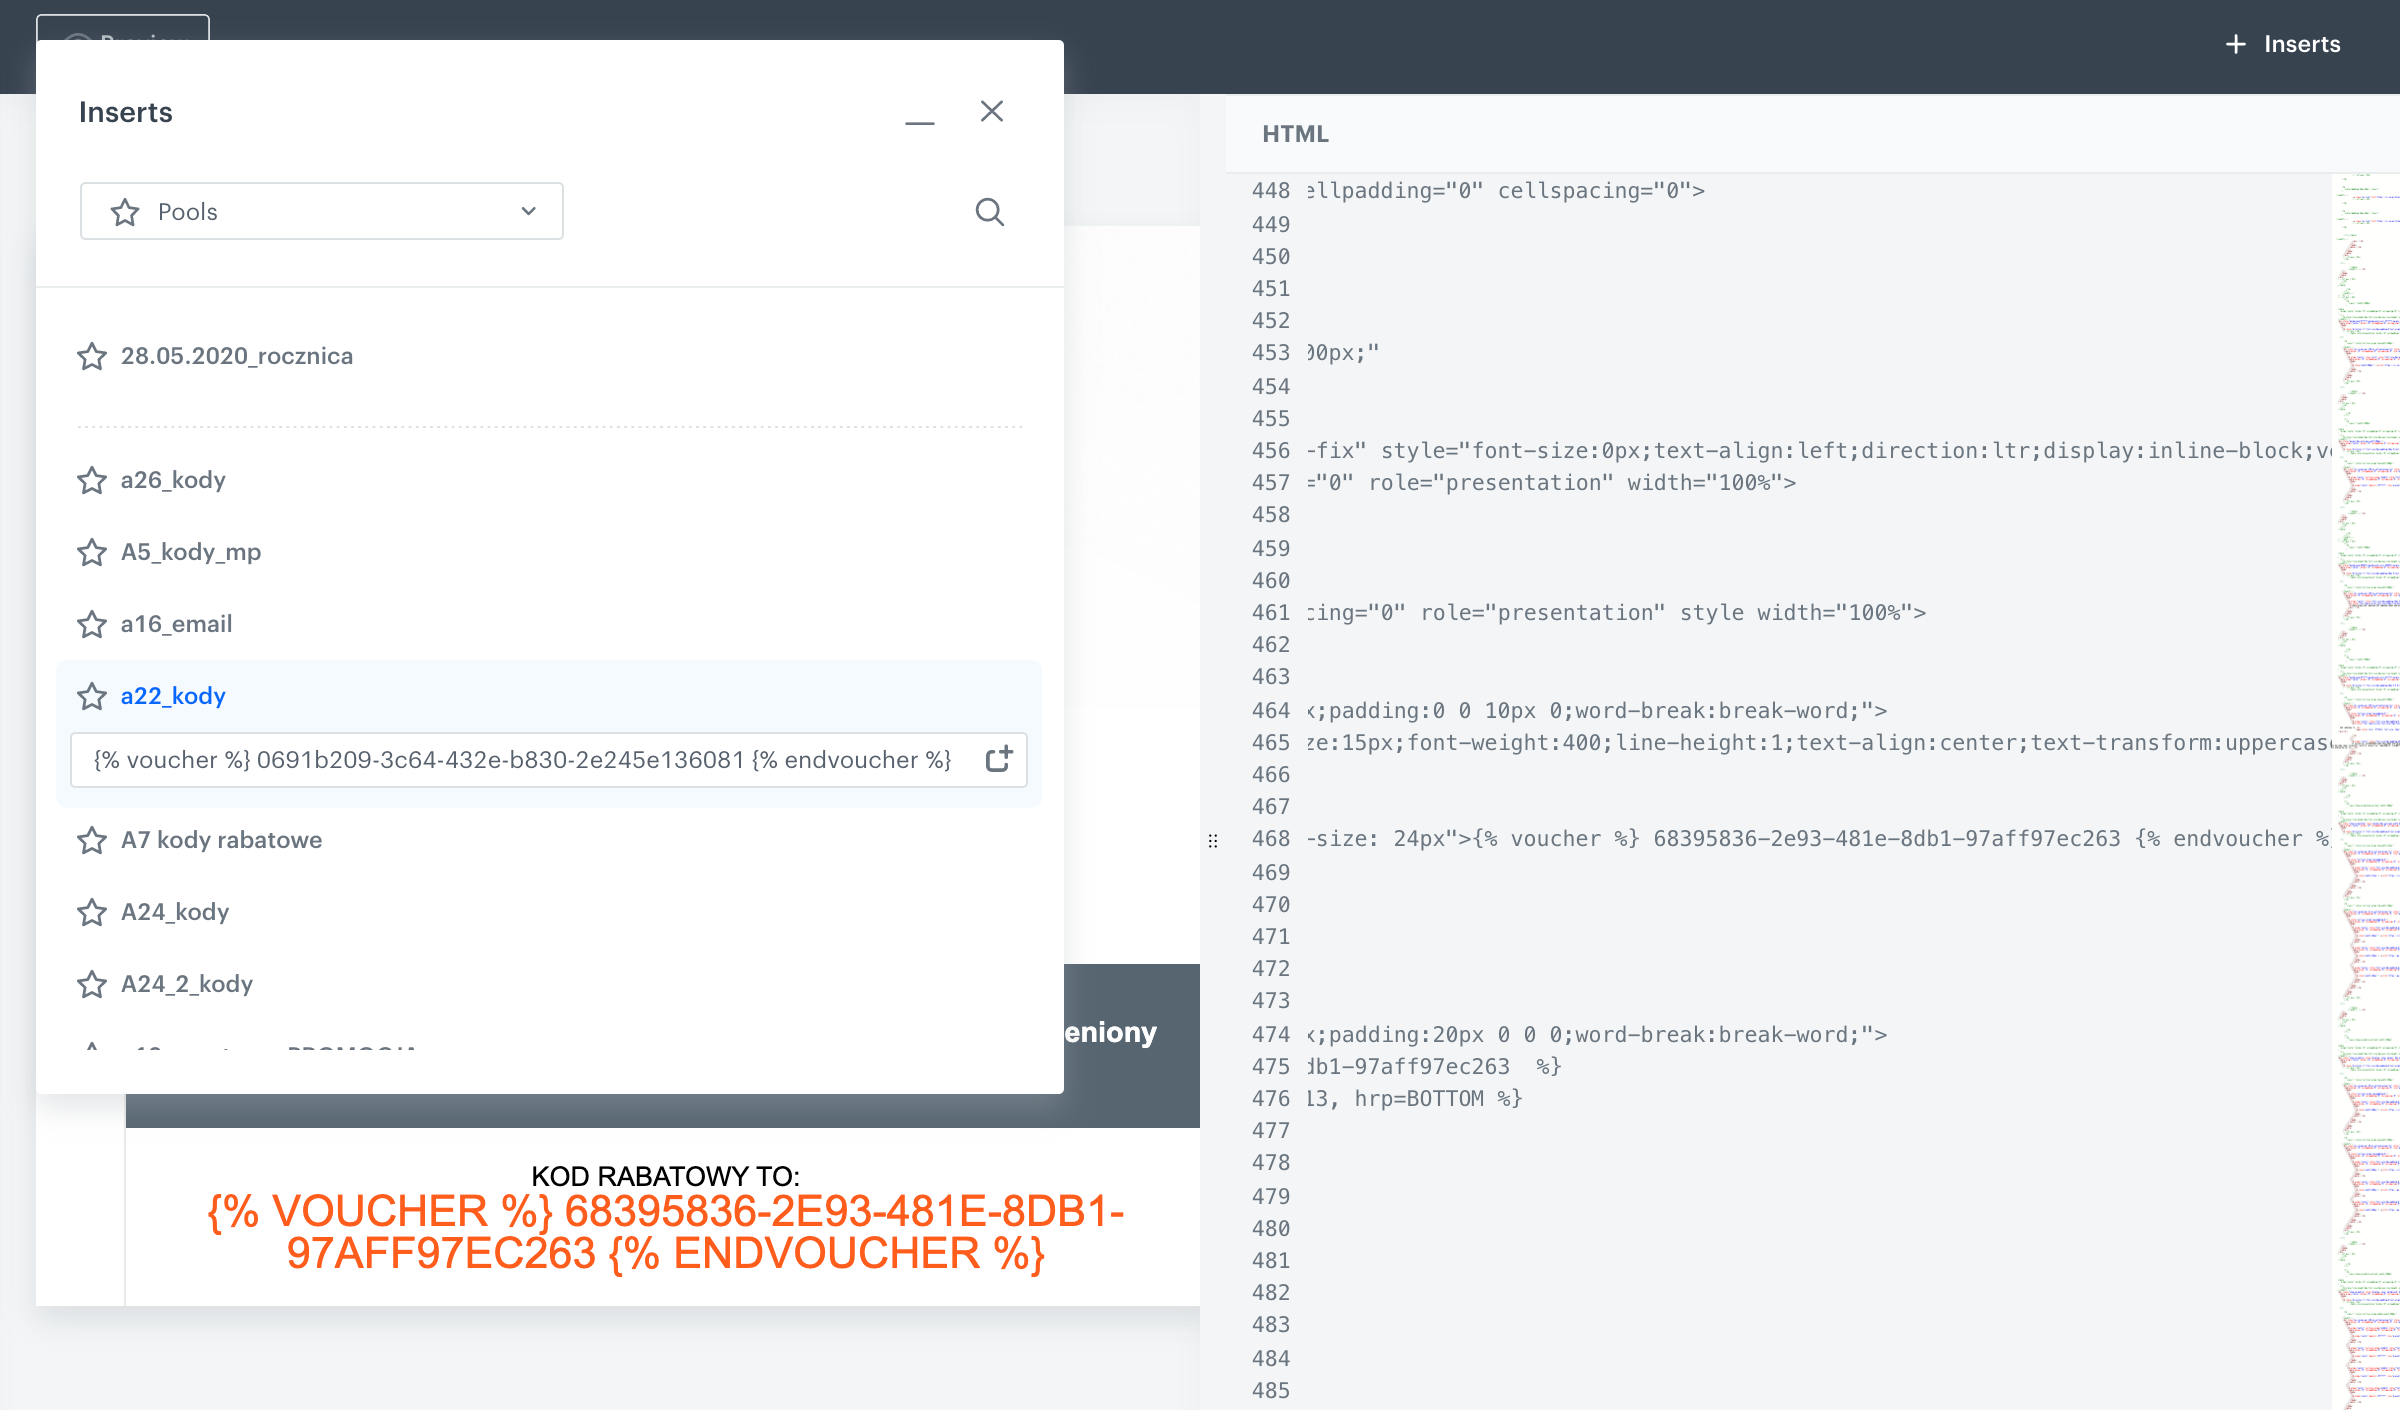
- Click Inserts in the upper right corner, find Pools on the list of inserts, then choose the Coupon pool prepared in the previous step.
- Copy and paste the Jinjava code of the pool in the place where the coupon code should be shown to the user. Instead of
{% voucher %}voucher-hash{% endvoucher %}, a user will see a unique coupon code.
Prepare workflow
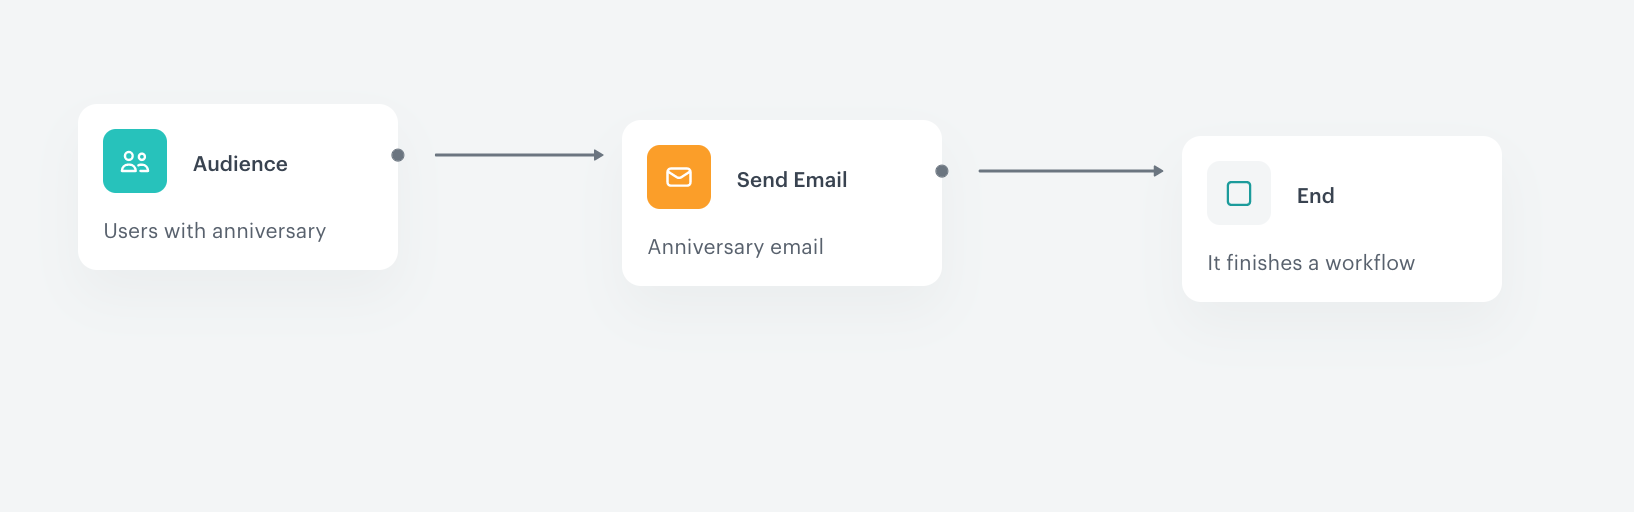
To start sending your prepared email template you have to create a workflow, which in basic configuration may look like the one below. To do this, go to Automation > Workflow > New workflow.
Add the Audience as attribute
To start the journey for every user who has a anniversary on a given date, select the Audience node.

- Set the Run trigger to repeatable.
- Select 1-day interval.
- Select the New audience tab.
- Click Define conditions.
- Define three conditions, every has a registration date, the first one matches the current day, the second matches the current month, and the third one doesn’t match the current year:

Prepare anniversary attribute
Set up the anniversary email
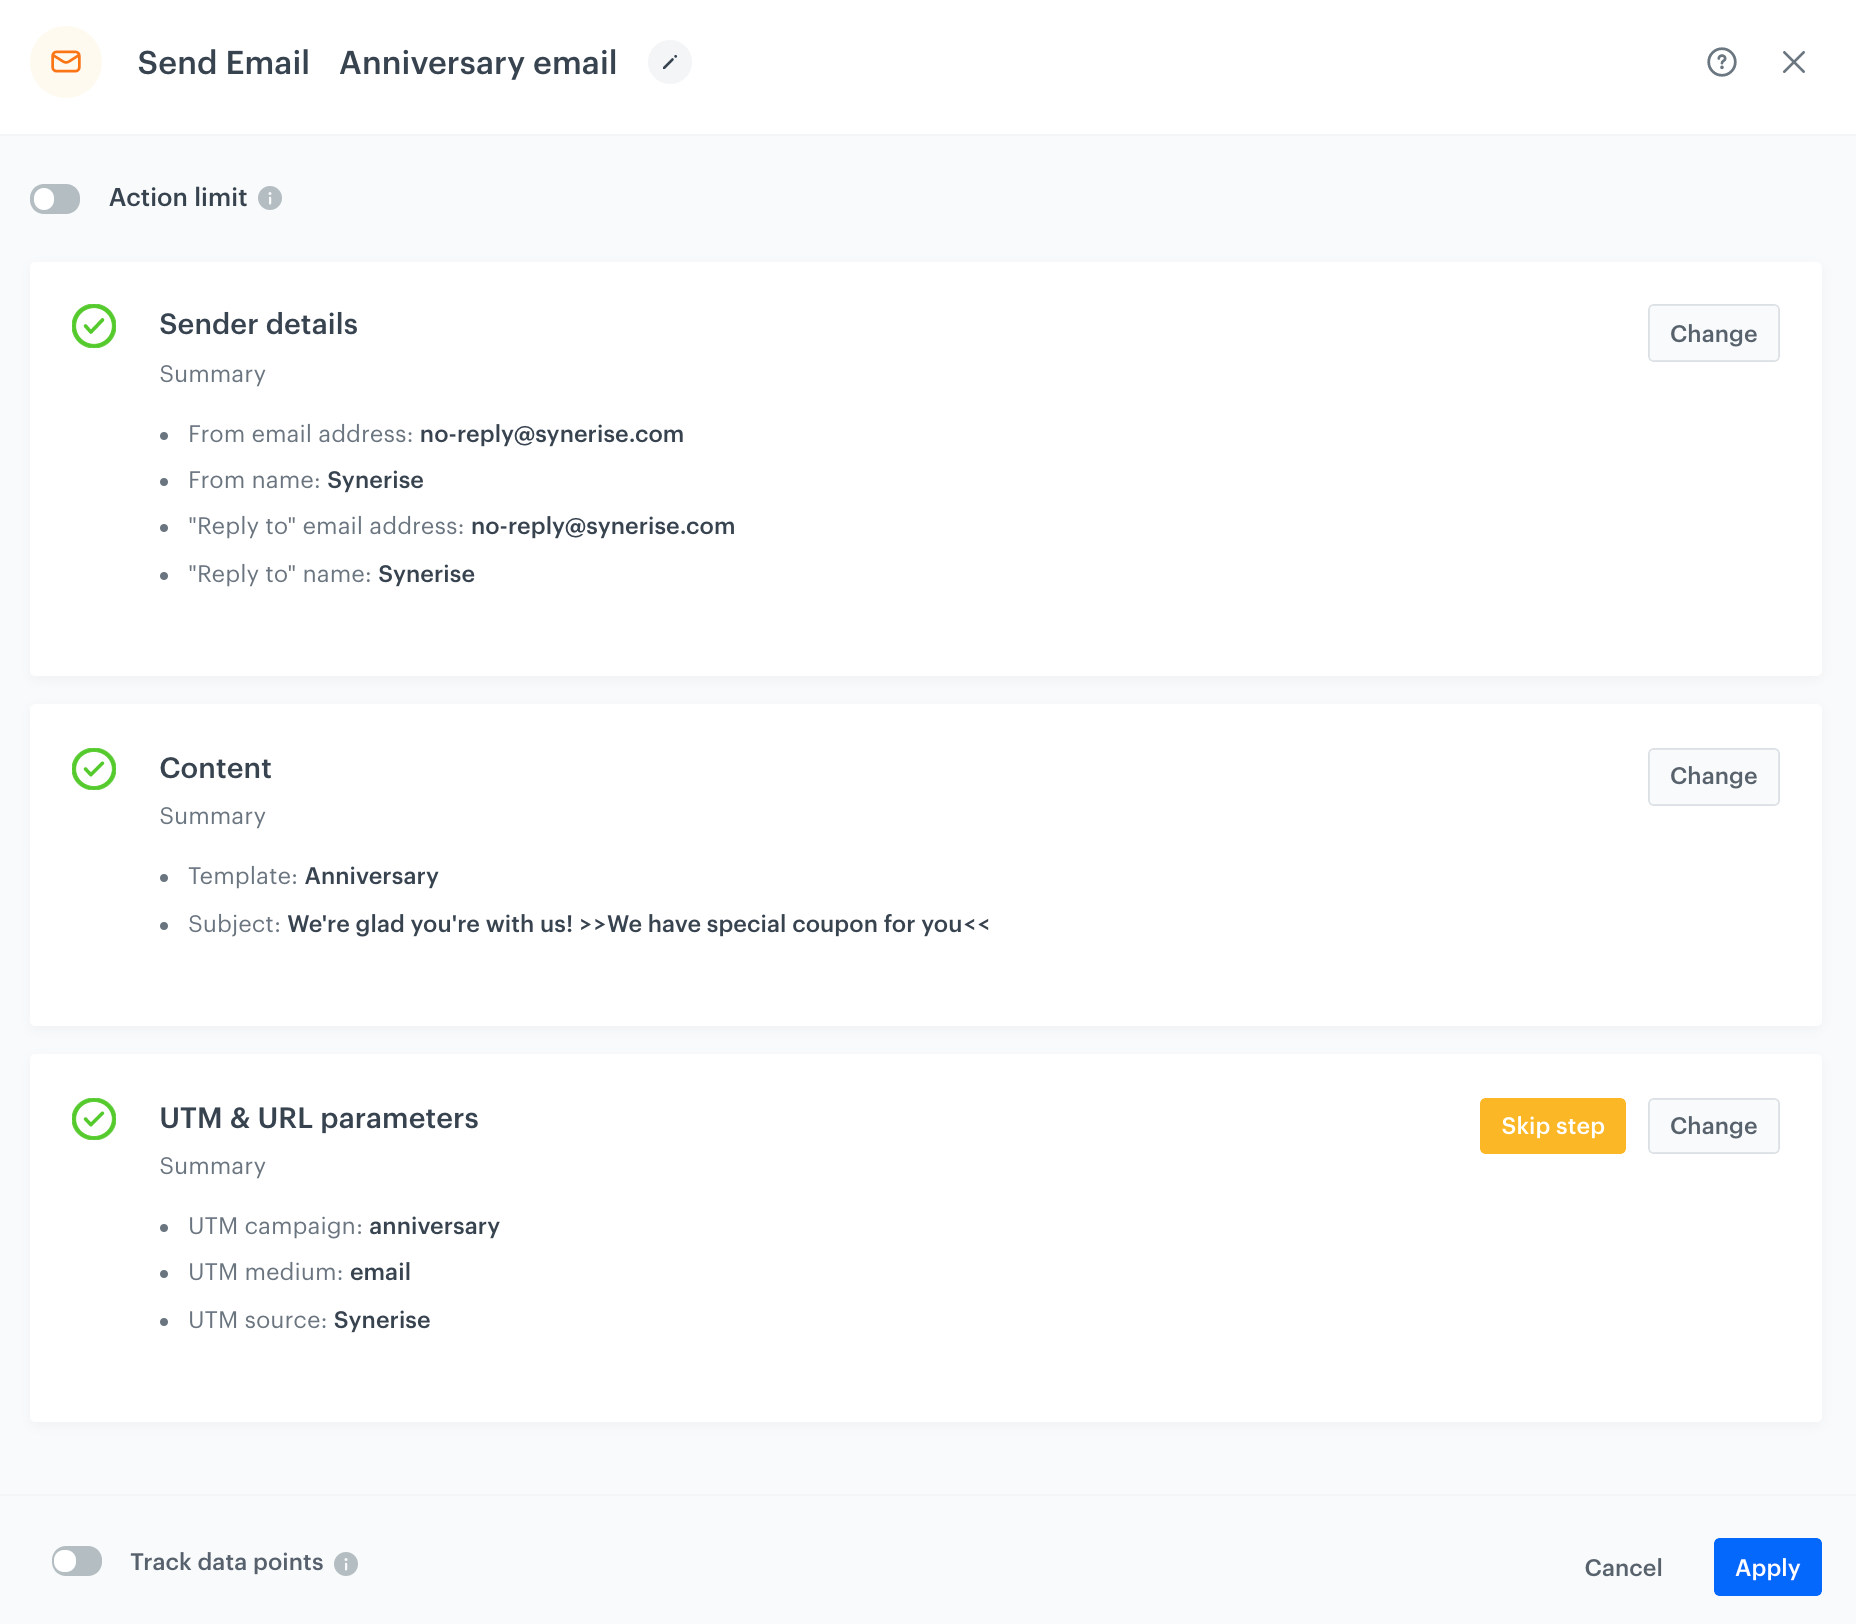
When you finish setting up the anniversary attribute, you can set the Send Email node by selecting the appropriate email account, choosing the template that you prepared previously and adding the email subject and UTMs.
Prepare the final settings
- Add End nodes where the workflow should finish for users.
- Define capping.
- Optionally, add titles to each node so the workflow will be more understandable to your colleagues.
- Name the workflow.
- To save it as a draft, click Save, or activate the workflow by clicking Save & Run.
Check the workflow set up on the Synerise Demo workspace
You can check the workflow configuration directly in Synerise Demo workspace.
If you don’t have access to the Synerise Demo workspace, please leave your contact details in this form, and our representative will contact you shortly.