Email with discount for those who left the site
If customers were on your site and visited specific product pages, then they probably did not land on it by accident. They wanted to go beyond the main page and learn more about you and your offer. So even if they did not complete a transaction you can reach them with an attractive offer by, for example, sending them a discount in the email.
It can encourage them to make a transaction and come back to your site and use discount to buy products they previously viewed.
Example of use - Retail industry
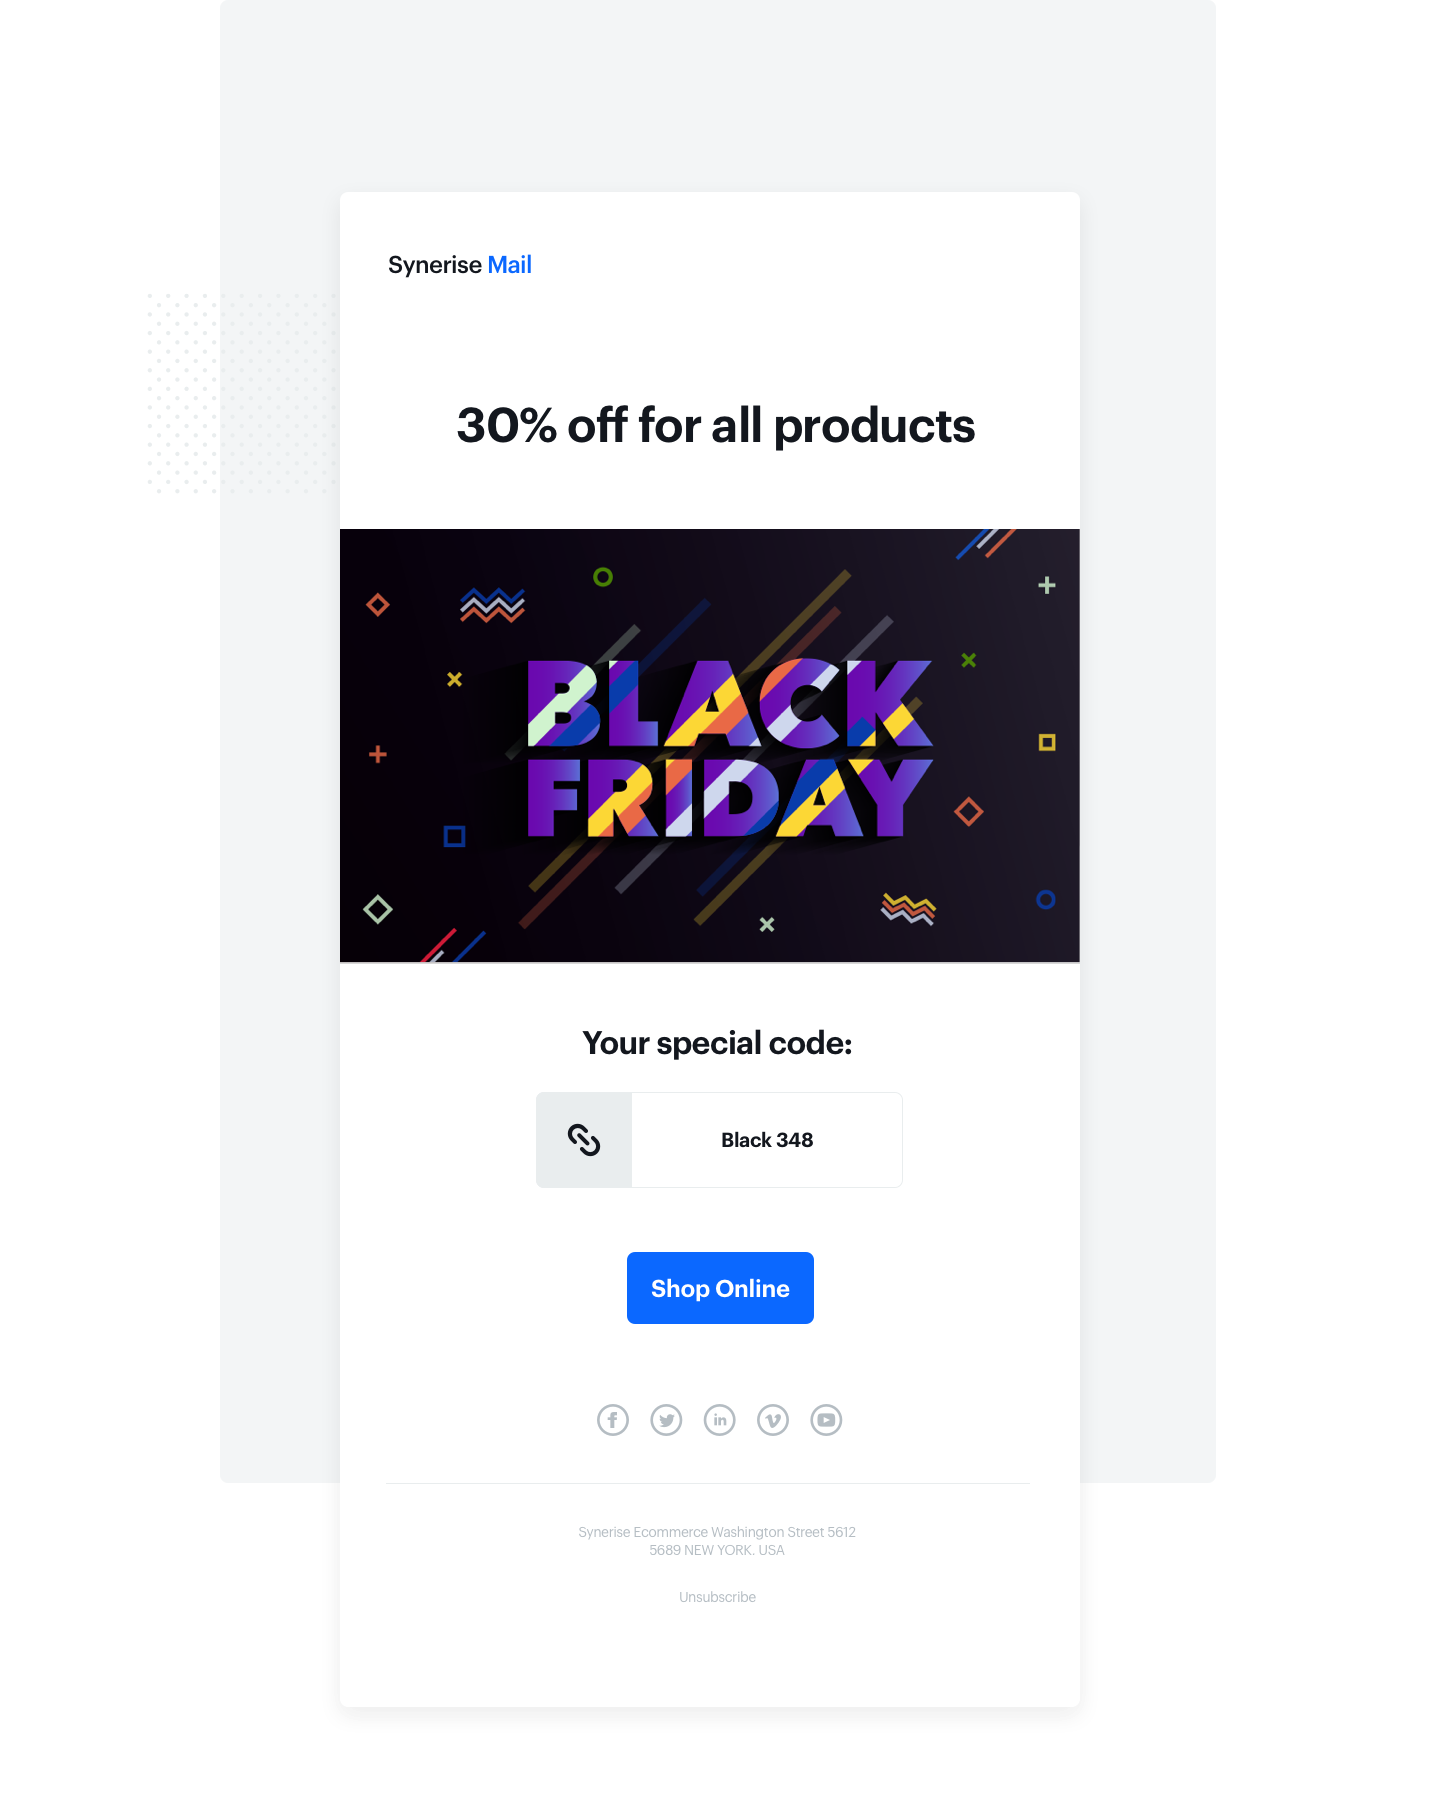
A customer from the fashion industry has prepared a different promotion for every day of Black Week. They informed users about it on their site through additional banners. However, they decided to use email as a communication channel with customers who were on the site, visited a product, but did not make a purchase. After leaving the site, these customers received information about the discount code in an email. It was made to encourage them to come back and finish their purchase process.
Results
- OR 10,31%
- CTOR 31,05%
- Conversion 2,6%
Prerequisites
To implement this use case, check those articles:
Process
To create an email with discount for those who left the site, perform the following steps:
Prepare coupons
Depending on your needs, you can send to user general code with promotion, eg. SHOPPING20%, or coupon code individually for each user. If you decide on this second option you will have to import to Synerise coupons previously prepared in your ecommerce platform which will apply the appropriate discount in the shopping cart.
- Go to Vouchers and prepare a Voucher pool, to which you will add coupons.
- Add an obligatory Pool name, and set the Emission start and end dates.
- When the pool is created, click Import and choose CSV with vouchers.

Prepare an email template
- Go to Campaign > Email.
- To distribute coupon codes, prepare an email template - design banners, copy and add the ID of the coupon pool.
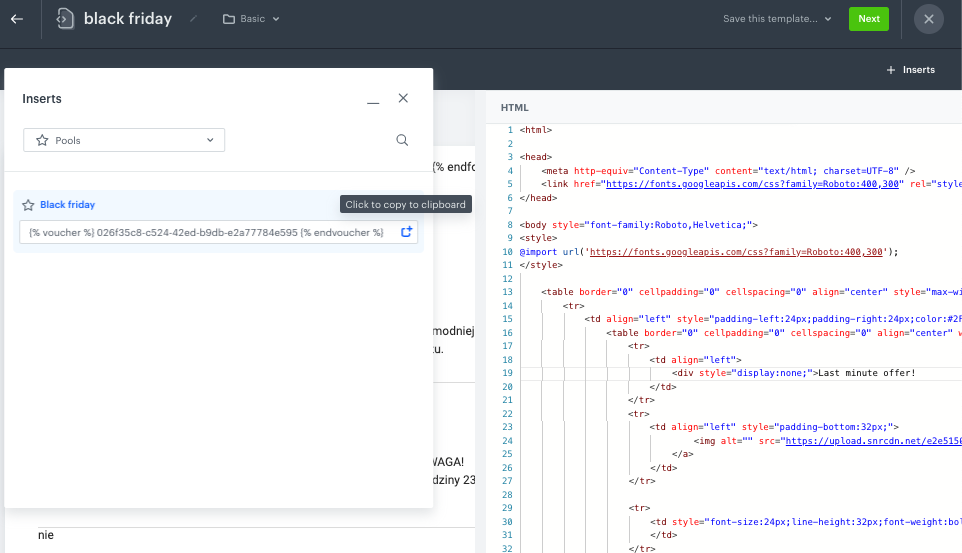
- Click Inserts in the upper right corner, find Pools on the list of inserts.
- Choose previously a prepared Coupon pool and copy and paste it in the place where the coupon code should be shown to the user. Instead of
{% voucher %} voucher-hash {% endvoucher %}, user will see his individual coupon code.
Create a workflow
To send emails to customers you will have to prepare a workflow.
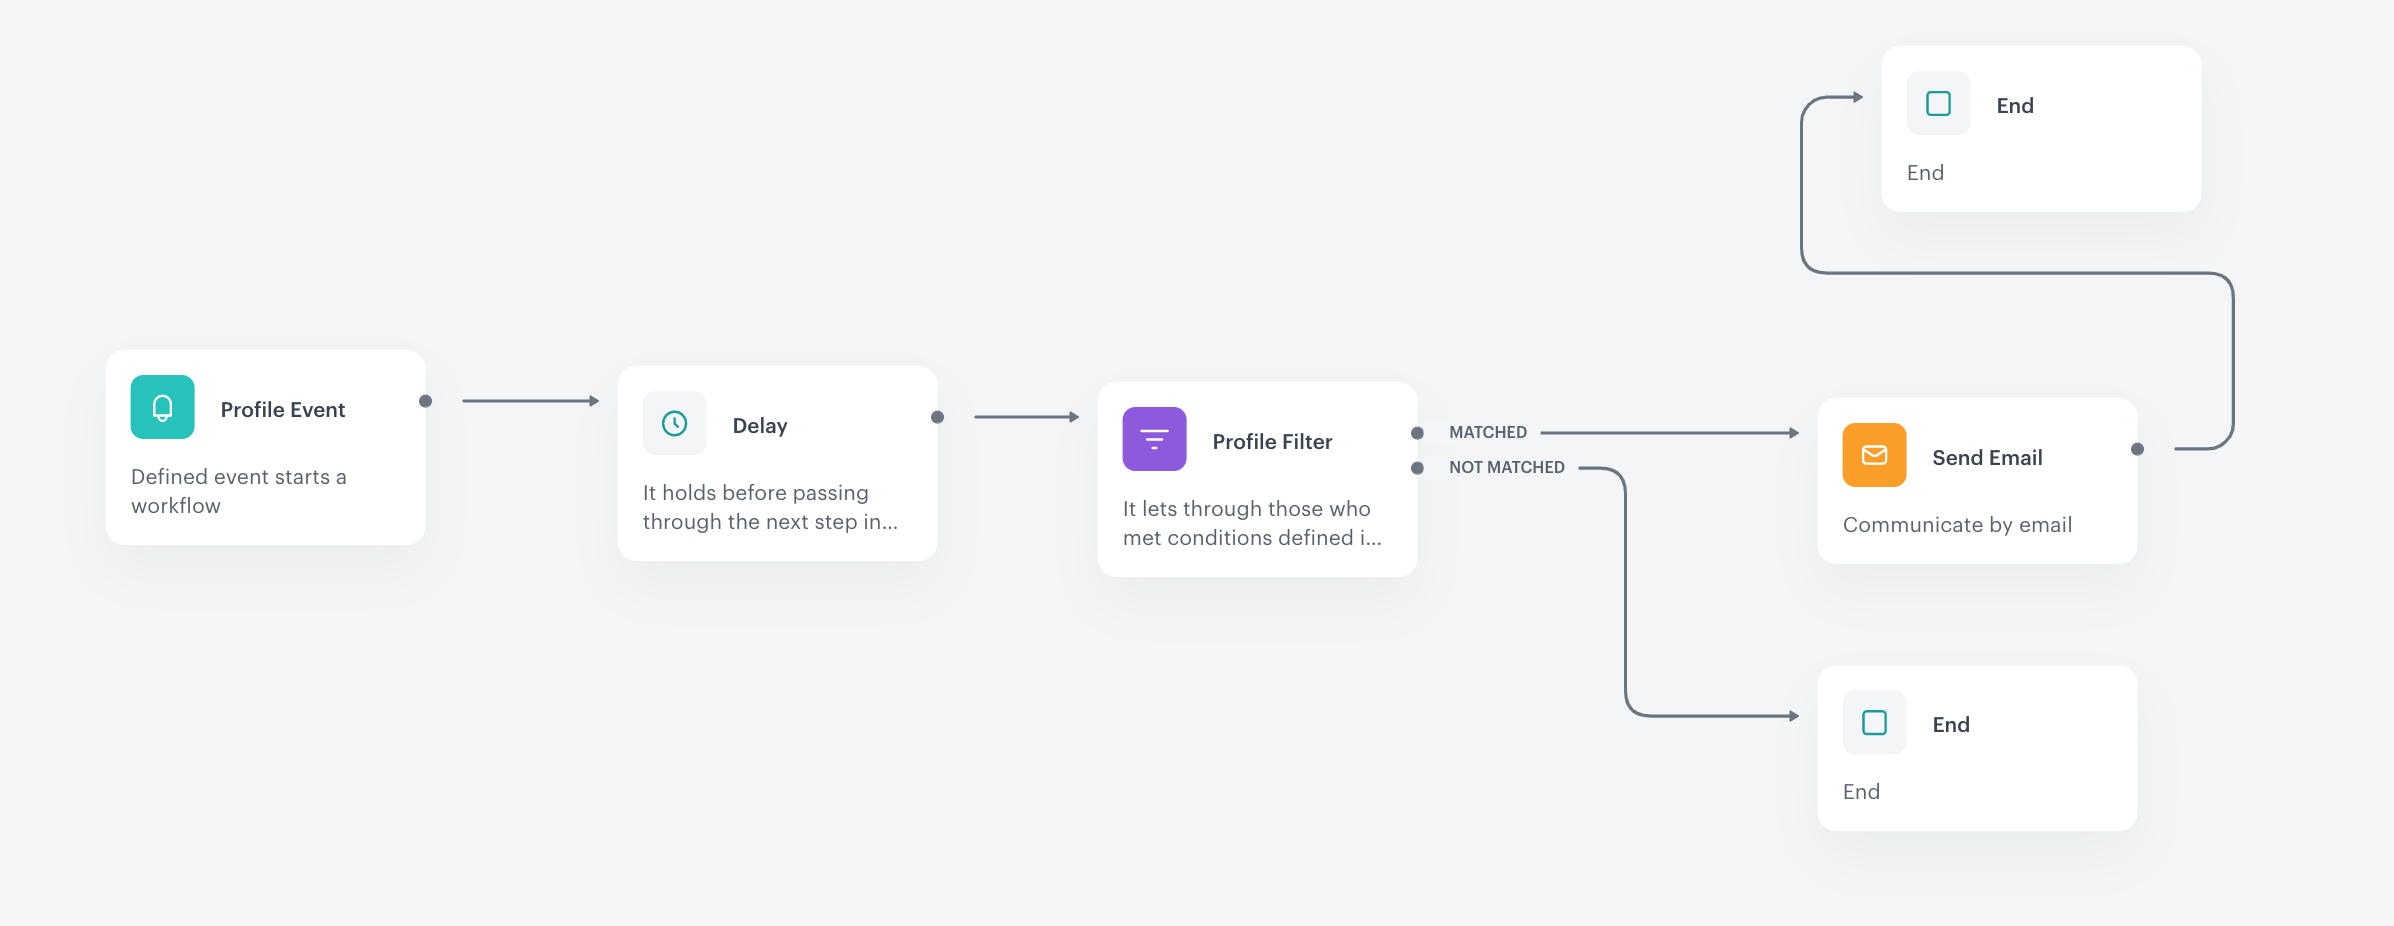
- Go to Automation > Workflow.
- Start with the Profile Event trigger and in the settings of the node, select the page.visit event.
- As the event parameter, select retailer_part_no - this way, the workflow starts only when a customer visits a product page. This way the workflow will be started only by a product page visit.

-
Add Delay and define the lag between the page visit and sending the message, in our example it is 2 hours.
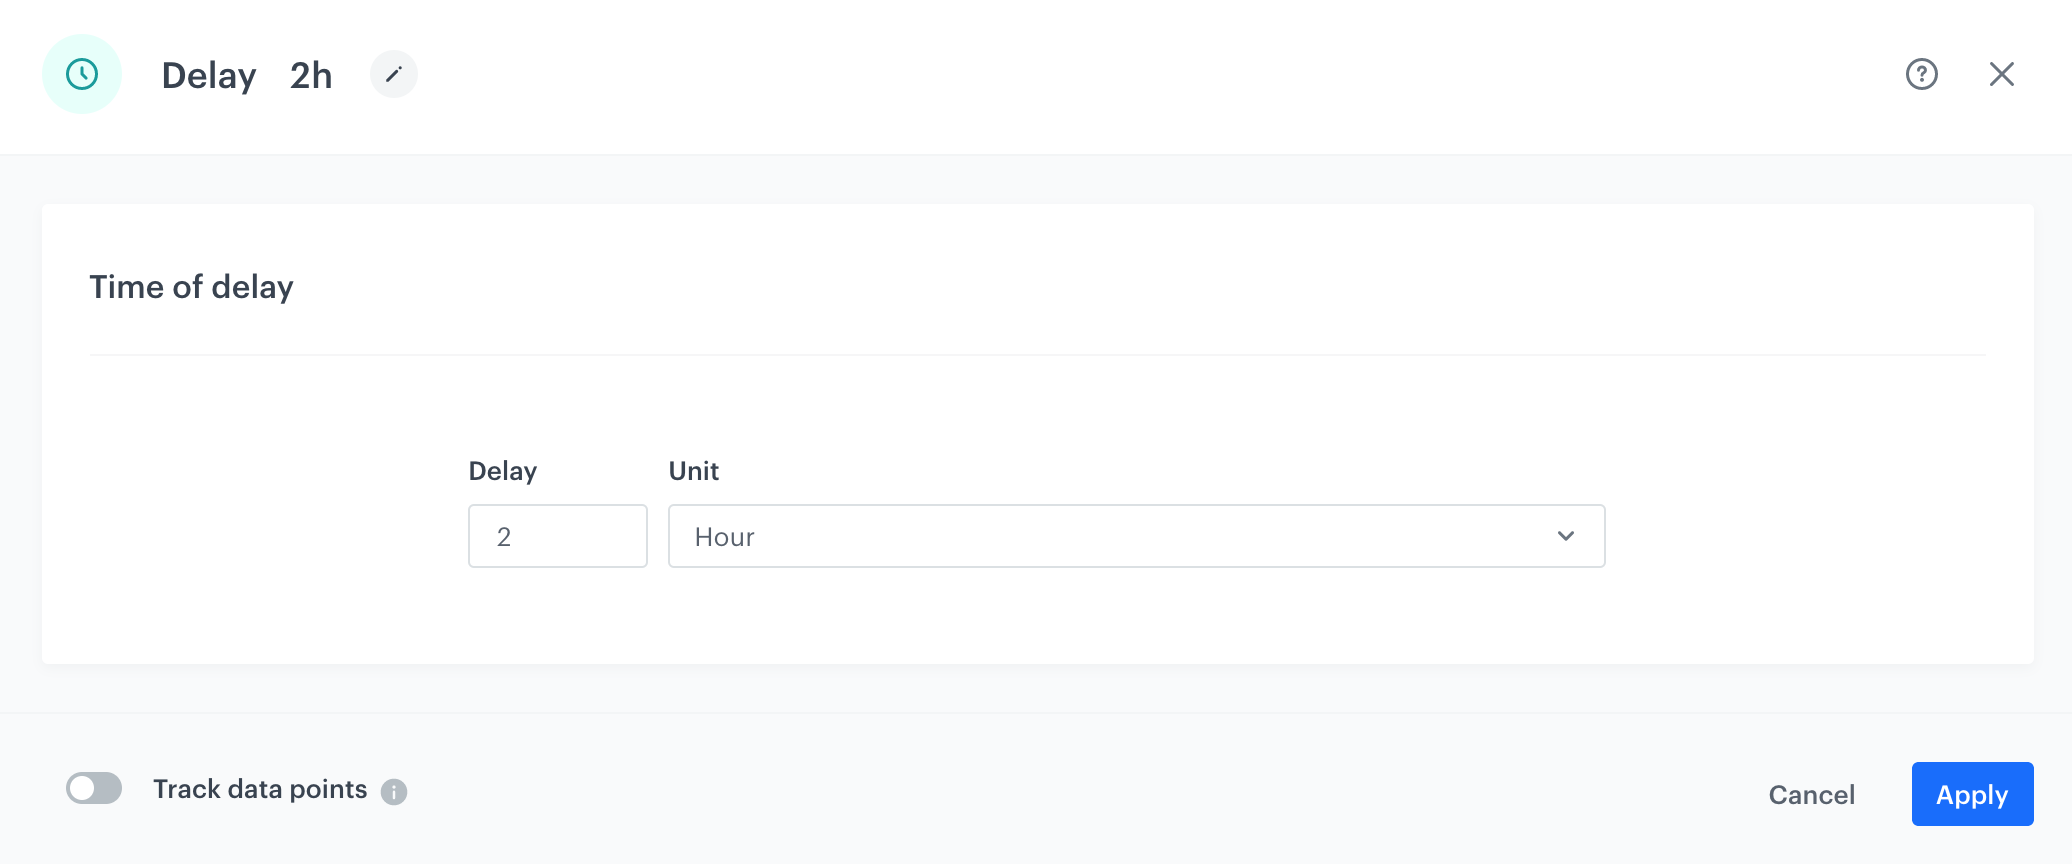
Configuration of the Delay node -
Using the Profile Filter node, exclude users who have made a transaction in the last 2 hours – it’s important to use minutes instead of hours.
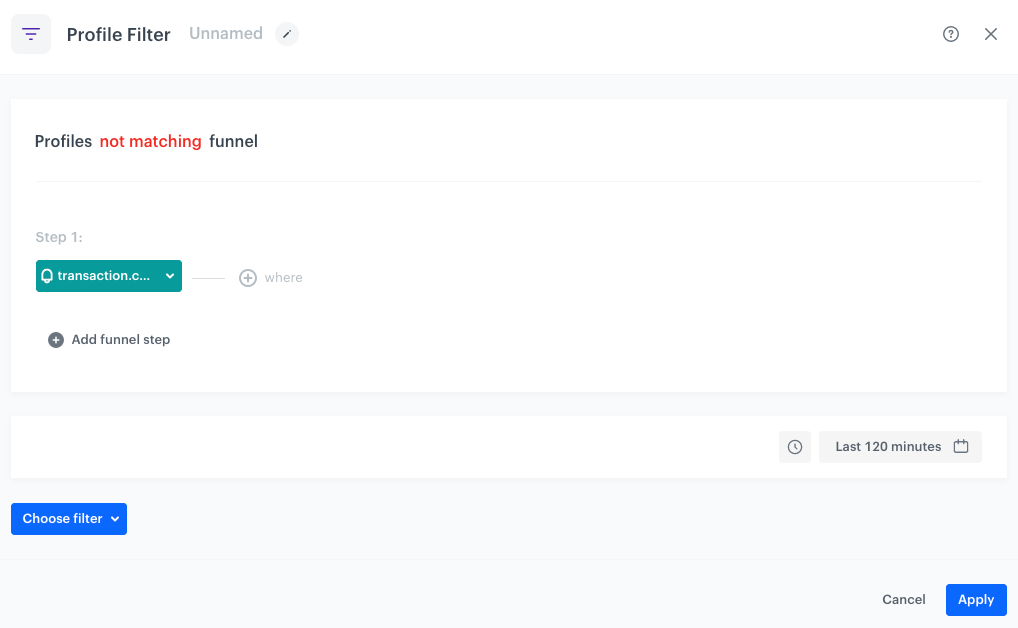
Configuration of the Profile Filter node -
Configure the Send Email node by selecting the appropriate email account, choosing the template that you prepared in the previous step.
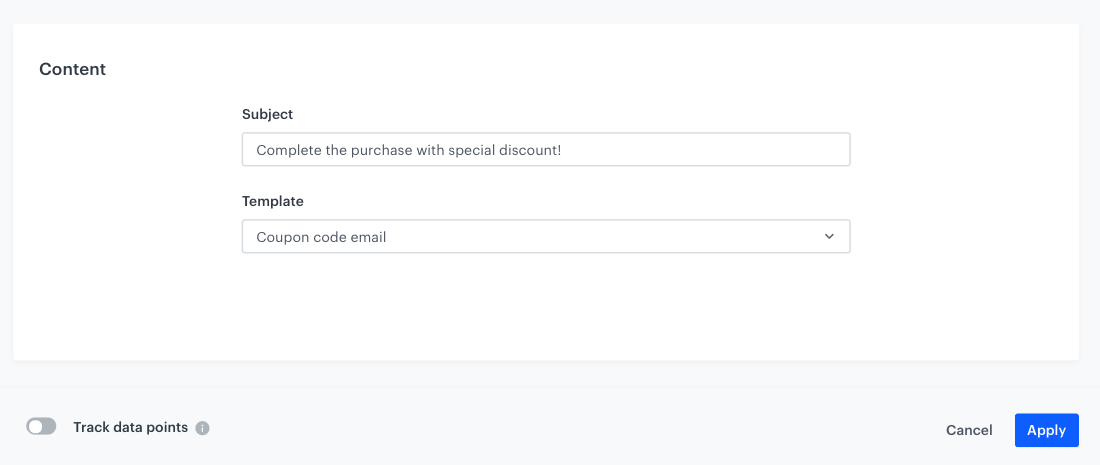
Configuration of the Send email node -
Specify capping to limit the number of coupons user will get (here it’s 1 for each 30 days).
-
Add End nodes where the workflow should finish for users.
-
Optionally, add titles to each node so the workflow will be more understandable for your colleagues.
-
Name the workflow and Save it or Save & Run.
Check the use case set up on the Synerise Demo workspace
Check the workflow in our Synerise Demo workspace.
If you don’t have access to the Synerise demo workspace, please leave your contact details in this form, and our representative will contact you shortly.