
Gender-based promotion
Gender marketing is a sales strategy used to reach out to women and men consumers by understanding their tastes, preferences and consumption trends. It involves the use of market segmentation and focuses on building specific strategies to reach out to female or male consumers, incorporating consumers’ gender-specific needs into communication. You can use gender-based promotions to advertise and sell your goods and services successfully.
This use case describes how to create a promotion for customers based on their gender with the use of segmentation.
Prerequisites
- Implement promotion module in your mobile application, website or through API
- Implement transactional events.
- Import your product feed to catalog.
Process
- Prepare two segmentations of customers based on the category of the products they already bought.
- Create two promotions based on gender.
Prepare two segmentations
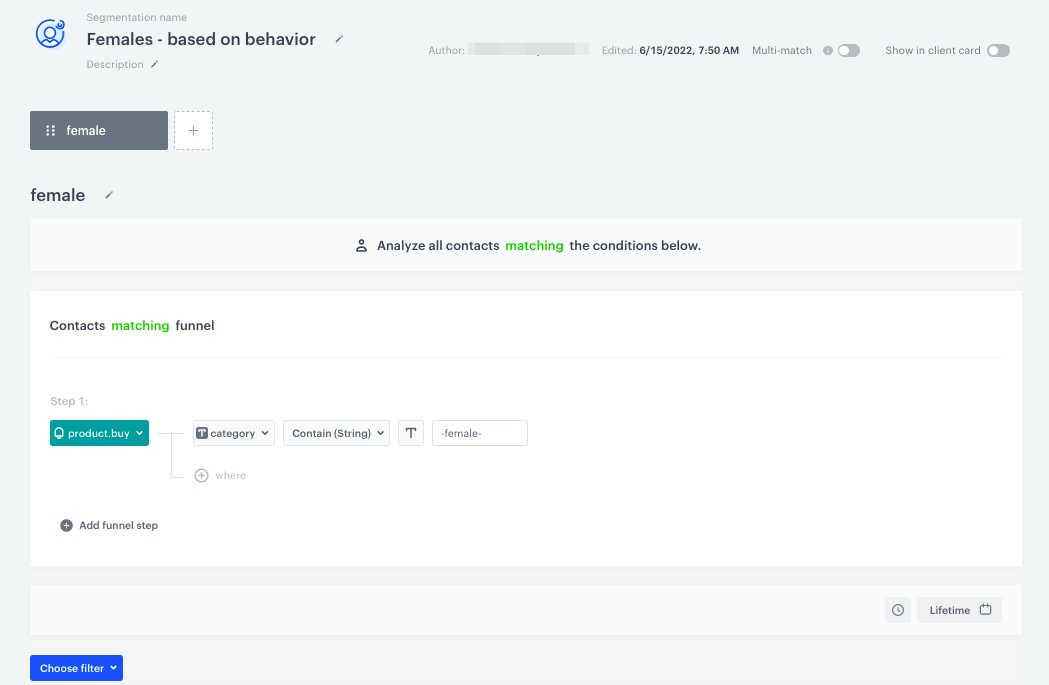
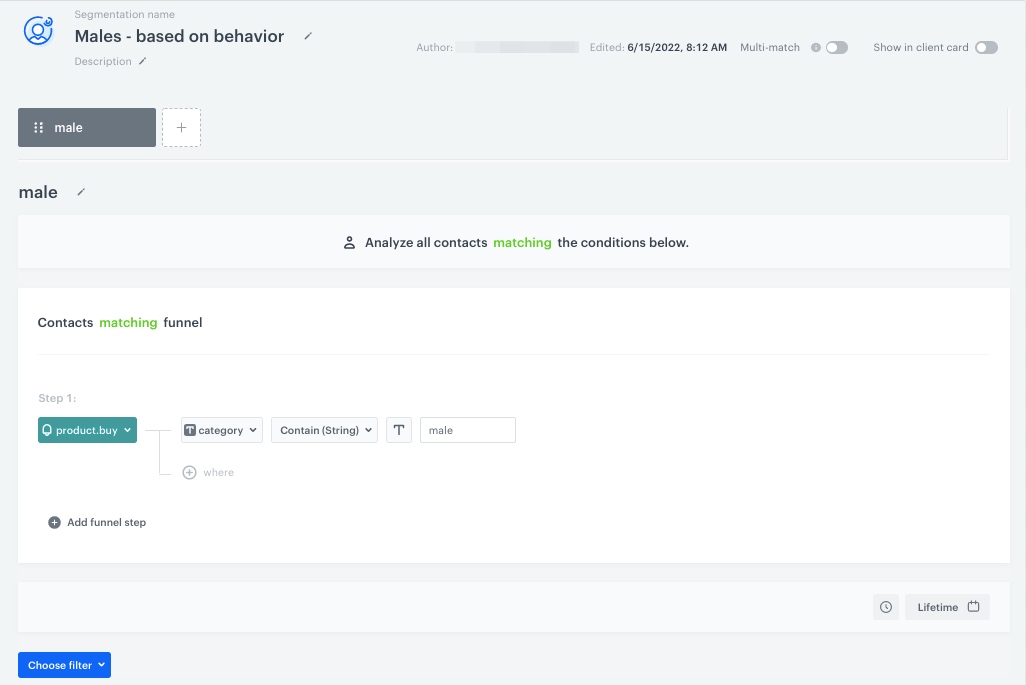
In this part of the process create two segmentations that will group customers based on the category of purchased items.
-
Go to
 Analytics > Segmentations > New segmentation.
 -
Enter the name of segmentation.
-
From the Choose filter dropdown list, select the
product.buyevent. -
From the Choose parameter dropdown list, select category.
-
From the dropdown list that appears, select the Contain operator.
-
In the next field enter the phrase “-female-” or “-male-”.
Tip: The construction of this condition depends on the implementation of transactional events and may vary. -
To determine the time range from which the data will be analyzed, click the calendar icon and choose the Lifetime time range. Confirm your choice with the Apply button.
-
Click Save.
-
To create the second segmentation repeat the process from steps 1 to 8.
Result: The segmentations are saved and can be used as an audience for promotions.
Create two promotions
-
Go to Communication > Promotions > Add promotion.
-
Enter a name for the promotion.
-
According to your business needs select one of the scopes:
- For selected items
- For entire basket
-
In the Audience section, choose Segments and select one of segmentations created in this step.
-
In the Content section:
- Define the name, description, and image of the promotion.
- Define the rest of the settings according to your needs.
- Confirm the settings by clicking Apply.
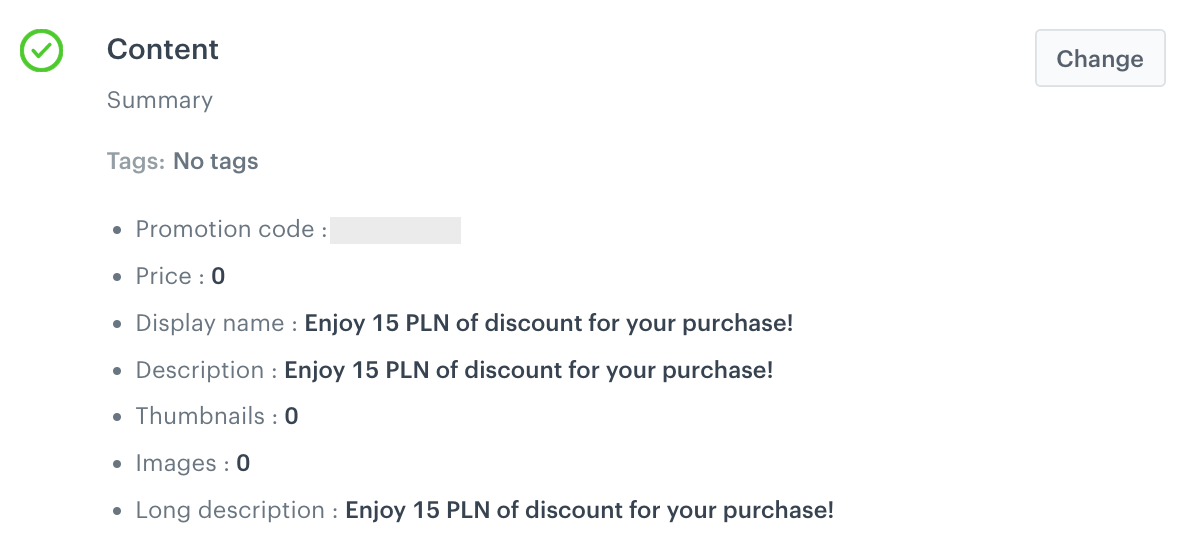
Example of promotion content -
Define the Type and limits section according to your business needs.
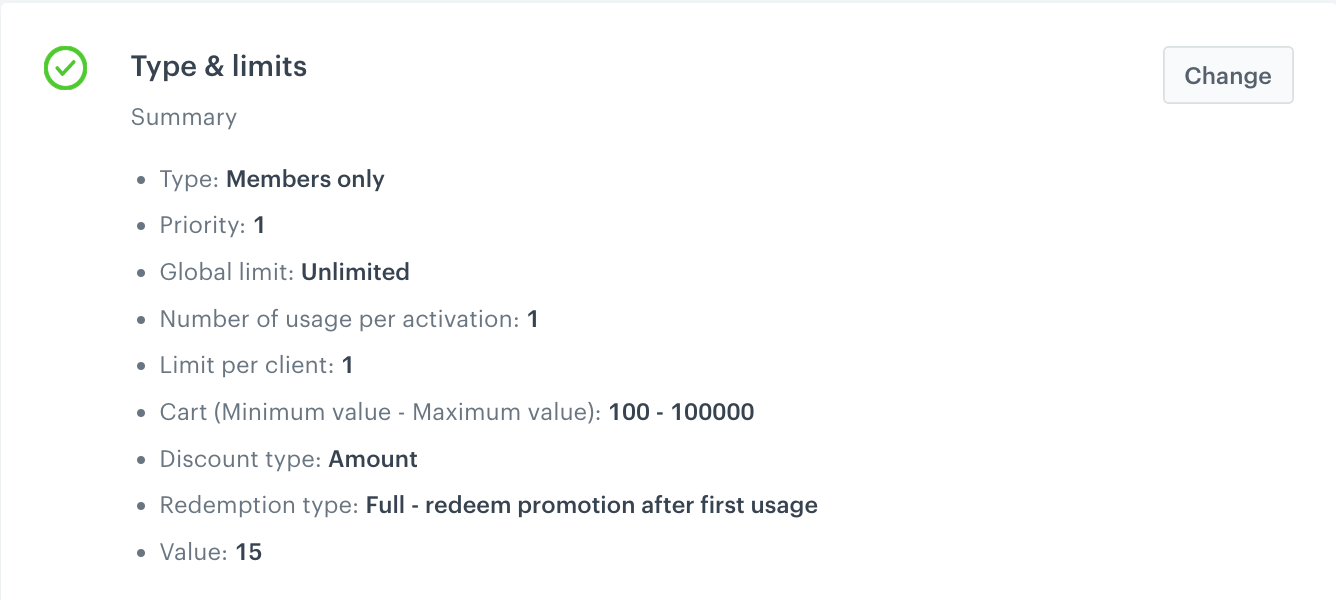
Example of Type and limits settings -
In the Schedule section, define the promotion distribution period according to your business needs.
-
In the Stores section, according to you business needs you can specify stores where the promotion is available.
Note: This is possible only if the list of stores is imported into a catalog. -
In the Items section, specify the catalog item to be discounted:
- In the Source catalog field, select an item catalog to select the promotional items from.
- In the Include items section, pick one according to your business needs.
-
To apply configuration and run the promotion, click Publish.
-
To create second promotion repeat all the steps.
Check the use case set up on the Synerise Demo workspace
You can check the configuration of the segmentations directly in Synerise demo workspace:
Here you can find the configuration of promotions, available on Synerise demo workspace:
If you don’t have access to the Synerise Demo workspace, please leave your contact details in this form, and our representative will contact you shortly.