
Slots with personalized brand recommendations in emails
An email is a great way to present a tailored offer to your customers. You can prepare a recommendation of items which match the preferences of each customer and distribute this offer by using emails.
This use case describes how to create such a recommendation and contains instructions on preparing an email template that contains the recommendation.
Prerequisites
- Implement a tracking code.
- Import a product feed to Synerise.
- Implement OG tags, required:
product:retailer_part_no(which is the same as<g:id>in the product feed). - Configure an item feed for recommendations - initiate the personalized model training.
Process
In this use case, you will go through the following steps:
Create AI recommendation
In this part of the process, you create a recommendation that will display items of a different brand per slot. The selection of items will be adjusted to the preferences of an individual customer.
- Go to Communication > Recommendations > Add recommendation.
- Enter the name of the recommendation (it is only visible on the list of recommendations).
- In the Type & source section, click Define.
- From the Catalog dropdown list, select a product feed for which the model training is completed.
Tip: You can learn more about the statuses of the model training here. - Select the Personalized recommendation type.
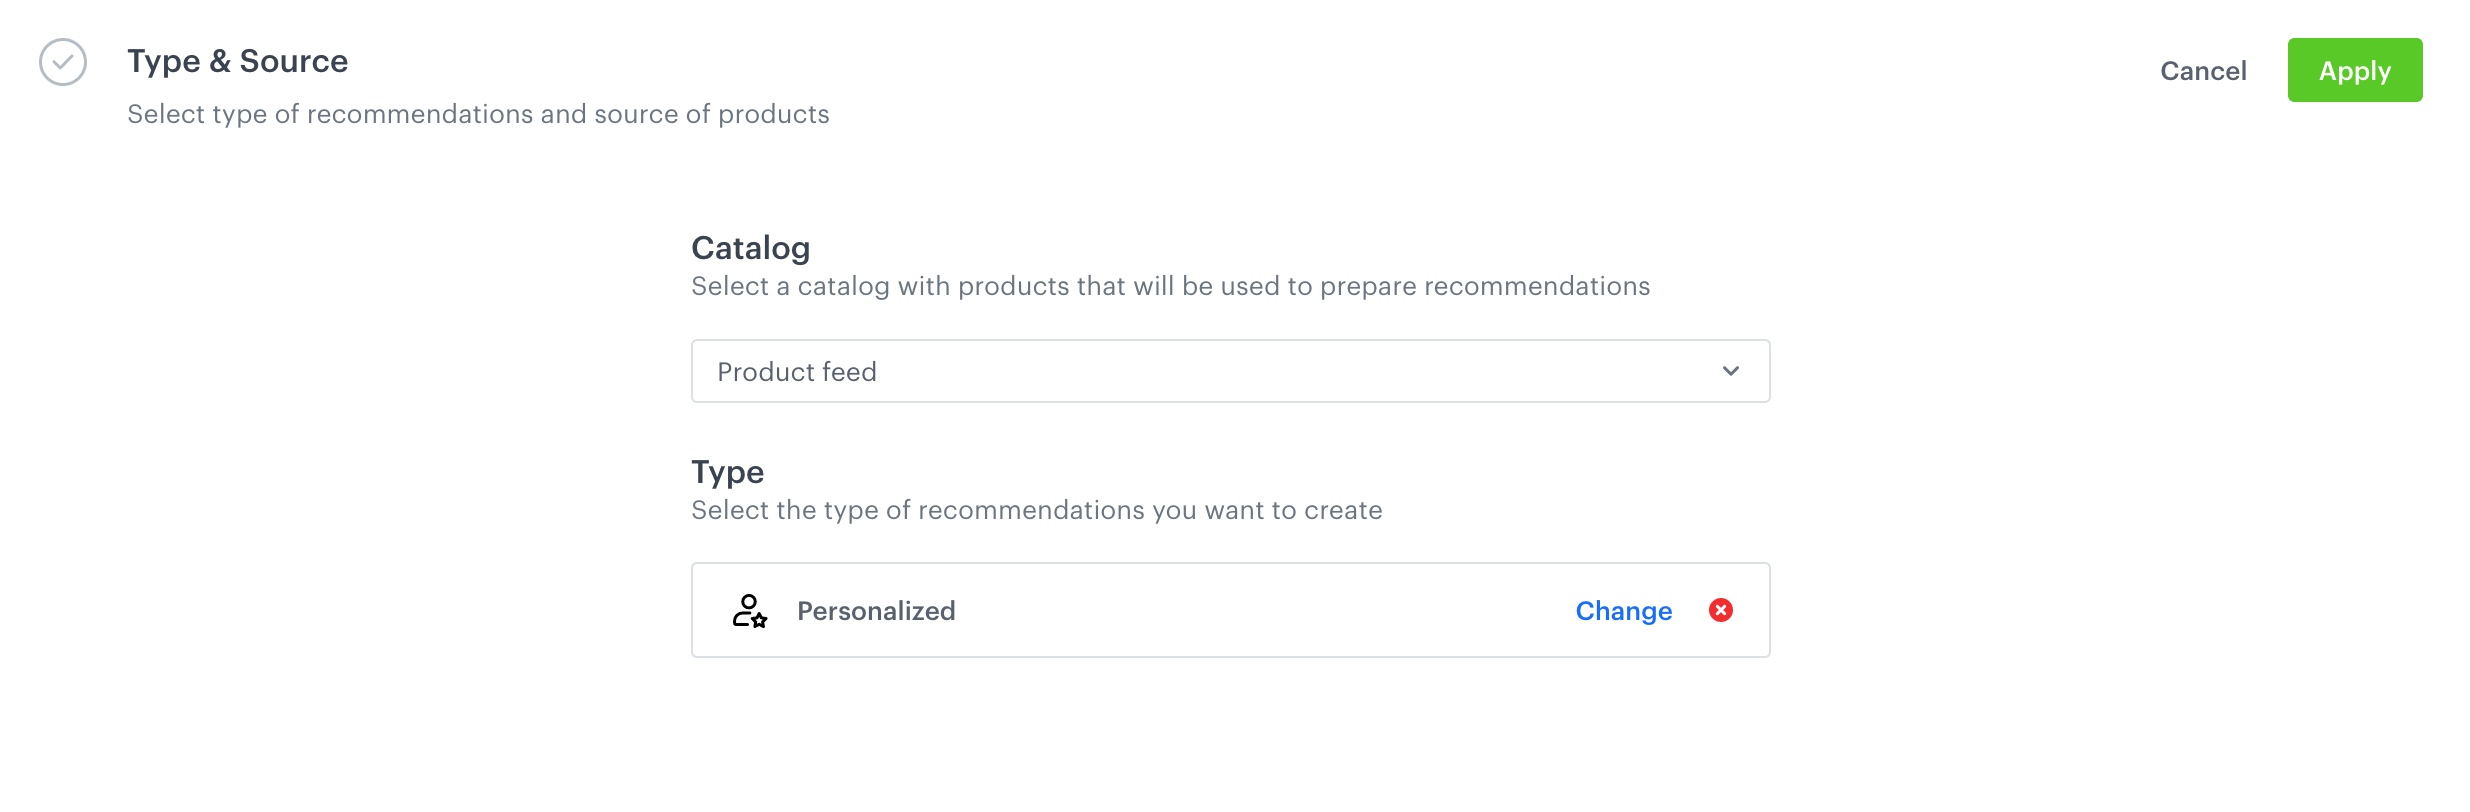
Configuraion of the catalog and recommendation type section - Confirm by clicking Apply.
- In the Items section, click Define.
- Click Add slot.
- Click the slot you added. Optionally, you can rename it.
- Define the minimum and the maximum number of products displayed in the slot according to your needs.
Tip: Learn more about the recommendation settings. - In Static filters, set the following parameters:
availabilitytotrue- it shows only available products,brandto a brand of your choice, for example,brand equals Acme.
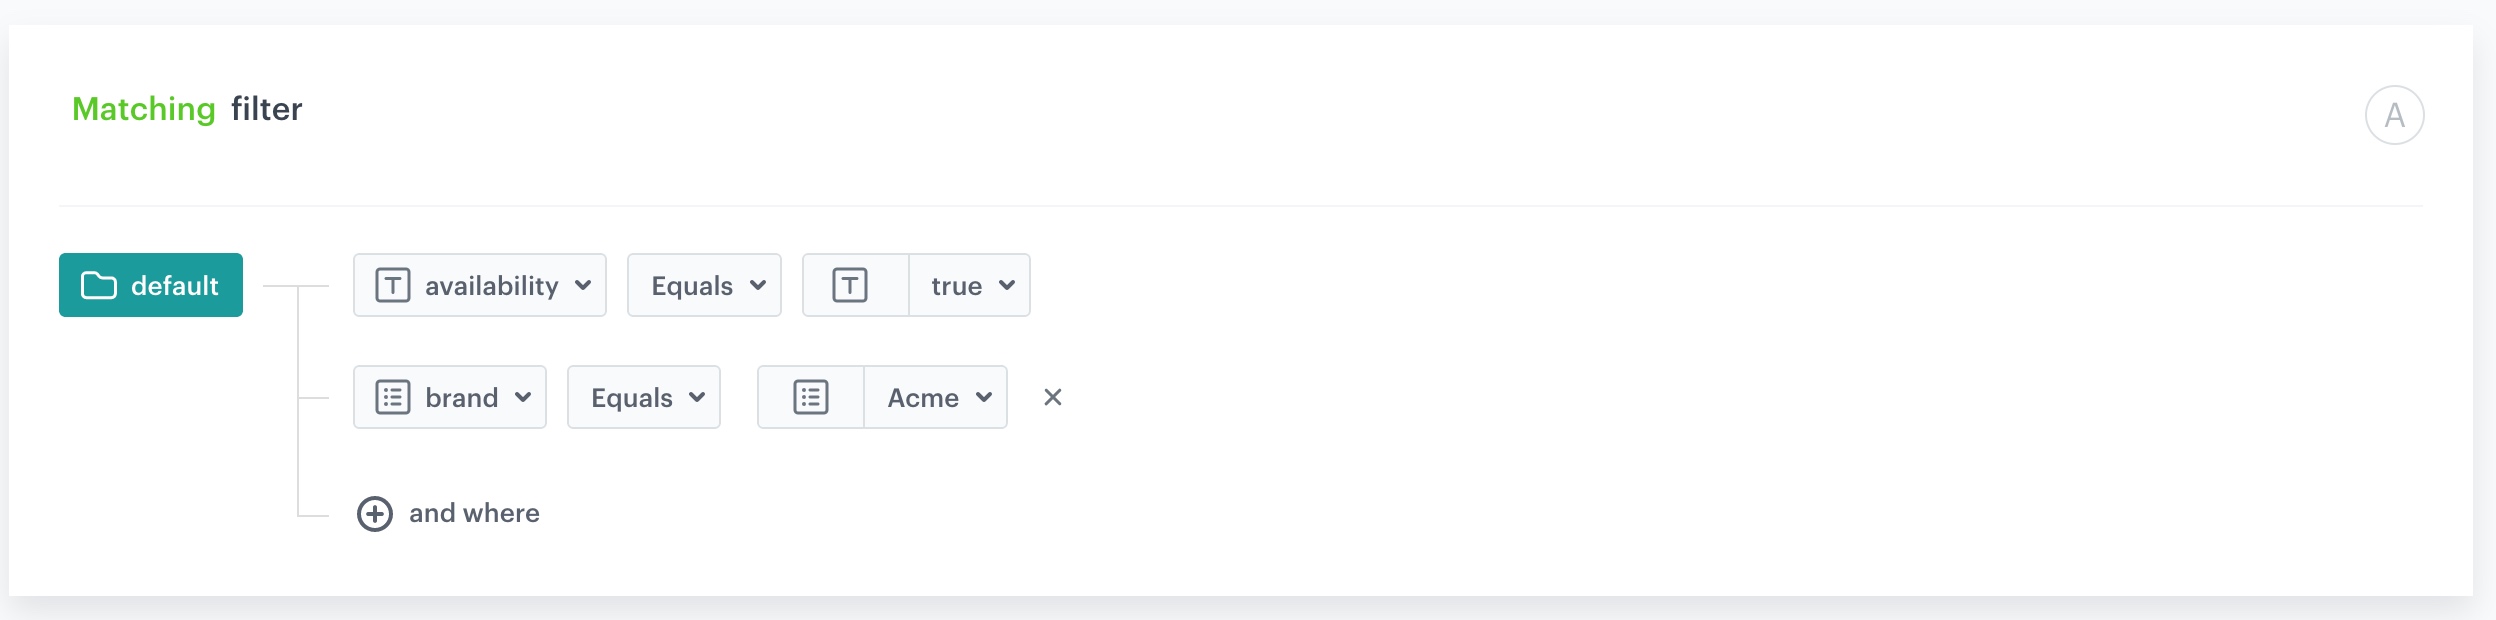
Configuraion of the filters - Click Add slot and repeat steps b-d. In step d, select different brands.
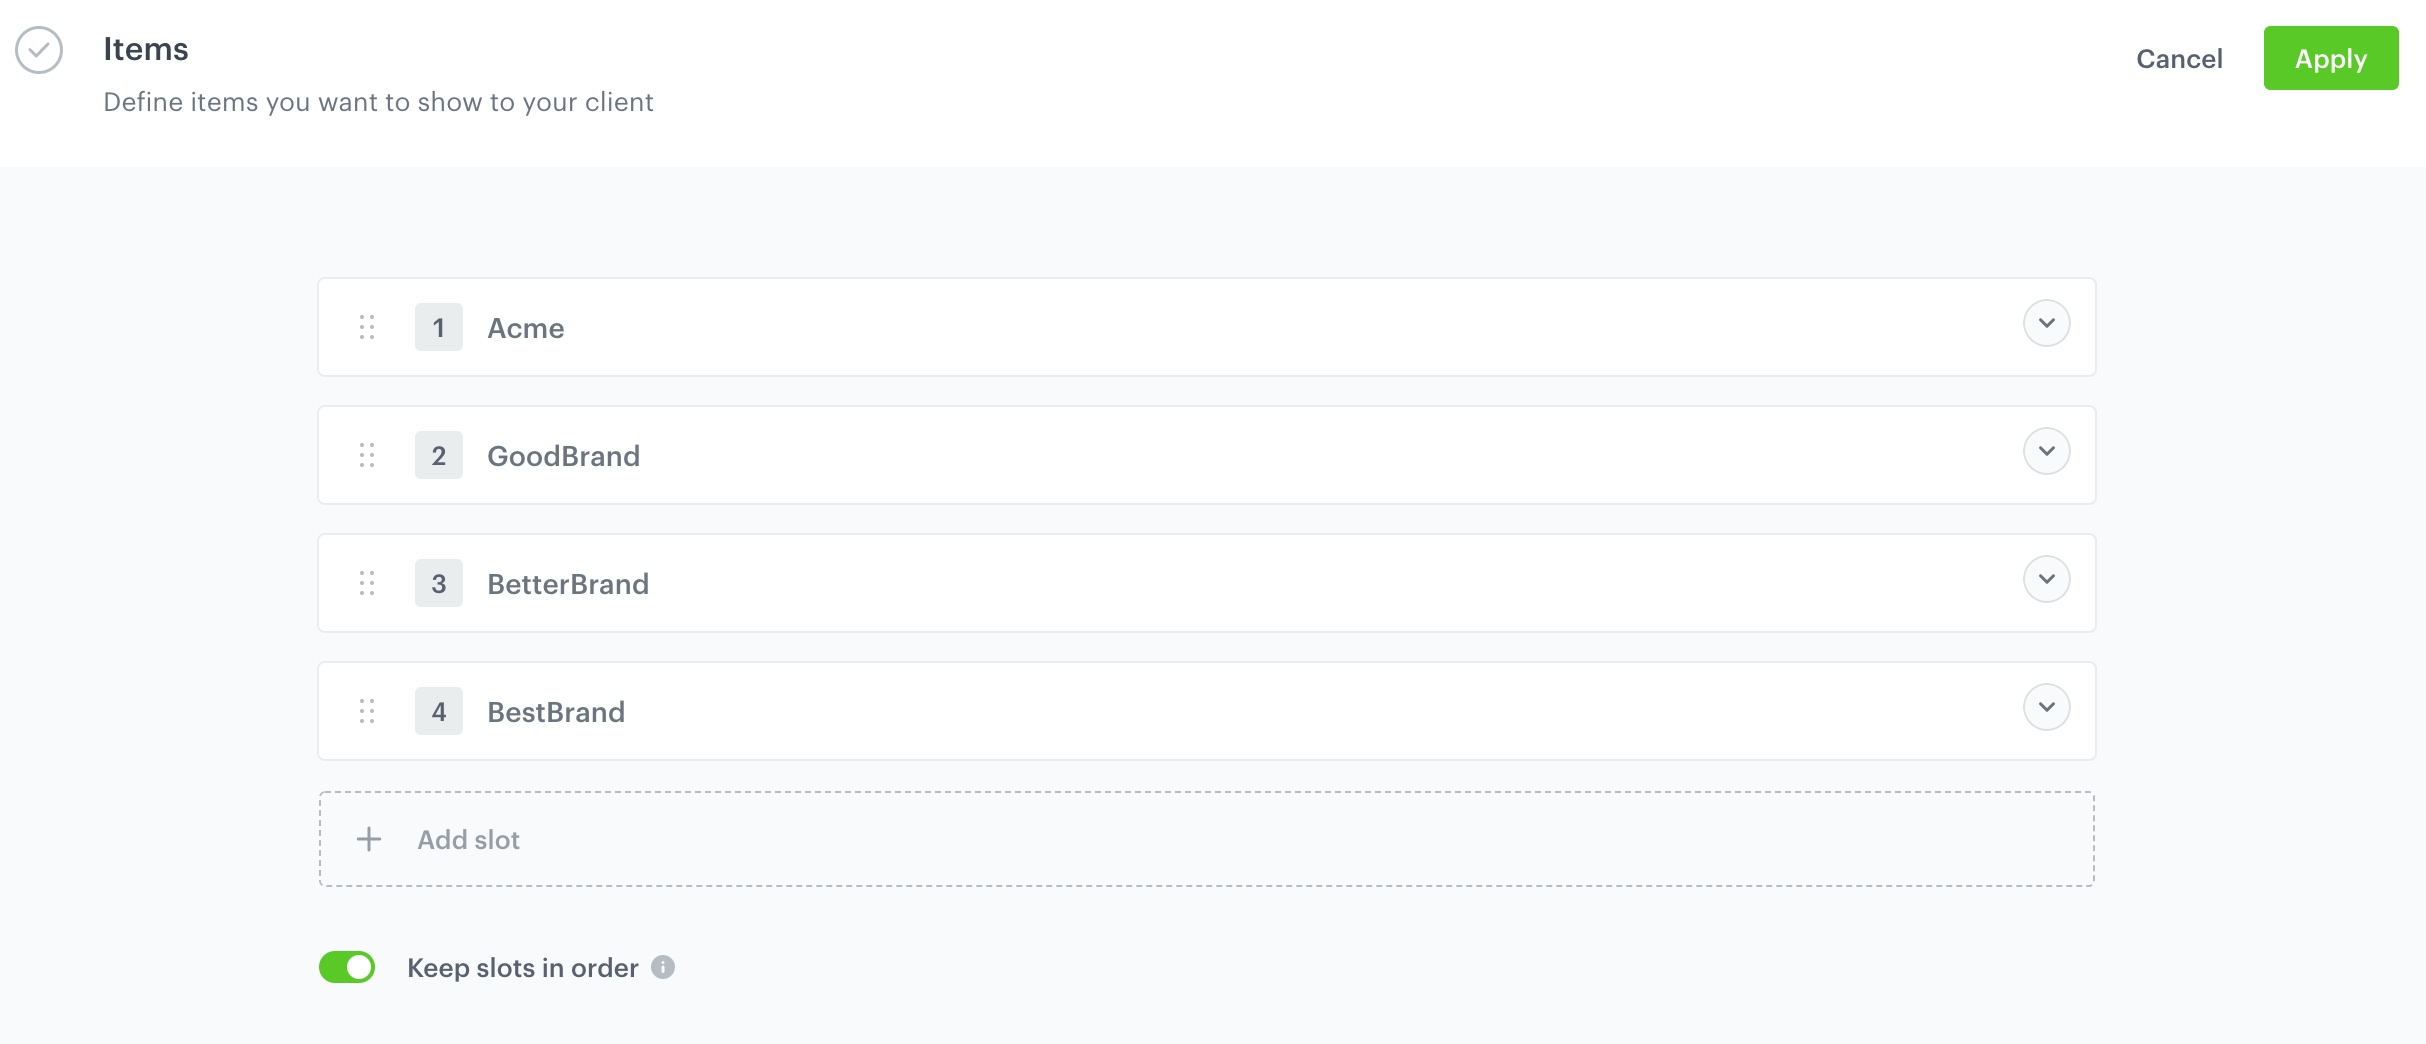
Final configuraion of the items section - Confirm by clicking Apply.
- Optionally, you can define the settings in the Boosting and Additional settings sections.
- Save the recommendation by clicking the Save button in the upper right corner.
Prepare an email template
In this part of the process, you create an email template that contains a Jinjava code that contains the recommendation you created in the previous step. Before you start reating a template, obtain the ID of the recommendation you created in the previous part of the process (in the URL of the recommendation).
- Go to Communication > Email.
- On the right side, click Templates.
- Select the Code editor.
- Enter the name of the template.
- In the HTML section, paste the following Jinjava code.
{% recommendations3 campaignId=insert_recommendation_ID %} {% for slot_products in slots_products3 %} {% for item in slot_products.items %} {{ item.itemId }} {% endfor %} {% endfor %} {% endrecommendations3 %} - Replace
insert_recommendation_IDwith the ID of your recommendation. You can find the ID in the URL of the recommendation. - Adjust the content and design of your message using CSS.
- Click Save this template > Save as.
- Select the template folder in which the template will be saved.
- Confirm by clicking Apply.
What’s next
You can use such template in an email campaign which you can send manually or you can prepare a workflow in the Automation module and use it as a part of your business scenario.