Create an automation to reduce churn
Prediction results are saved as events to customer cards. Thanks to this, a prediction can be used as a parameter in a segmentation that is the audience of a workflow.
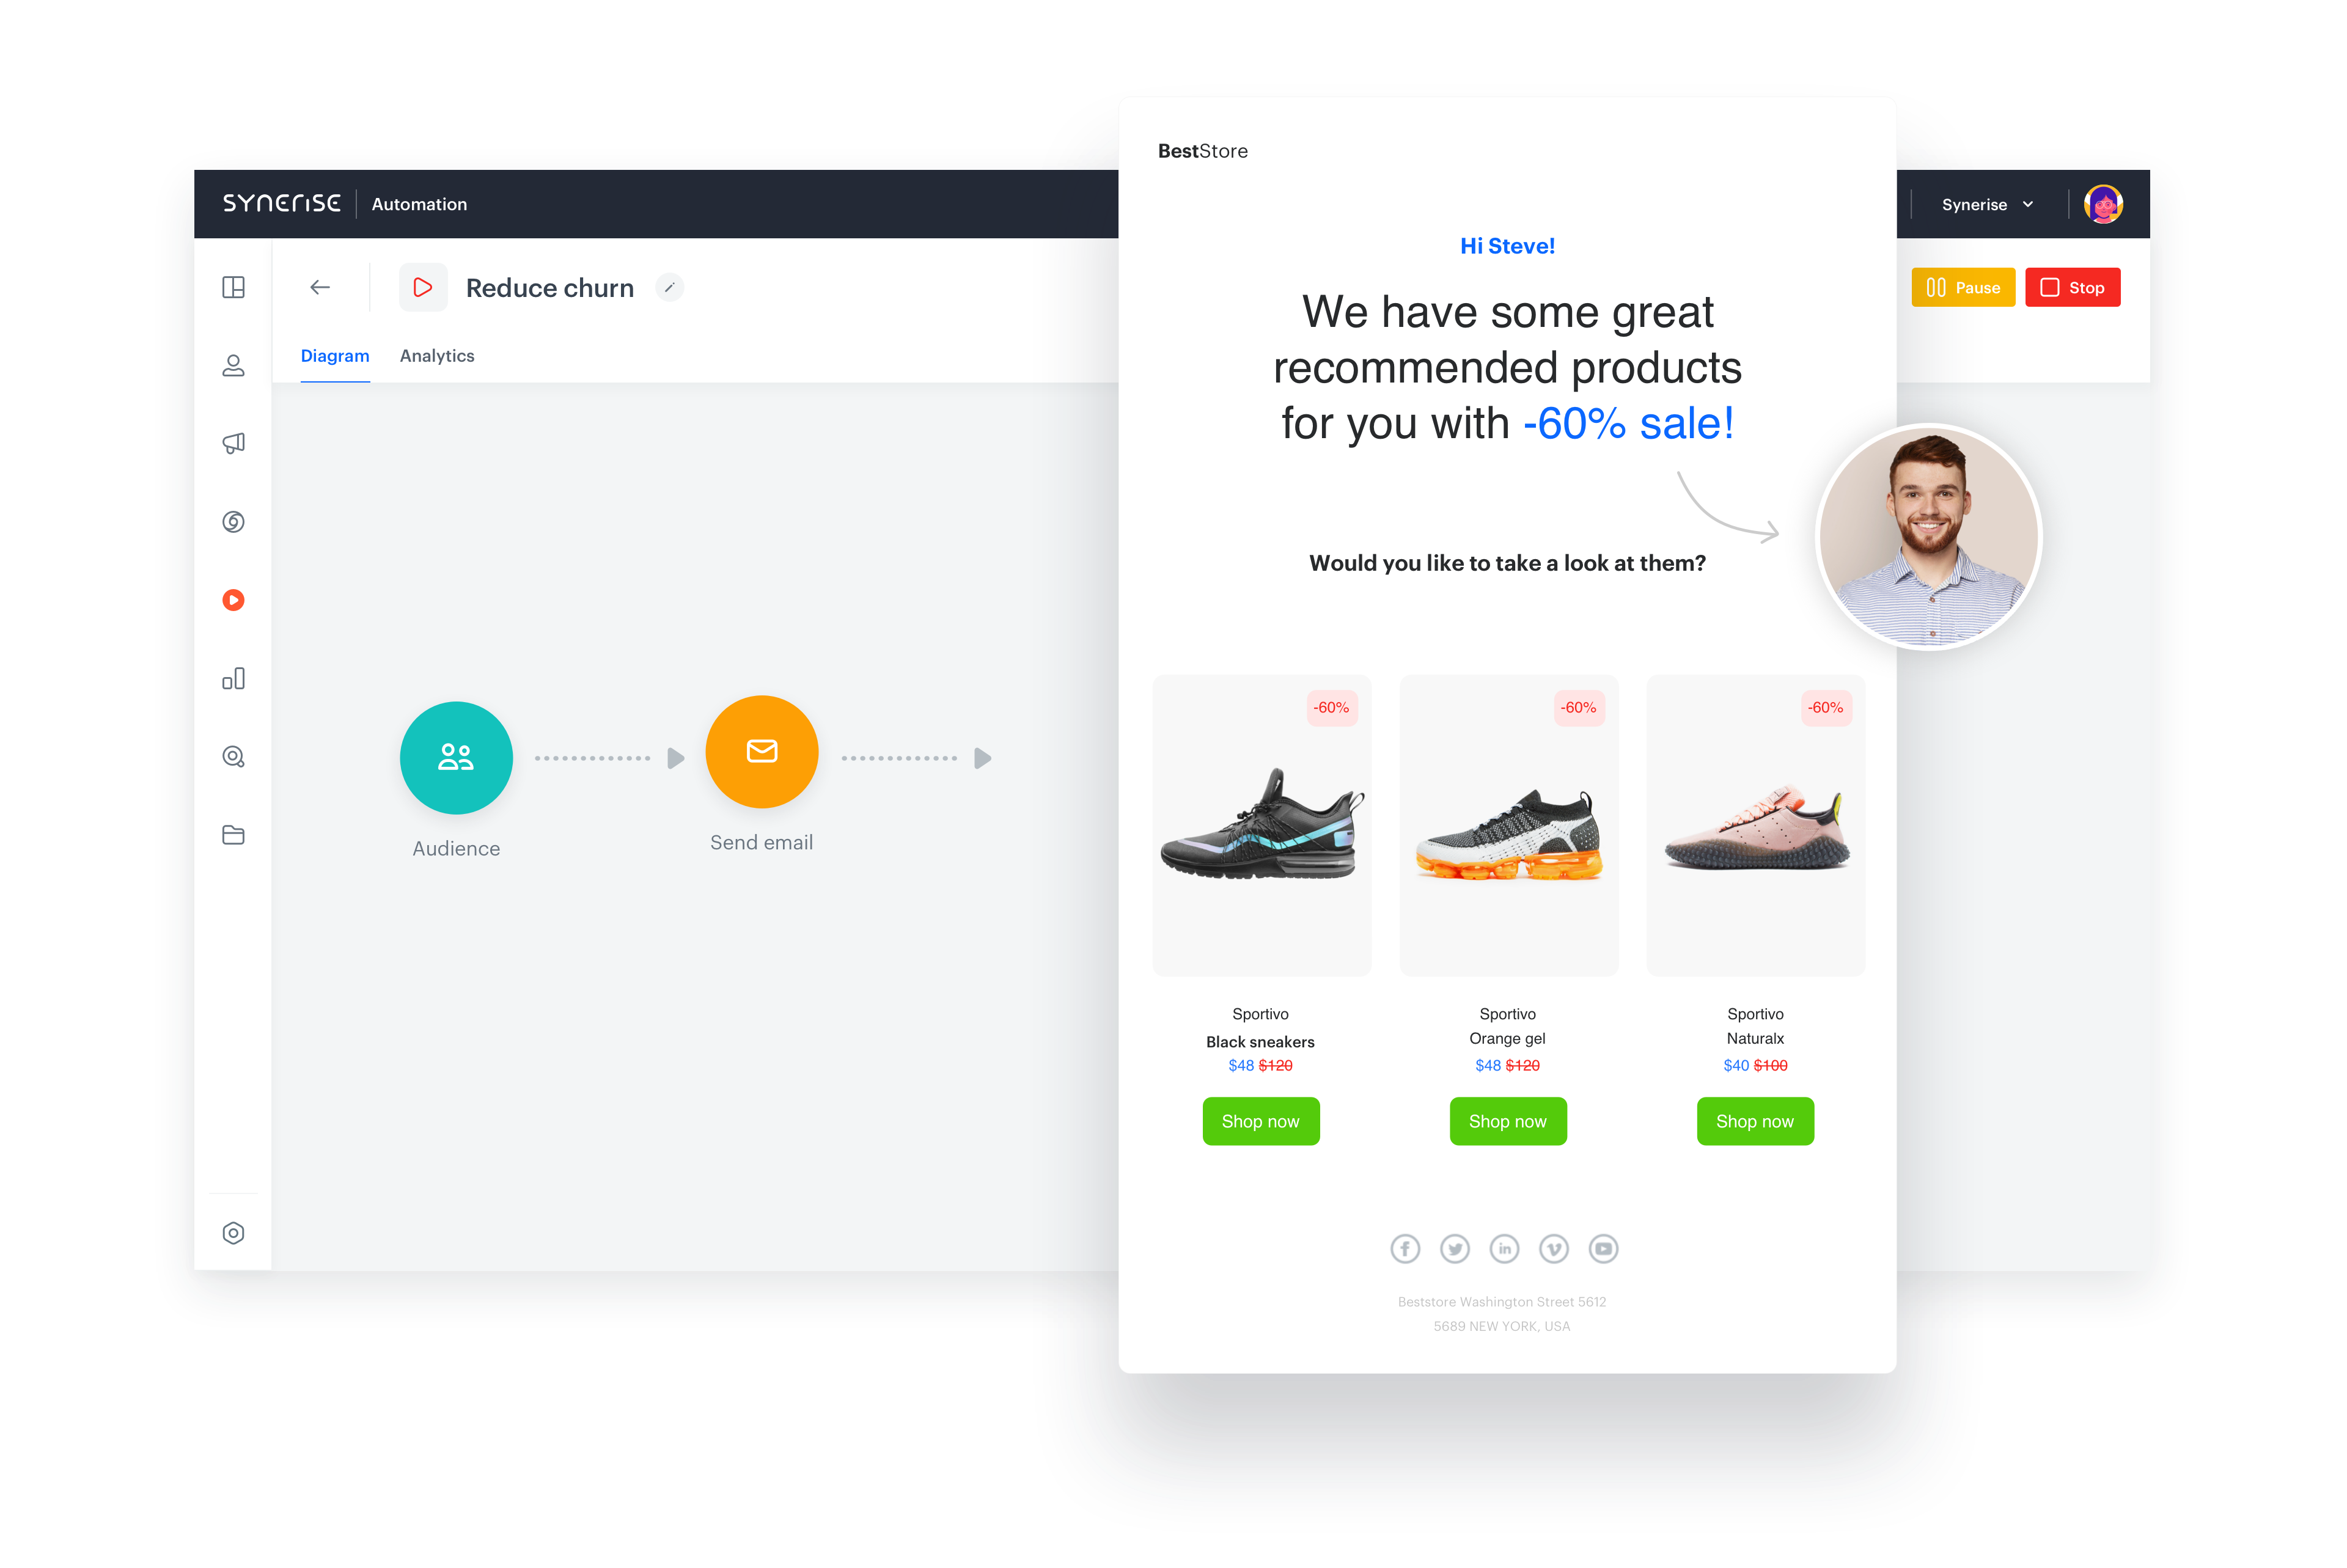
The number of uses for churn prediction is practically unlimited. In this example, an email is sent automatically to every customer for whom the risk of churn is calculated as high after completing the prediction described in Predict churn.
Prerequisites
- Prepare a churn prediction (for example, as described in Predict churn).
- Prepare the template for the email you want to send to customers who are at risk of churn, as described in Creating email templates.
Process
Create a segment based on predictions
In this stage, you create a segment of customers who are at high risk of churn. The segment will be used in an Audience Trigger for a workflow.
- Go to
 Analytics > Segmentations > New segmentation.
 - Give the segmentation a meaningful name, for example
Customers at risk of churn. - Click Choose filter and select the
snr.prediction.scoreevent.
Tip: The event may have a custom label in the list, but can always be found by entering the system name (snr.prediction.score) in the search field. - Add the following conditions to the event:
score_labelparameter equalsHighmodelIdparameter equals the ID of the prediction you want to use.
Tip: The model ID can be copied from the menu in the Prediction list.
- Click Save.
Result: The segmentation is saved and can be used in automations, analytics, and more.
Create workflow to message customers at risk of churn
- Go to
 Automation > Workflows > New workflow.
 - Add an Audience trigger node.
- In the settings of the node, as the audience select the segment you created earlier.
- Save the node configuration.
- Add a Send email node.
- Configure the sender and prepare the content as described here.
- Save the node configuration.
- Add and End node.
- Perform one of the following actions:
- If you want to send the messages immediately, click Save & Run.
- If you want to send the messages later, click Save.
Result: When the workflow starts, a message is sent to all customers who belonged to the segmentation at the time of starting the workflow.
What’s next
You can configure the workflow differently, for example by:
- using the prediction event as a trigger,
- sending other types of messages,
- adding more conditions to the audience filter,
- and more nodes, depending on your business scenario and familiarity with the Automation module.
Check the use case set up on the Synerise Demo workspace
You can find the analyses created in this use case in our Synerise Demo workspace at the following links:
If you don’t have access to the Synerise Demo workspace, please leave your contact details in this form, and our representative will contact you shortly.