
Send customers from Synerise to Custom Audience in Facebook
Synerise enables you to collect data from various sources and create advanced analyses based on this data. In short, Synerise enables you to gain insights from your data as well as create segments. The power of Synerise is that not only it allows you to gather, process and analyze data but also it lets you reuse it in the external sources.
In this use case, you will use the native Facebook integration in the Automation module to send a group of customers who were active in the web and mobile channels during last 30 days to Custom Audience.
Prerequisites
- Generate the system user access token in Facebook; as the
scopevalue, selectads_management. - Create Custom Audience in Facebook.
Process
To send Custom Audience, follow the steps listed below in the following order:
- Create a segmentation of customers who are the most active in the web and mobile channels during last 30 days.
- Create a workflow in which you will send the group of customers to Custom Audience in Facebook.
Create a segmentation
As the first part of the process, create a group of customers who were active in the mobile and web channels during last 30 days. The segmentation includes only customers with an email address. In the further part of the process, this group will be exported to Custom Audience in Facebook.
-
Go to
 Analytics > Segmentations > New segmentation.
 -
Enter a meaningful name of the segmentation.
-
Click Choose filter.
-
From the dropdown list, select the session.start event.
-
As the time range, set Last 30 days.
-
Click Choose filter.
-
From the dropdown list, select the screen.view event.
-
As the time range, set Last 30 days.
-
Click Choose filter.
-
From the dropdown list, select the Email address attribute.
-
As the logical operator, by clicking
 icon, select Is true.
 -
Connect these conditions by the And operator.
-
Click Save.
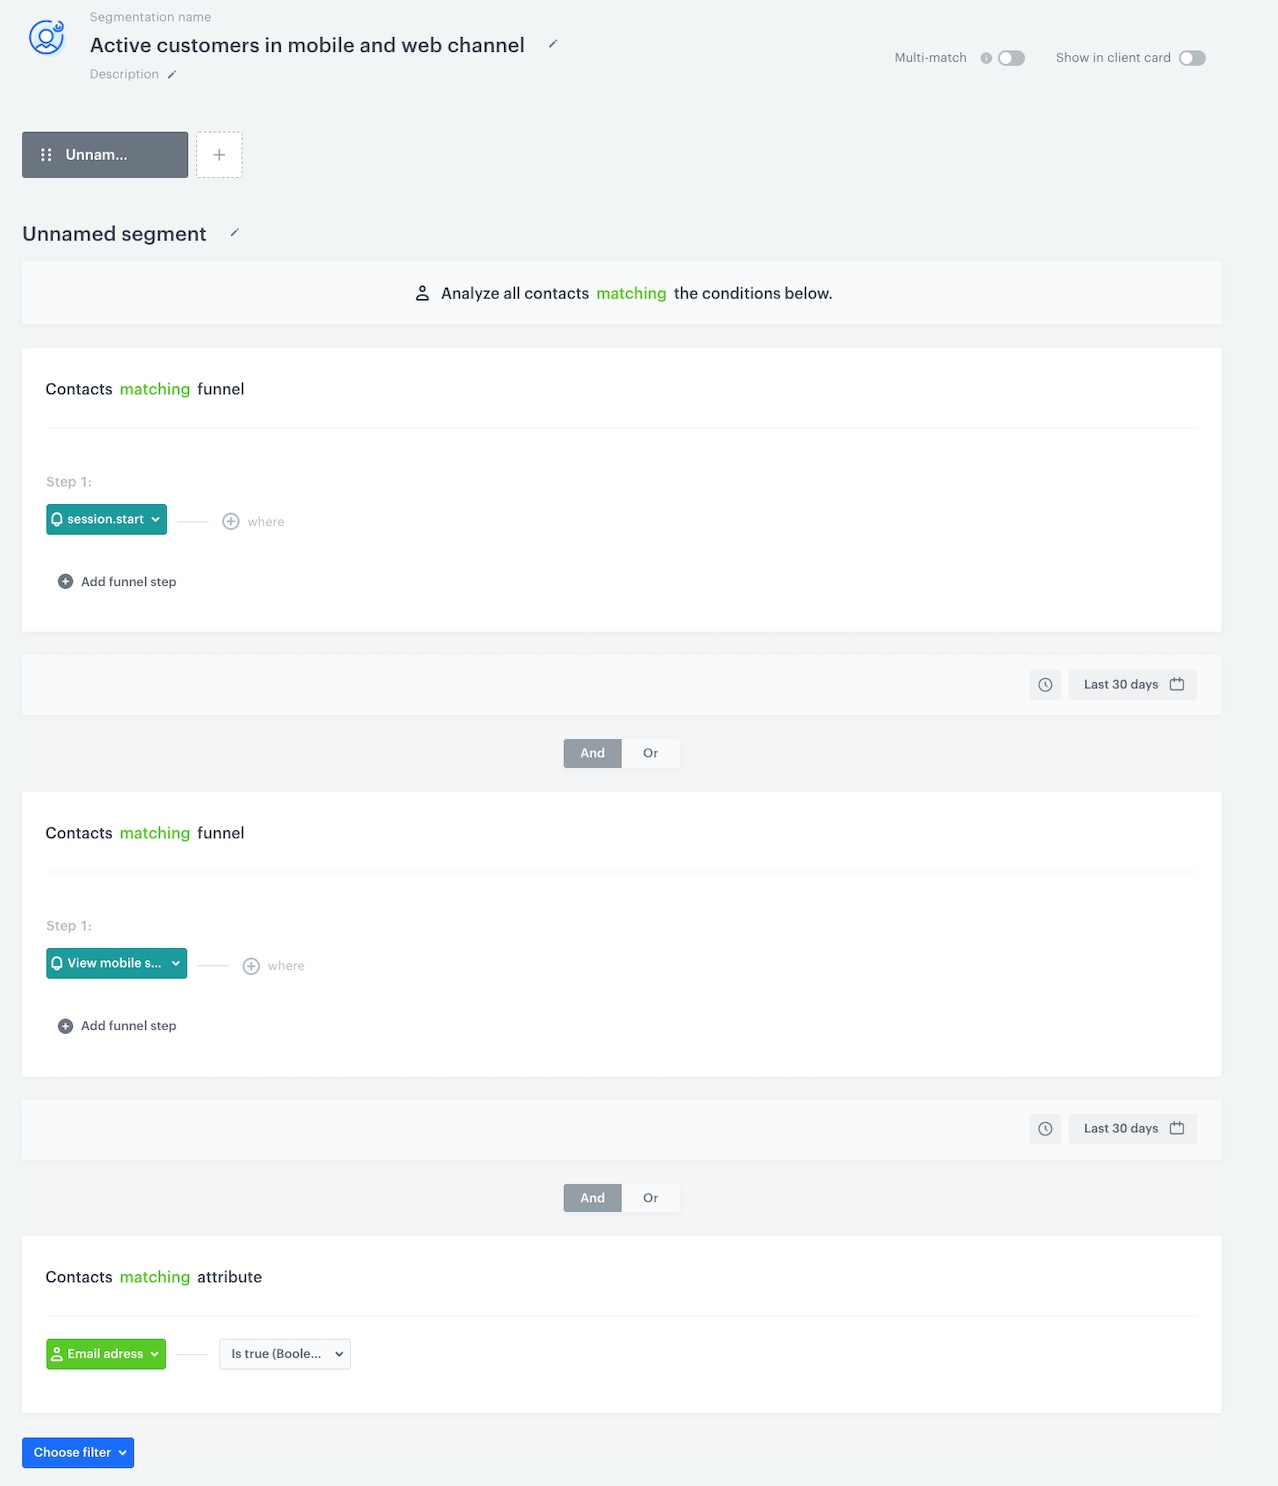
The configuration of the segmentation
Create a workflow
In this part of the process, create a workflow for the group of customers you created in the previous step. This workflow sends the group of customers to Custom Audience in Facebook.
Choose the segmentation of customers
- Go to
 Automation > Workflows > New workflow.
 - On the dashboard, click the plus icon.
- From the dropdown list, select Audience.
Results: The Audience node is added to the dashboard. - Double-click the node.
Result: A pop-up appears. - Leave the Run trigger option at default.
- Click the Select segment button.
- From the dropdown list, select the segmentation you created in the previous step.
Result: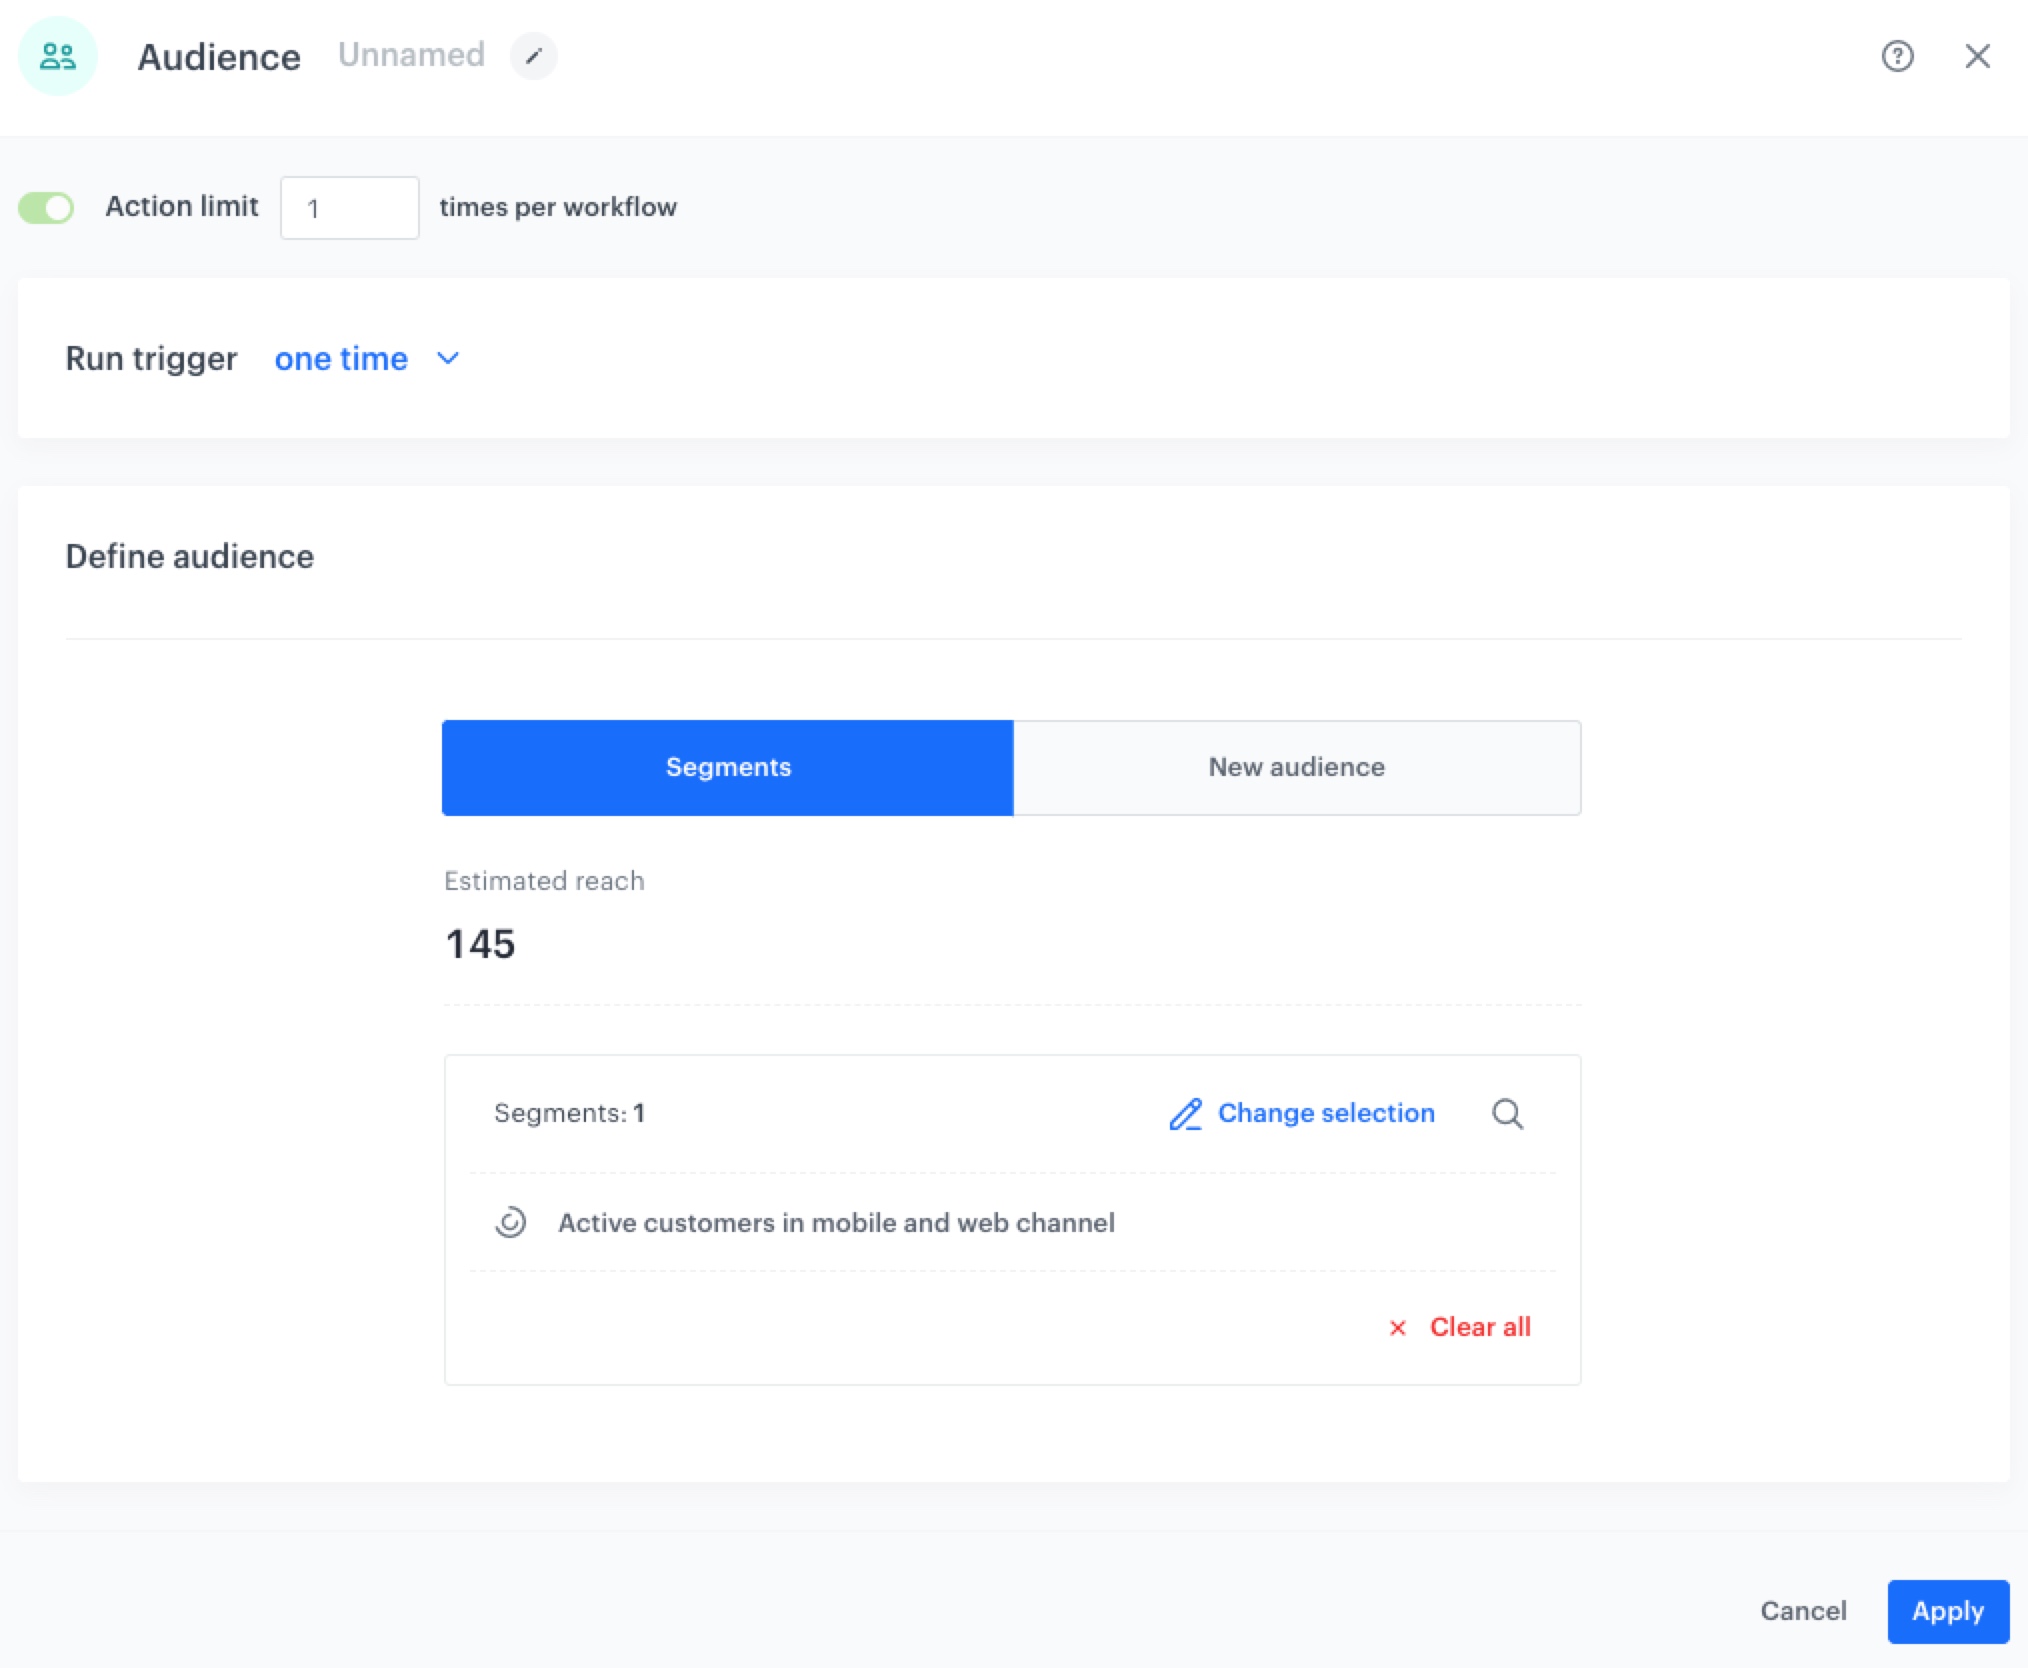
The configuration of the Audience node - Click Apply.
Configure the Facebook integration
- Click the plus button on the Audience node.
- From the dropdown list, select the Add profiles to Custom Audience node.
- Double-click the node.
- From the Select connection dropdown list, select an existing connection which allows you to authorize in Facebook Ad.
If you haven’t established a connection yet:- At the bottom of the dropdown list, click Add connection.
- In the Access token field, paste the token generated as a part of prerequisites.
- Click Next.
- In the Connection name, enter the name of the connection (it will be only visible on the list of connections).
Tip: The connection can be re-used to any custom audience created in the Facebook Ad Account related to the token generated as a part of prerequisites.
- In the API version field, enter the Facebook API version according to the Facebook documentation.
- From the Identified type dropdown list, select Email.
- In the Identifier source field, enter
{{ client.email }}.
Tip: You can read more about Jinjava tags in the Automation module here. - In the Audience ID field, enter the ID of the Custom Audience to which you want to send your group of customers.
Result: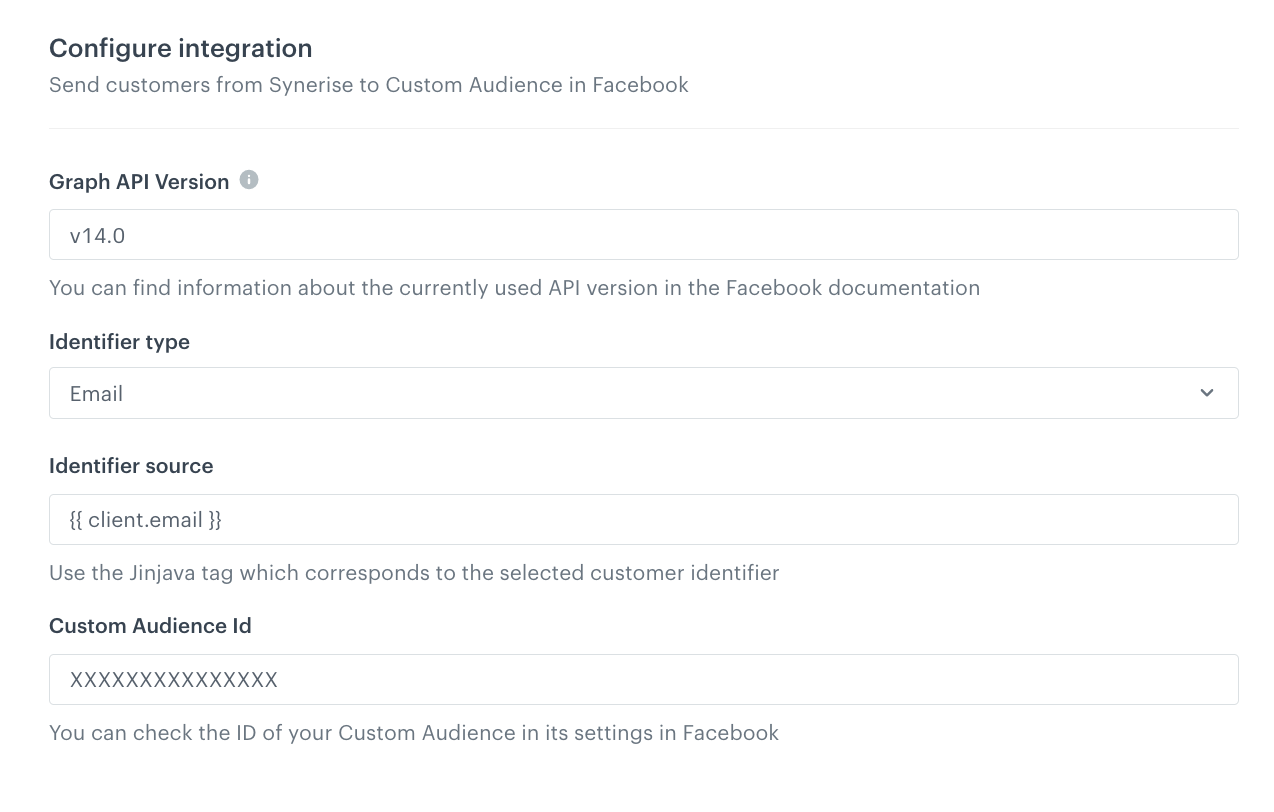
The configuration of the Add profiles to Custom Audience node - Confirm by clicking Apply.
Add the End node
-
Click the plus icon on the Add profiles to Custom Audience node.
-
From the dropdown list, select End.
-
In the upper right corner, click Save & Run.
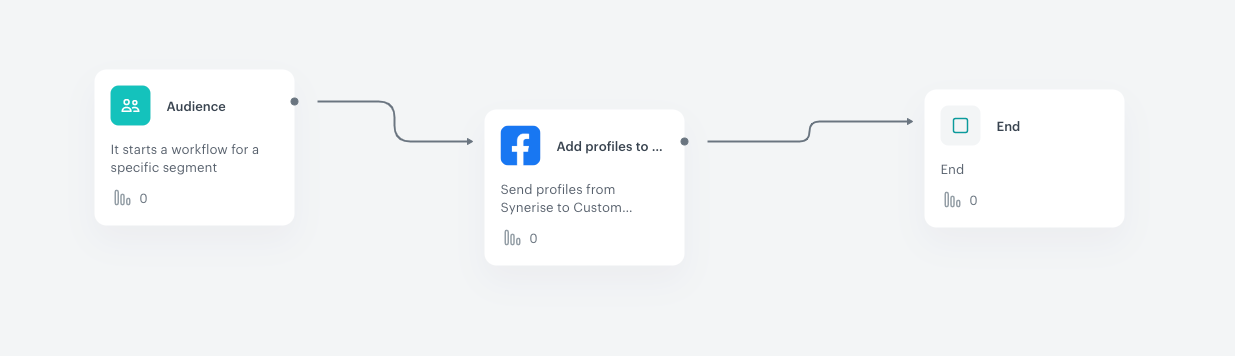
The final configuration of the workflow -
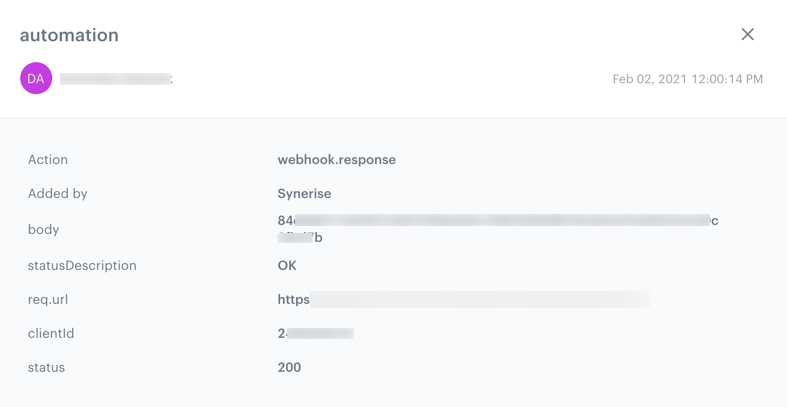
Wait a few minutes for the response of the webhook.
Result: An automation event is saved to the profiles of the customers. Then, go Facebook, to Facebook Manager > Audiences to check your Custom Audience.
What’s next
You can start creating personalized ads to your customers in Facebook. You can see your custom audience in Facebook Manager > Audiences.
Check the use case set up on the Synerise Demo workspace
You can also check the segmentation configuration and workflow configuration directly in Synerise Demo workspace.
If you don’t have access to the Synerise Demo workspace, please leave your contact details in this form, and our representative will contact you shortly.