
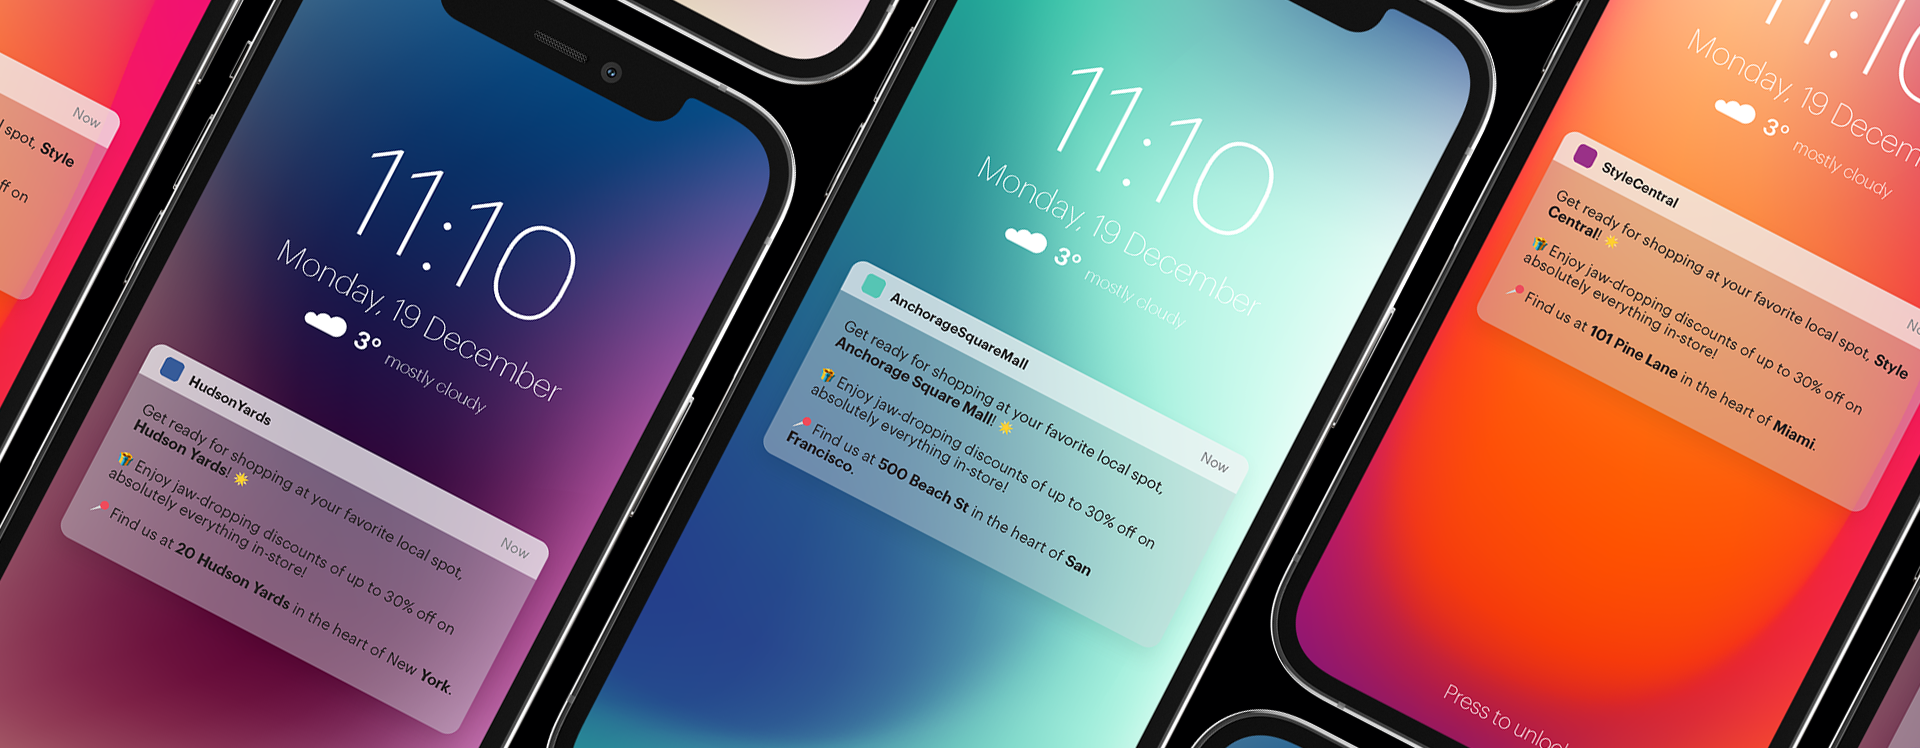
Dynamic SMS campaign with promotion at customer's preferred stationary store
You can use SMS channel to effectively inform your customers about upcoming or ongoing promotions both in online or brick-and-mortar stores. The key to the success of these campaigns is personalization.
Imagine you have a large customer base and you want to notify them about an exciting promotion in specific stores. Instead of creating multiple campaigns for each store, you can achieve this with just one campaign using Synerise. With Jinjava, you can effortlessly customize your message content. You can dynamically change store names, locations, and other crucial details with a simple Jinjava code. This means less work for you and more personalized experience for your customers.
This use case describes a scenario that begins by explaining how to assign IDS of customers’ top-choice stores as attributes to their profiles. The further part of the process outlines how to create a dynamic SMS campaign targeting customers from the selected stores.
Additional assumptions used in this use case:
- The promotion is created on the client side,
- The created catalog contains only those stores where the promotion is implemented,
- Information about the current promotion is sent to users who have assigned a store ID to their profile.
Prerequisites
- Permissions that allow access to Catalogs section and adding new catalogs.
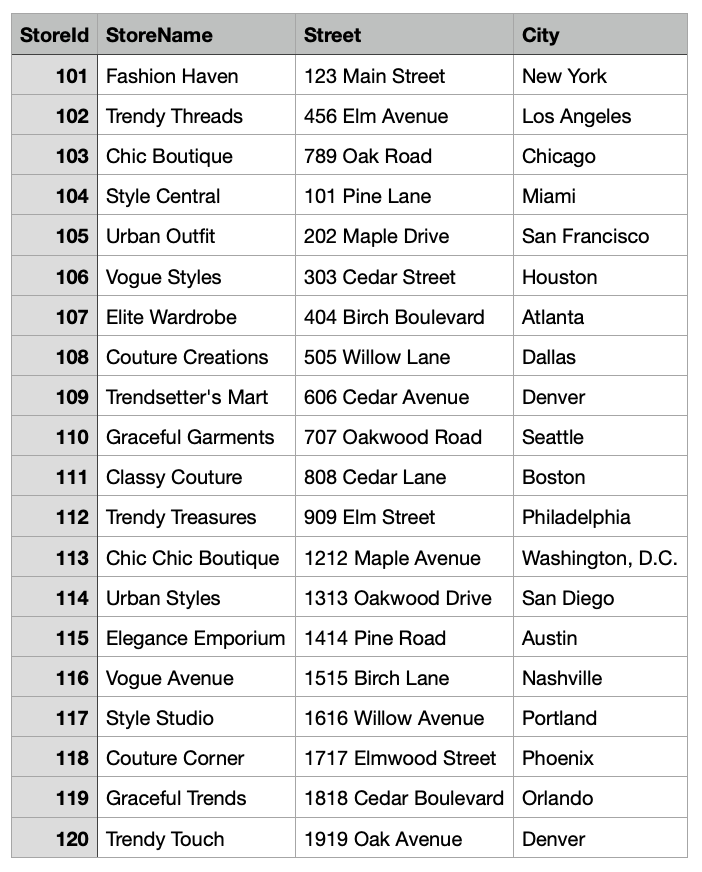
- Prepare a CSV file with the stores where the promotion you are creating a campaign for will be available.
The file used in this use case contains the following columns:
StoreId,StoreName,Street,City.
- Implement the transaction events using SDK or API. Implement a custom parameter to the event that refers to the store where the transaction occurred. In this case, we will use the
StoreIdparameter. - Meet all requirements listed in the introduction to SMS.
- Promotion must be implemented on the client side.
Process
- Create an aggregate that identifies the top store for customers based on their transactions.
- Create a workflow that assigns a store ID to customer profile.
- Create a catalog with the store details.
- Prepare an SMS message template.
- Create a workflow for the SMS campaign.
Create an aggregate
Create an aggregate to find the top store for customer based on transaction history.
- Go to
 Analytics > Aggregates > New aggregate.
 - Enter the name of the aggregate.
- As the type of the aggregate, select Top.
- From the Choose event dropdown list, select the transaction.charge event.
- As the event parameter, select StoreId.
- Using the date picker in the lower-right corner, set the time range to Lifetime. Confirm your choice with the Apply button.
- Click Save.

Create a workflow that assigns a store ID to customer profile
Create a workflow that assigns a StoreId attribute to customers who do not have this attribute yet and update it for the customers who have switched to another store over time.
- Go to
 Automation > Workflows > New workflow.
 - Enter the name of the workflow.
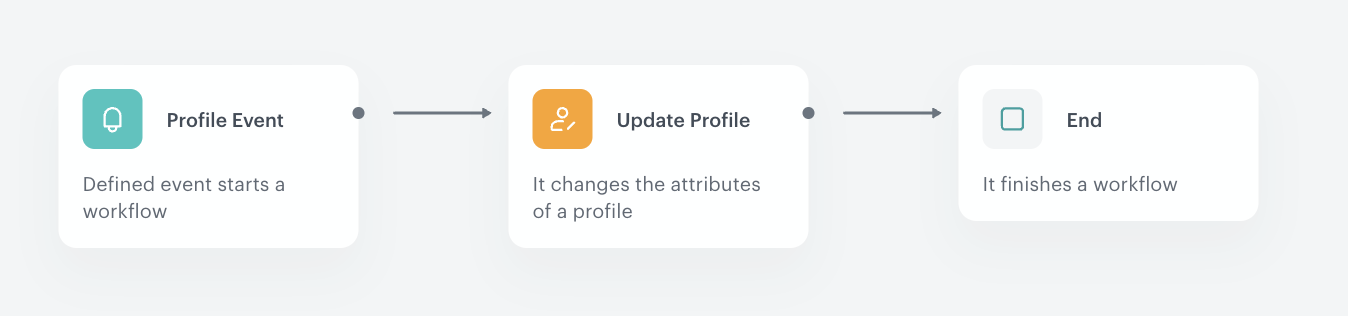
Define the trigger node
- Add the Profile Event node.
- From the Choose event dropdown list, select the transaction.charge event.
- Click Apply.
Define the Update Profile node
In this part of the process, you will add an attribute StoreId to the customers who do not have this attribute yet and update it for the customers who have switched to another store over time.
- Add the Update Profile node.
- From the left dropdown list, select Attributes > StoreId.
- From the right dropdown list, select Change.
- In the text field, add a Jinjava with the ID of the aggregate created earlier. This Jinjava will return the top StoreId for the individual customer.
Jinjava used in the use case:{% aggregate 6b686d01-758f-328a-859b-91e3542c5bbe %} {{ aggregate_result[0] }} {% endaggregate %}Note: The above Jinjava contains the ID of the aggregate created in this use case. Make sure to replace this ID with the ID of your aggregate. - Click Apply.
Add the final node
- Add the End node.
- Save and activate the automation by clicking Save&Run.
Create a catalog
In this part of the process, create a catalog and import there your CSV file you prepared as a part of prerequisites.
- Go to Data Management > Catalogs > New Catalog.
- Enter the name of the catalog and confirm it by clicking Apply.
Important: Don’t use diacritical letters, underscores (
_), and spaces. - Click the catalog on the list and click Import Local File.
Warning for MacOS users
If you prepared a CSV file in Excel, open it in a text editor to check whether commas are used as separators. If not, replace them with commas. - Click the Upload a new file button and select the file to be uploaded, then click the Next button.
- You will see the information that your file has been successfully uploaded. To continue the import process, click the Next button.
- In the Primary key field, type the name of the column whose values are treated as the key. In this case, it will be
StoreId. To continue the process, click the Next button .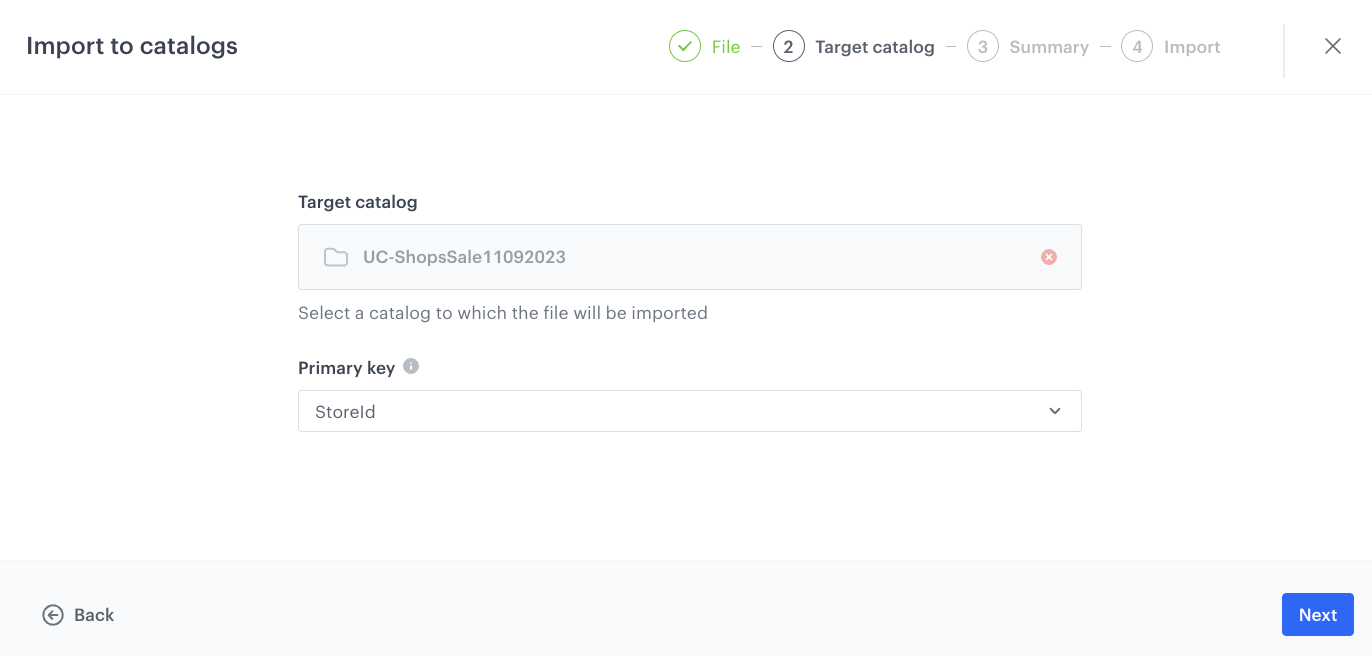
Catalog primary key configuration - In the next screen you will find the summary of your import. If no changes are needed, click Run import button.
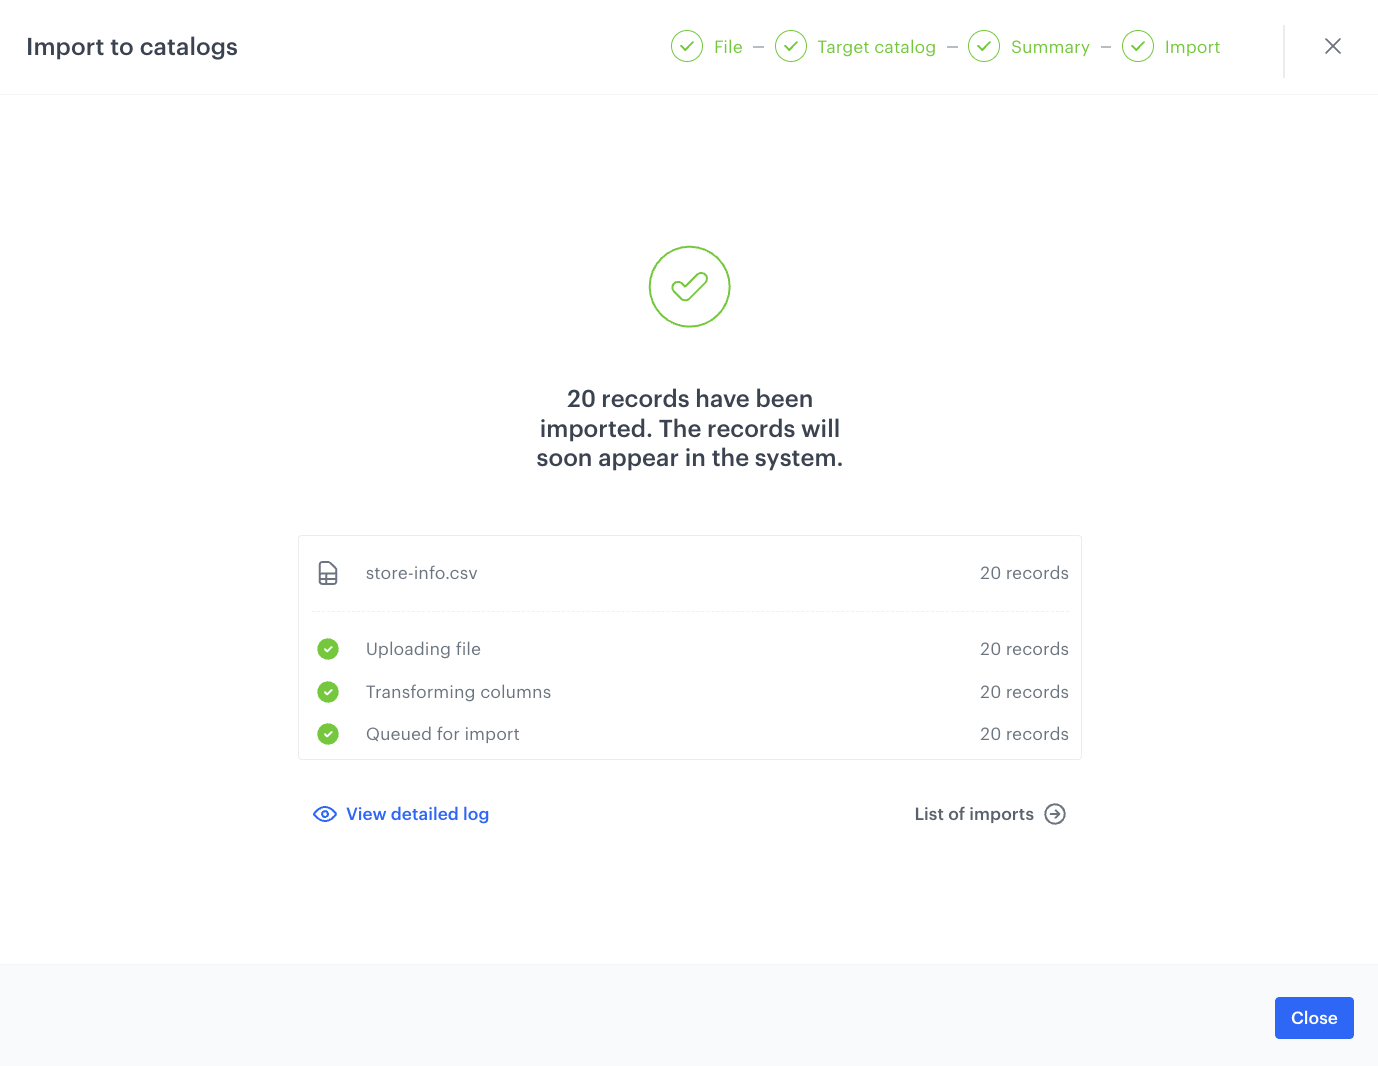
Import success
Prepare an SMS message template
Create a dynamic SMS template using Jinjava that customizes the store details for each customer.
- Go to Communication > SMS.
- In the menu on the left, click Templates.
- Click Create new.
- Click Text editor. The text editor and SMS preview open.
- In the text box on the right, enter the contents of your message.
This use case uses the following content:Where:{% set mainShop = customer.StoreId %} {% catalogitemv2.UC-ShopsSale11092023(mainShop) %} Get ready for shopping at your favorite local spot, {{ catalog_result.StoreName }}! 🌟 🎁 Enjoy jaw-dropping discounts of up to 30% off on absolutely everything in-store! 📍 Find us at {{ catalog_result.Street }} in the heart of {{ catalog_result.City }}. {% endcatalogitemv2 %}StoreId- the name of the attribute assigned to the user profile reflecting the store ID,UC-ShopsSale11092023- is the name of the created catalog,StoreName,Street,City- are the names of the columns defined in the catalog.

Example of a SMS template - Save the template.
Create a workflow for the SMS campaign
Create a workflow that sends a personalized SMS message to a selected segment of customers, informing them of a promotion at a store of their choice.
- Go to Automation > Workflows > New workflow.
- Enter the name of the workflow.
Define the Audience node
Choose the Audience node as the trigger. In this scenario, we are creating a group of customers who have agreed to receive SMS messages and have assigned StoreId attribute to their profile.
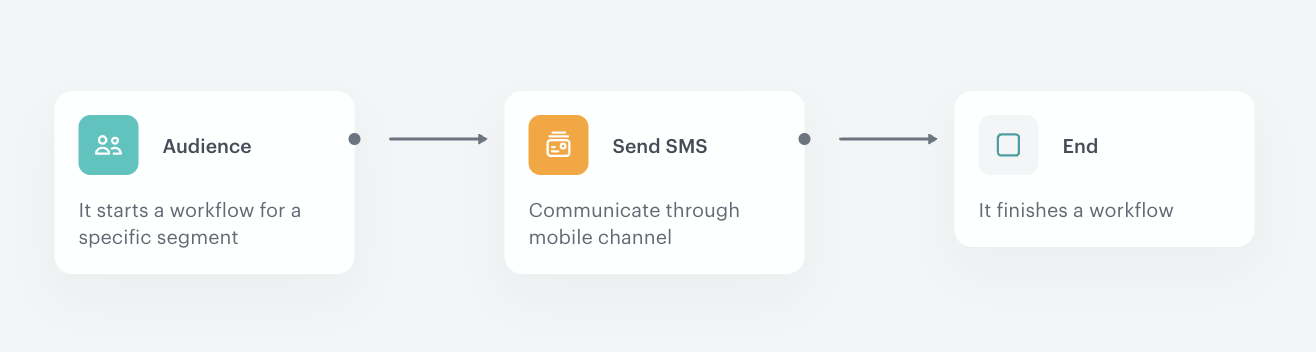
- Start the workflow with the Audience node.
- In the configuration of the node, leave the Run trigger as one time.
- Choose the day and time when the process starts.
- In Define audience, choose New Audience and define the conditions according to your needs.
The following screen shows the audience configuration used in this use case.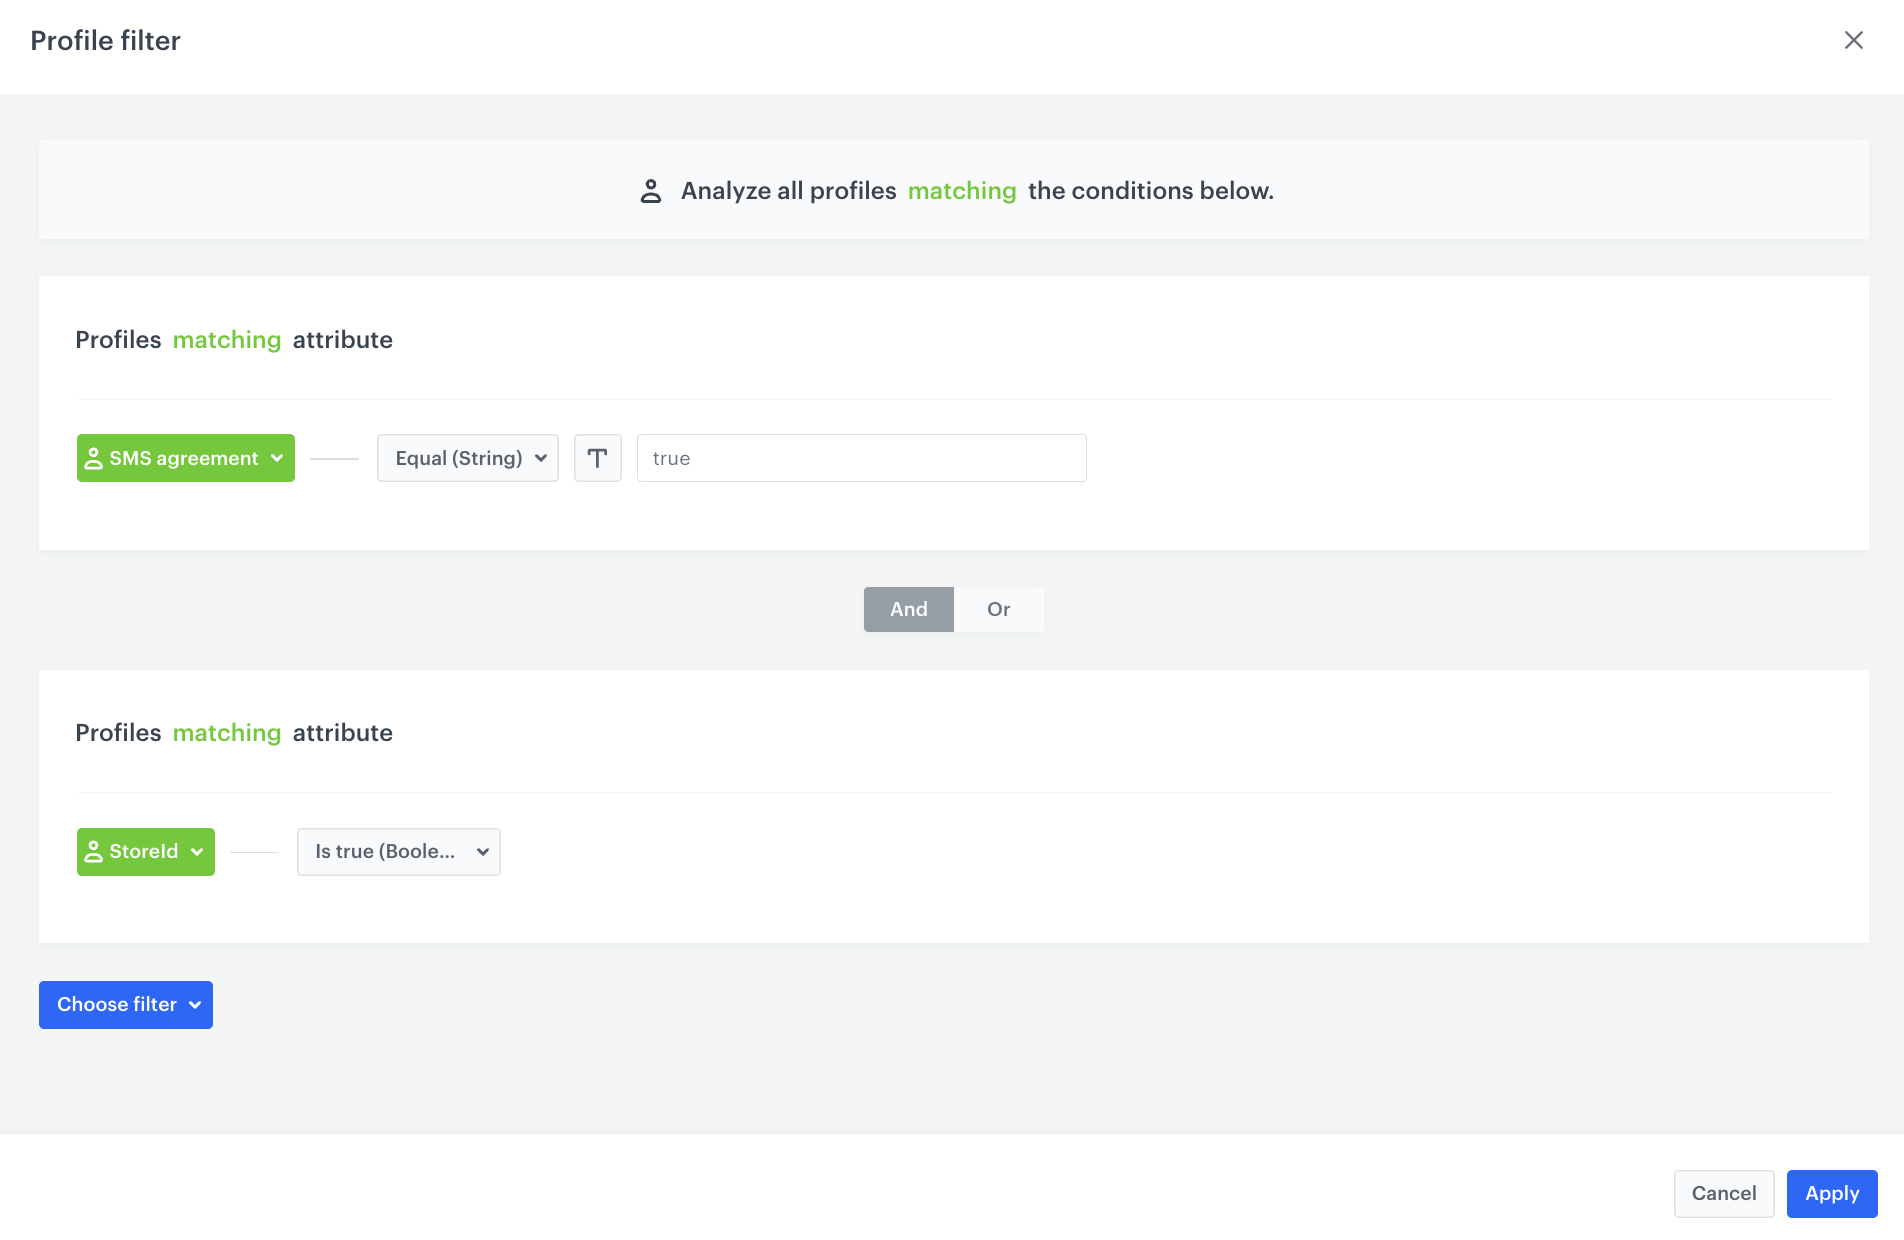
Audience configuration
Define the Send SMS node
- Add the Send SMS node. In the node settings:
- In the Content section, choose the phone number from which the message will be sent.
- From the SMS template drop-down, select the template you created earlier in the process.
- Click Apply.
Add the finishing node and set capping
- Add the End node.
- In the upper right corner, click Save & Run.
Check the use case set up on the Synerise Demo workspace
You can check the configuration of each step directly in the Synerise Demo workspace:
If you don’t have access to the Synerise Demo workspace, please leave your contact details in this form, and our representative will contact you shortly.