Importing vouchers
Vouchers are the perfect solution if you plan, for example, to distribute unique discount codes. Thanks to Synerise’s capabilities in the area of communication, you can distribute your vouchers through SMS, email, web push and mobile communication, but also directly on your webpage.
Requirements
- You need user permissions that grants you access to Simple Imports or/and Automation
- Create voucher pool
Tips for preparing a CSV file
- Prepare a file that contains the column (
code) with the voucher codes. - Recommended file metacharacters:
- A character that splits columns (delimiter):
, - A character that is used to contain the text (quotation mark):
" - A character (escape character) that changes the default interpretation of a sign or string followed by the escape character:
\
- A character that splits columns (delimiter):
- Spaces and special characters in the column headers are not allowed.
.csvfiles must be UTF-8 encoded
Procedure
Selecting the file for import
In this part of the process, you will upload a file from your device.
- Go to
 Data Management > Data import > New import.
 - As the data type for import, select Voucher pool.
- As the import method, select one of the following options:
- Import a local file - To import a single
.csvfile to Synerise. - Import in Automation - To import a .
csv,.json,.jsonl, and.xmlfiles and execute periodical imports.
- Import a local file - To import a single
- Upload the
.csvfile by using the + Upload file or drop one here field. - Optionally, you can customize the file metacharacters by clicking the arrow down icon.
- From the Delimiter dropdown, select the character that marks the end of a column.
- From the Quotation mark dropdown list, select the characters that contain the text or data type.
- From the Escape character dropdown lists, select the character which changes the default interpretation of a character or a string followed by the escape character.
- To proceed to the next step, click the Next button.
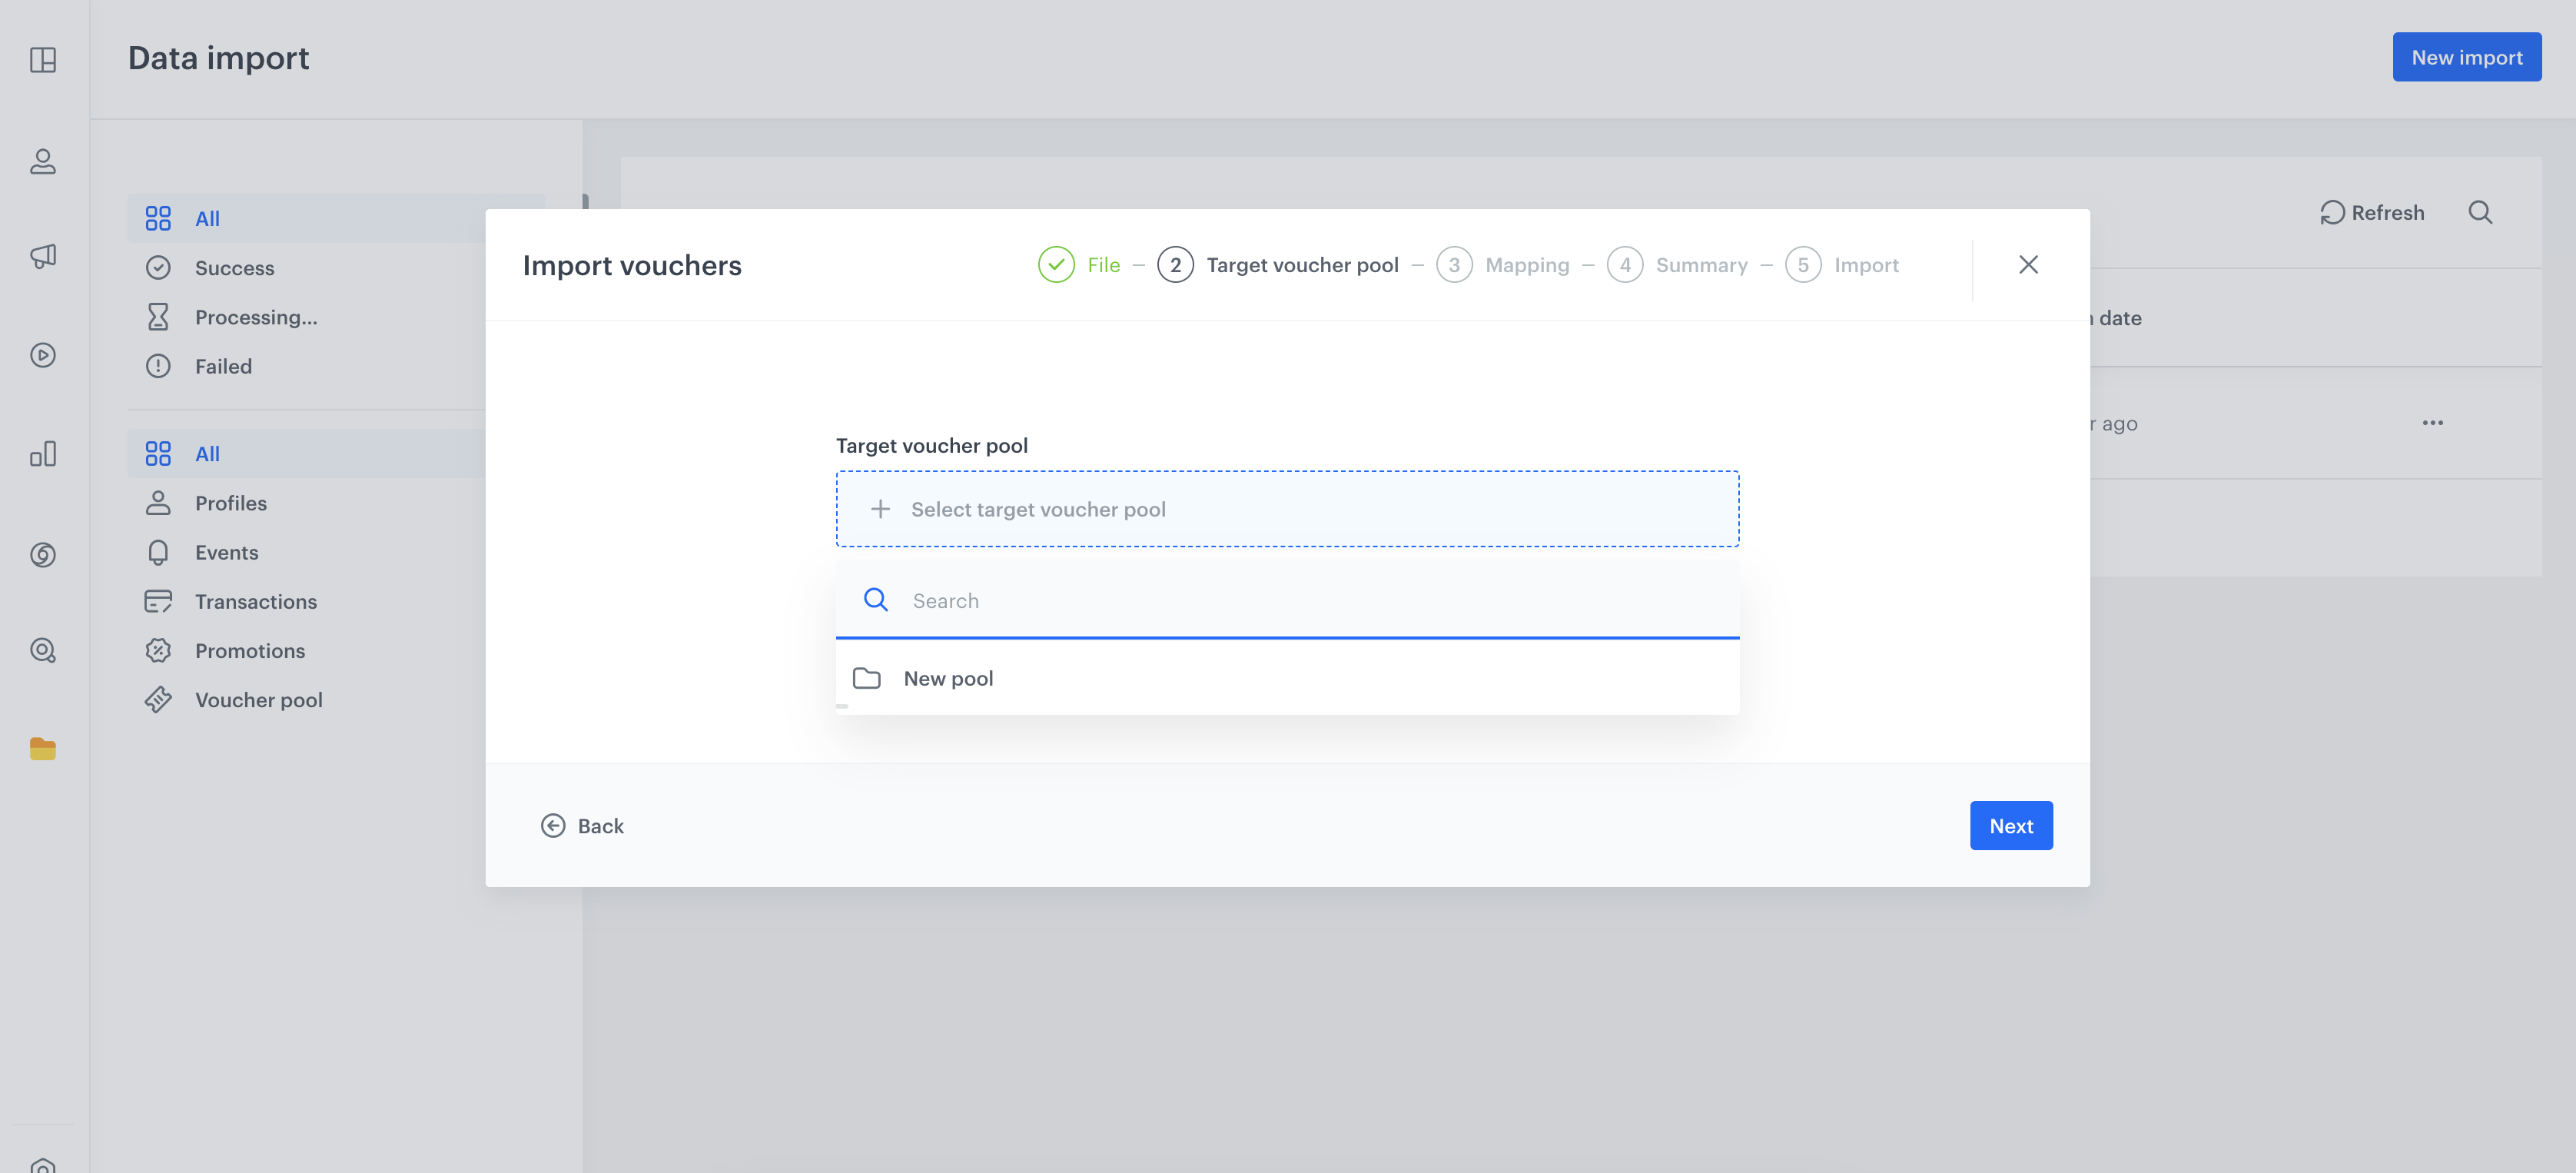
Selecting voucher pool
Select the voucher pool to which you want to import your data. If you selected the Import option on the interface of a specific voucher pool (Data Management > Voucher pools), the voucher pool will be selected automatically.
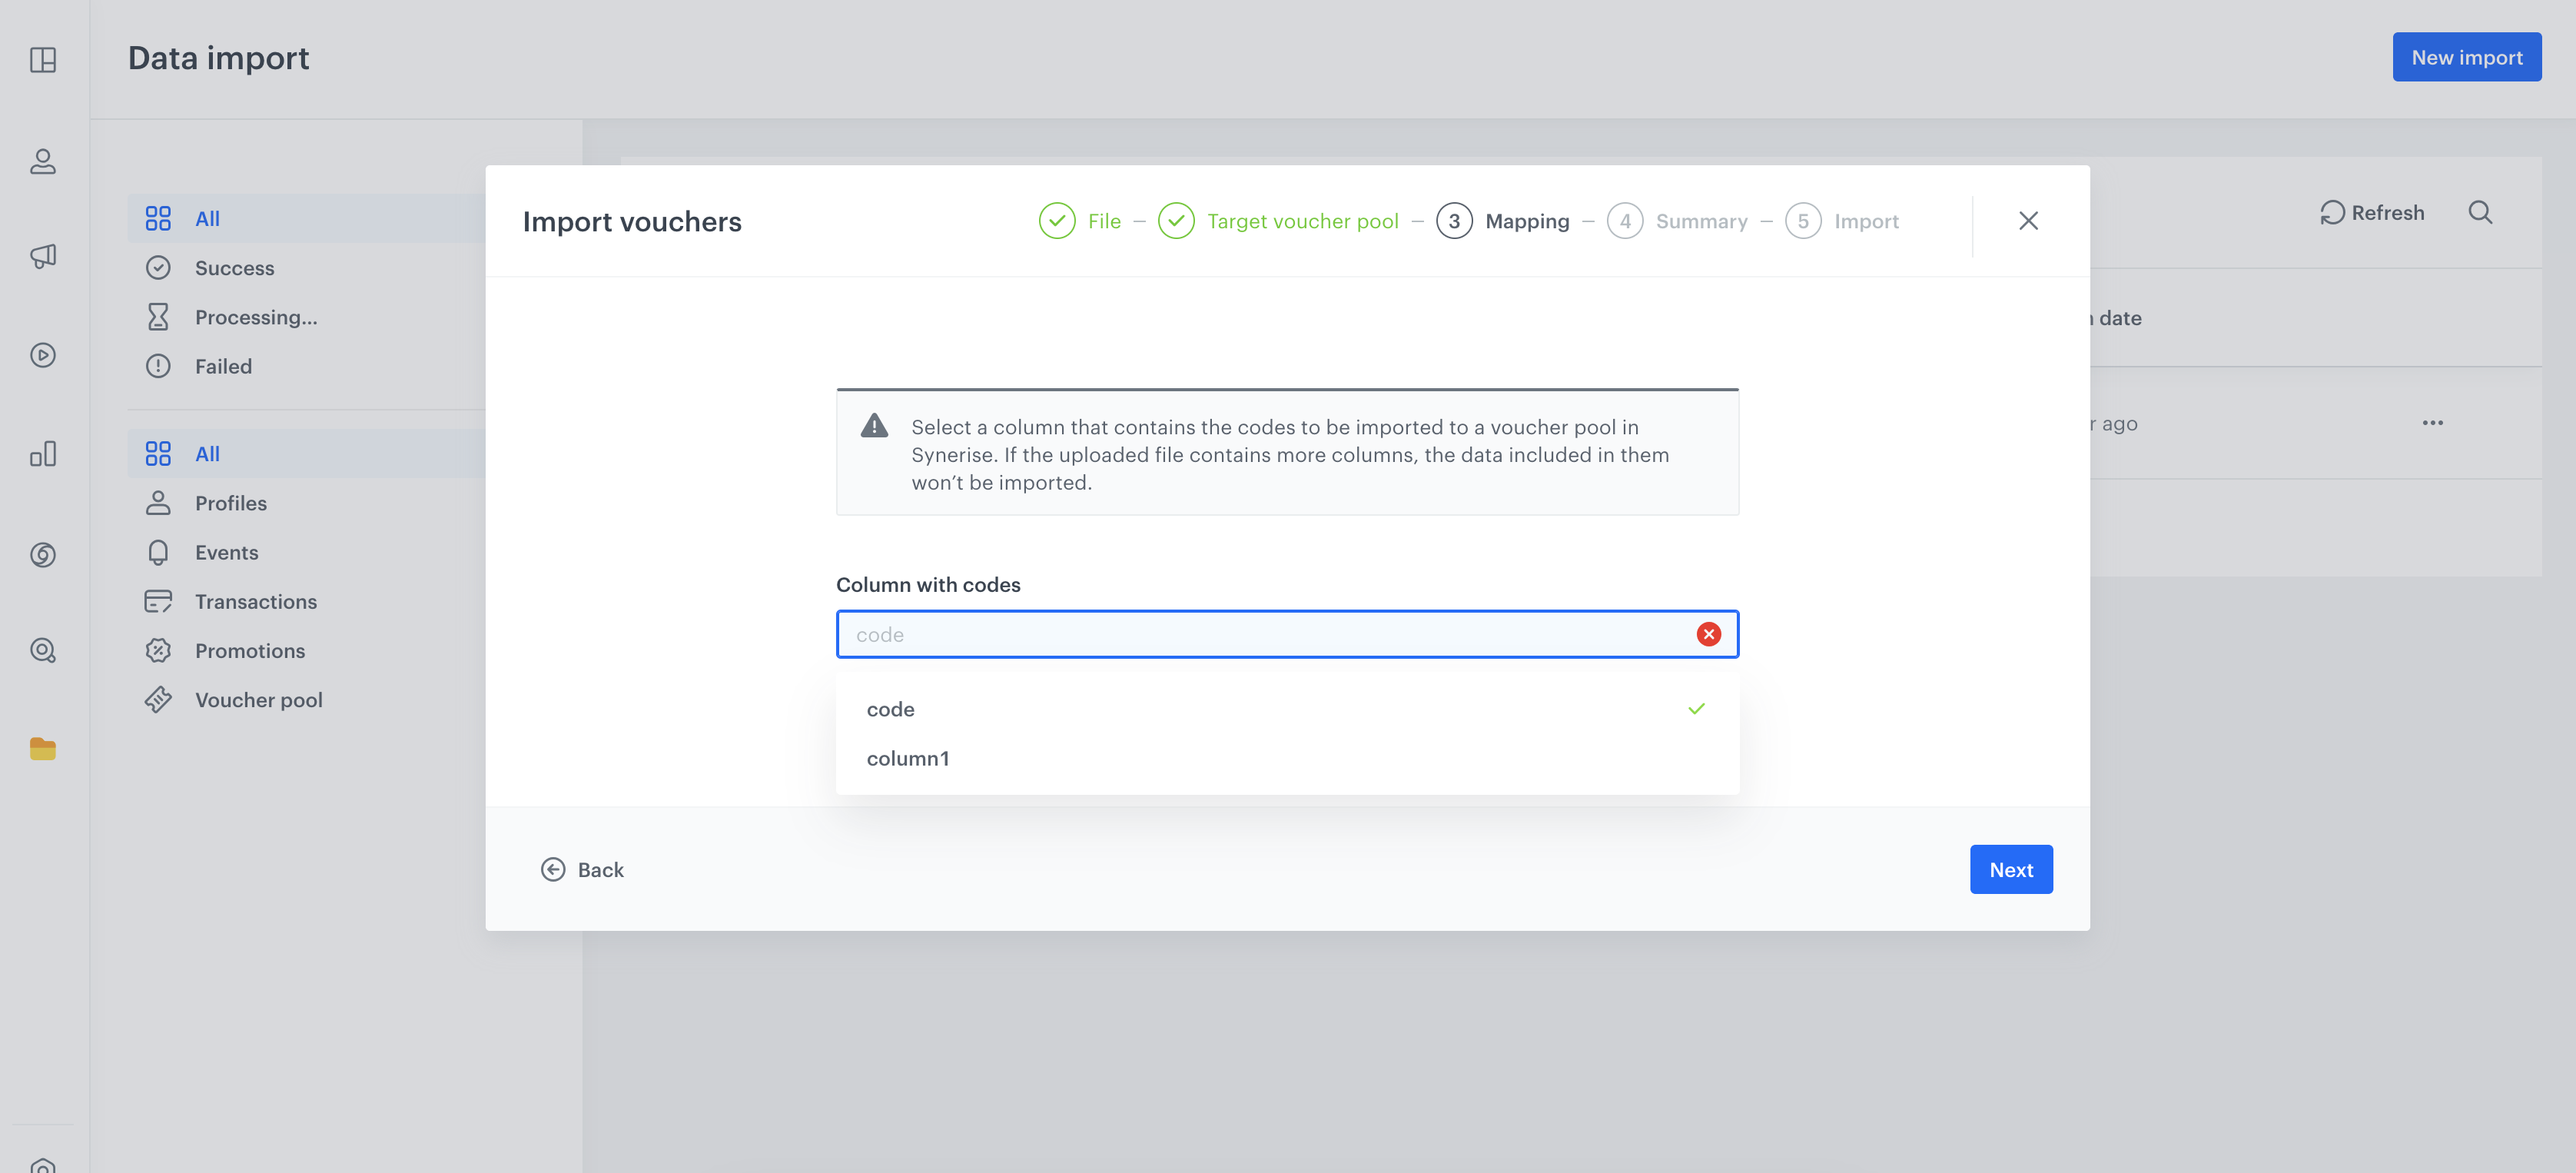
Selecting column with codes
You can import only codes into the voucher pool. Your file must contain a column with the codes. However, if your file contains more than one column, at this stage you must indicate which column contains the codes.
The remaining columns will not be imported.
Launching import
After selecting the column that contains a code, you will be redirected to the mapping summary. If it’s correct, to launch the import, click Run import.