Web push with recommended products
Web push messaging is an effective form of communication that allows businesses to communicate directly with people who visit their website, even when they are not actively using it. Compared to other forms of communication, web push notifications allow you to deliver concise, clickable messages directly to users’ devices, making them an ideal channel for delivering product recommendations and driving traffic back to your website.

This campaign is targeted at all users and includes additional action buttons that direct them straight to a page to the product card or to a dedicated page with a list of recommendations.
Prerequisites
- Configure an item catalog for recommendations. Enable personalized recommendations.
- Import your product feed to AI engine.
- Configure web push notifications
- Create a workspace API Key with the permission - API_CUSTOM_EVENTS_CREATE.
Process
In this use case, you will go through the following steps:
- Create a personalized recommendation campaign.
- Create a webpush template.
- Prepare a workflow that creates an event with recommended products and sends a web push to customers who receive any recommendation in the campaign.
Create personalized recommendation campaign
In this part of the process, you will create a personalized recommendation campaign, the ID of which will later be used during workflow creation.
-
Go to
 Communication > Recommendations > Add recommendation.
 -
Enter the name of the recommendation (it is only visible on the list of recommendations).
-
In the Type & source section, click Define.
-
From the Catalog dropdown list, select a product feed that has a trained model.
-
Select the Personalized recommendation type.
-
Confirm the recommendation type by clicking Apply.
-
In the Items section, click Define.
-
Click Add slot.
-
Click the Unnamed slot that was created.
-
Set the minimum and maximum number of products displayed in the frame to 1.
-
Optionally, you can use filters to include specific items in the recommendation frame.
-
Confirm the configuration by clicking Apply.
-
Optionally, you can define the settings in the Boosting and Additional settings sections.
-
Click Save.
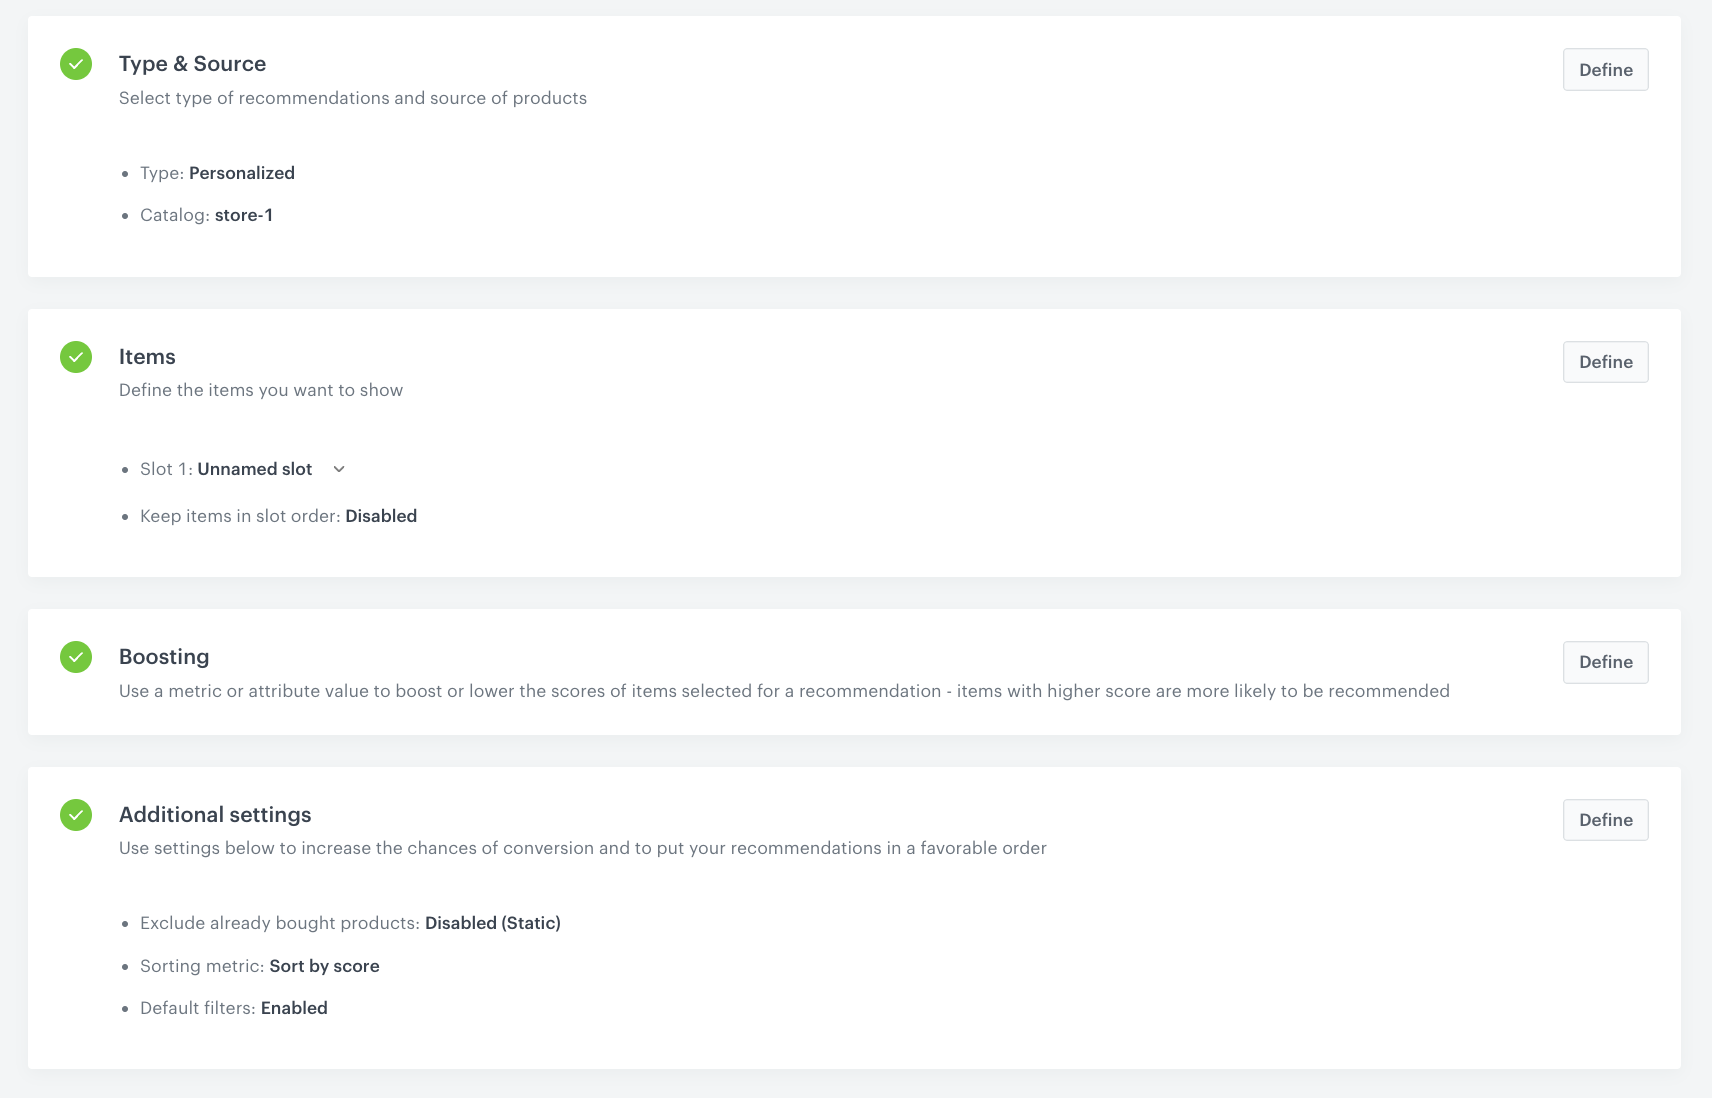
AI recommendation campaign configuration
Create a web push template
In this part of the process, you will create a web push template with recommended products with two action buttons. The first button links to the product card and the second to the list of recommended products.
-
Go to
Communication > Web Push > Templates > New template. -
Enter the name of the template.
-
In the Title field, define the title you want to display in the web push.
-
In the Message field, define the copy you want to appear in the web push. In our case it will be an insert with product title:
{{ event.params.title }} -
In the Destination URL field, define the link you want to redirect your customers by clicking the web push notification. In our case, it will be link to the homepage:
https://demoshop.synerise.com/(clicking the web push will redirect to homepage, action buttons will redirect to more specific pages). -
In the Icon URL field, define the icon you want to display in the web push.
- To get the URL of the icon, go to
 Data Management > Files.
 - Find the icon on the list.
- Hover the mouse cursor over the icon on the list.
- Click Copy URL.
- Paste the URL in the Icon field.
- To get the URL of the icon, go to
-
In the Image URL field, define the image you want to display in the web push. In our case it will be an insert with product image:
{{ event.params.imageLink }}- To get the URL of the image, go to Data Management > Files.
- Find the image on the list.
- Hover the mouse cursor over the image on the list.
- Click Copy URL.
- Paste the URL in the Image field.
- To get the URL of the image, go to
-
Select Action button and to add two buttons to your web push template by clicking Add item twice. In the button’s settings:
- The first button link to product card. In the URL field, paste the following insert:
{{ event.params.link }}and in the Button Label field, enter the text on the first button. - The second button links to a listing of product recommendations. In URL field, paste the link to the listing. In our case, it’s
https://demoshop.synerise.com/product-personalized-listingand in the Button Label field, enter the text on the second button.
Important: To create a page with a list of recommended products, please refer to the Creating section recommendations article. - The first button link to product card. In the URL field, paste the following insert:
-
Save the template clicking the button Save as, and choose the folder where the template will be saved.
-
Confirm by clicking Save.
Create workflow
In this part of the process, create a workflow that will be triggered by the session.end event and create an event with the recommended products that you will refer to in the webpush template. If the customer receives any recommended products in the event, then a webpush message will be sent.
Define the Profile Event trigger node
At this stage, configure conditions that launch the workflow. As a trigger, we will use the session.end event.
- As the first node of the workflow, add Profile Event. In the configuration of the node:
- From Choose event dropdown menu, choose
session.endevent.
- From Choose event dropdown menu, choose
- Confirm by clicking Apply.
Define the Outgoing Integration node
In the Outgoing Integration node, create a webhook that will generate event with recommended products. In our case it is a webpush.recommendation event.
- After the trigger node, add Outgoing Integration.
- In Definition section, choose the Custom webhook tab.
- In the Webhook name, field enter a name for the webhook. In this case
Webpush recommendation. - Select the POST method.
- In the URL of the endpoint, enter
https://api.synerise.com/v4/events/custom. - Leave content-type at default:
application/json. - Click Add header.
- Add Api-Version with the value set to
4.4 - Enter the request body. For the sheet used in this case, the body is as follows:
Where:{% recommendations3 campaignId=nBzlR4BQtyvD %} {% set item = recommended_products3[0] %} { "label": "Webpush recommendation", "client": { "id": {{ customer.id }} }, "action": "webpush.recommendation", "params": { "title": "{{ item.title }}", "imageLink": "{{ item.imageLink }}", "link": "{{ item.link }}" } } {% endrecommendations3 %}- The
campaignId=nBzlR4BQtyvDis the Id of the recommendation campaign you created earlier in this step. - All params contain information about recommended product are used in the webpush template.
- The
- In the Authorization section, select by API key as your method of authorization.
- From the dropdown list below, select the API key that you created as part of the prerequisites.
- Click Apply.

Configure the Event Filter node
This node will set the workflow to wait for 2 minutes for the creation of a webpush.recommendation event for the client. If a customer has not received any recommended products in the event, the workflow ends. However, if a customer receives any recommended products in the event, the workflow goes to the next step, in which a web push will be sent to that customer.
- As the next node, add Event Filter. In the configuration of the node:
- In the Check field, from the dropdown menu choose for period of time.
- Set the time range. In our case, it is 2 minutes.
- In the Define conditions field, from the Choose event dropdown menu, choose
webpush.recommendationevent. - Click the + where button, from the Choose parameter dropdown menu, choose title.
- From the Choose operator dropdown, choose Regular expression.
- As the value, enter
.+Note: The.+value means at least 1 character. This excludes events where the item title is empty, meaning there is no recommended item.
- Confirm by clicking Apply.
- At the Not Matched path, add the End node .
Configure Send Webpush node
In this part of the process you will define the Webpush message to be sent.
- To the Matched path, add Send Webpush. In the configuration of the node:
- In the Content section, from the Webpush template dropdown, select the template you created in the previous step.
- In the Schedule section, set the Webpush lifespan (TTL) according to your business needs.
- You can describe campaigns with additional parameters.
- Click Apply.

Add the finishing node
- Add the End node.
- In the upper right corner, click Save & Run.

The workflow configuration
Check the use case set up on the Synerise Demo workspace
You can check the all the configurations directly in Synerise Demo workspace:
If you don’t have access to the Synerise Demo workspace, please leave your contact details in this form, and our representative will contact you shortly.