Group customers by purchase days
In this use case, you will learn how to create a segmentation that allows you to divide your customers into segments based on the time of week on which they bought a product. You may use that information further for targeted communication.
Prerequisites
Create a segmentation
Create a segmentation that organizes customers into two groups:
- Weekend - It gathers the customers who bought products on weekends,
- Week days - It gathers the customers who bought products on week days.
- Go to
 Analytics > Segmentations v2 > New Segmentation.
 - Enter the name of the segmentation.
- Name the first segment, in our case
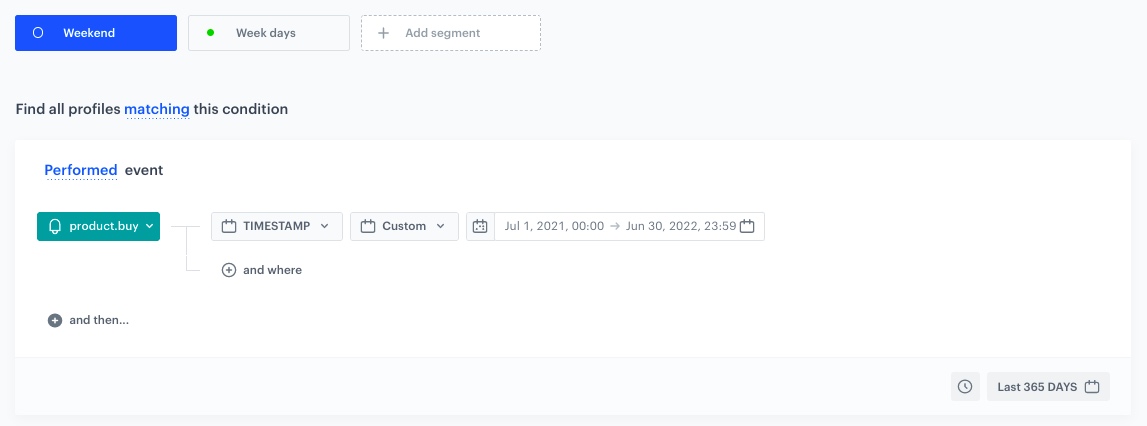
Weekend - To add the first step to the segment, click the Performed event… button.
- From the dropdown list, select the
product.buyevent. - For the event parameter, click the + where button and select
TIMESTAMP. - As the logical operator, select Custom date.
- Click Start date -> End date:
- In the Relative date range section, click Custom, type 365 and from the the dropdown list, select Days.
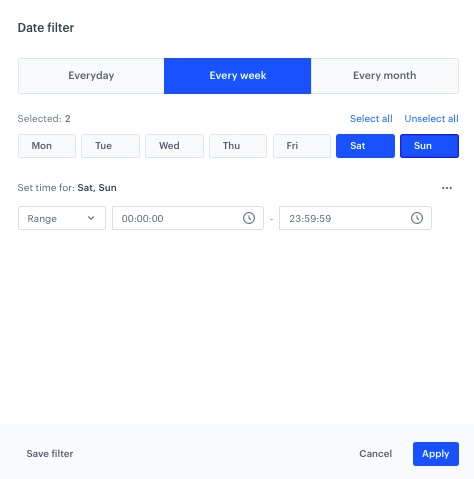
- In the Filter section, click Add filter and then Every week.
- Select Sat and Sun.
- Click Add time.
- Click Apply.
Conditions of the date range - Click Apply.
- In the calendar in the right bottom of the page:
- In the Relative date range section, click Custom, type 365 and from the the dropdown list, select Days.
- Click Apply.
Conditions of the segment - Create the second segment by duplicating the one you have just created.
- Name this segment
Week days. - Change the date range:
- In the Filter section, click Change .
- Click on Select all and clear selection of Sat and Sun.
- Click Add time.
- Click Apply.
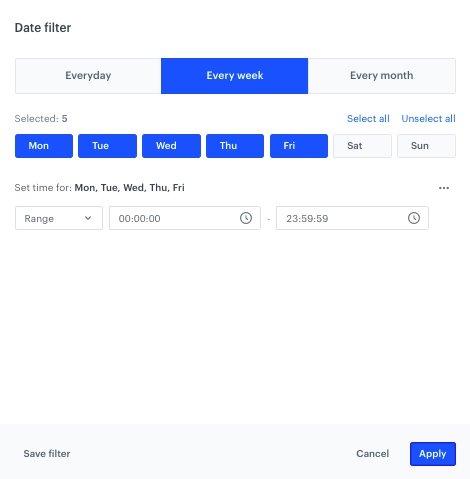
Conditions of the date range - Click Apply.
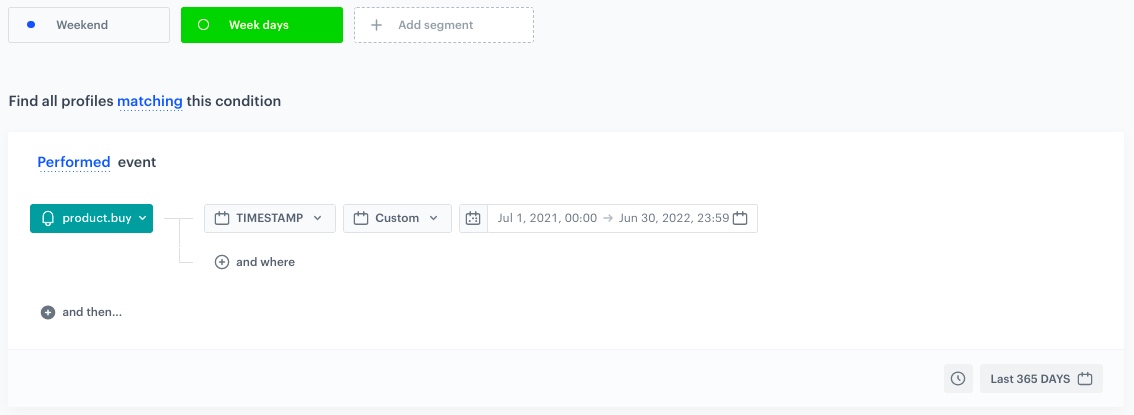
Conditions of the segment - In the calendar in the right bottom of the page:
- In the Relative date range section, click Custom, type 365 and from the the dropdown list, select Days.
- Click Apply.
- Click Save. The segments are saved and can be viewed in Preview where you can preview how your customer base splits according to the defined conditions.
What’s next
To use this segments in Communication module:
- Click Define in the Audience section.
- Click New Audience.
- Click Define conditions.
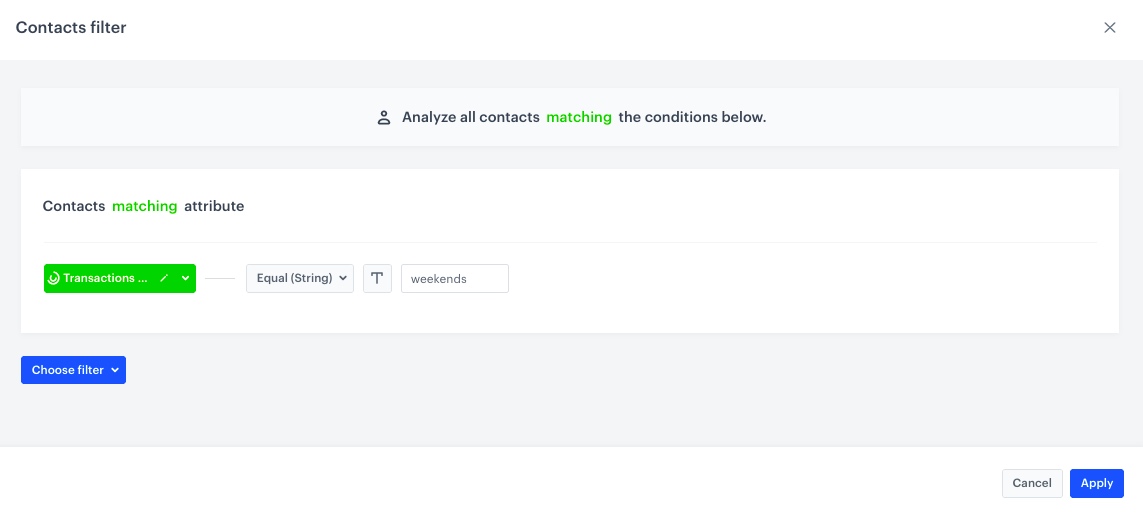
- Click Choose filter and from the dropdown list choose the segmentation you have created in this step.
- Choose operator Equal.
- Type the name of the segment.
Depending on whether you want to send the communication to customers who buy on the weekend, enter the name of the segmentWeekend, and if to those who buy during week days -Week days. - Click Apply.
- Click Apply.
Check the use case set up on the Synerise Demo workspace
You can also check the segmentation configuration directly in Synerise Demo workspace.
If you don’t have access to the Synerise Demo workspace, please leave your contact details in this form, and our representative will contact you shortly.