Personalized promotions in the mobile app at the entrance to a store
Giving a personalized set of promotion is one of the best options to help your customer make a purchase decision.
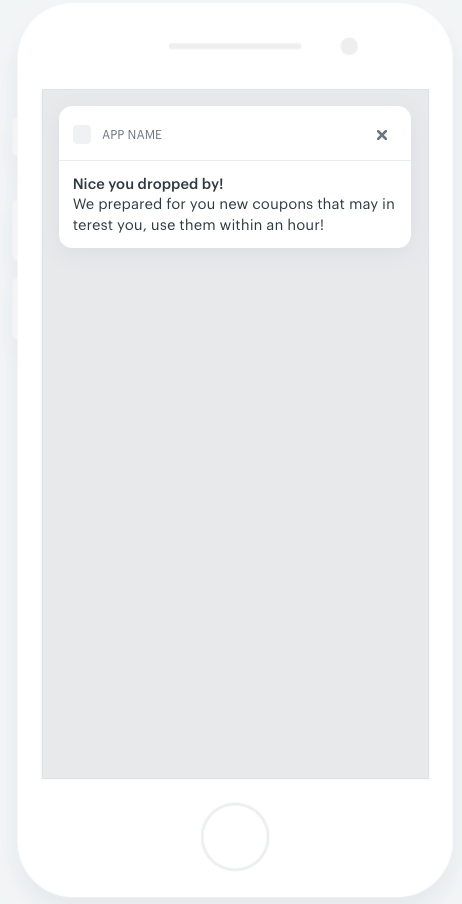
In this use case, you will learn how to create a set of personalized promotions for customers who will receive them when they enter the brick and mortar store. After a promotion is assigned, a customer receives a mobile push notification that contains information about new promotion. An additional incentive to use the promotion at once is that the are valid only an hour from assigning.
Assigned promotions are dedicated for every customer. Based on their purchase history, the AI engine chooses the promotions that a customer is the most likely to use.
Prerequisites
- Implement promotion module in your mobile application, API.
- Import your product feed to catalog.
- Implement mobile pushes in your mobile application: iOS, Android.
- Implement event sent to Synerise when a customer enters the store. This event can be triggered, for example, by scanning the mobile application in the store.
Security configuration
Before you start working with this module, if you are a Synerise customer or partner, consider reading the section about denylisting events. This natively accessible configuration will allow you to manage the restrictions in points management that may help you prevent fraud.
Process
In this use case, you will go through the following steps:
-
Create handbill-type promotions to use them as candidates for personalized promotions.
Tip: More about creating personalized promotions is available here. -
Define groups of promotions to use them as base for AI engine.
Create handbill promotions
In this part of the process, create a few handbill promotions which will be candidates for a personalized promotions. The handbills will be selected by the AI engine.
-
Go to
 > Promotions > Add promotion.
 -
According to your buissness needs select one of the scopes:
- For selected items
- For entire basket
-
Select the group of customers for whom you want to prepare promotion.
-
In the Content section:
- Define the name, description, and image of the promotion.
- In the Price field, enter
0. - Add a tag so that we can use it later to make a base group of promotions.
Example of tag -
Confirm the settings by clicking Apply.
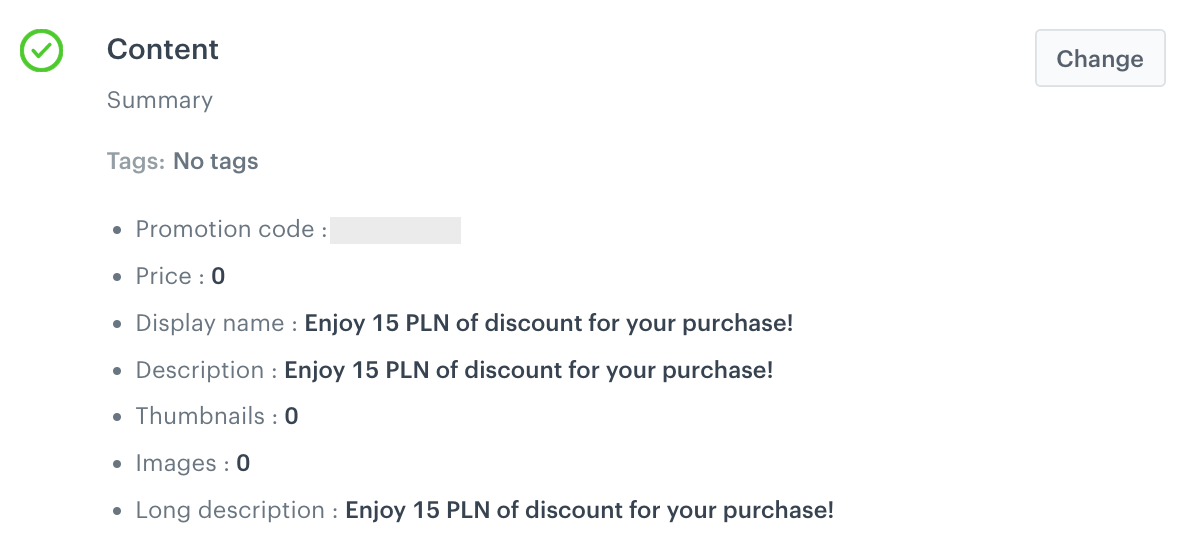
Example of promotion content
-
In the Types & limits section, select Handbill as the promotion type.
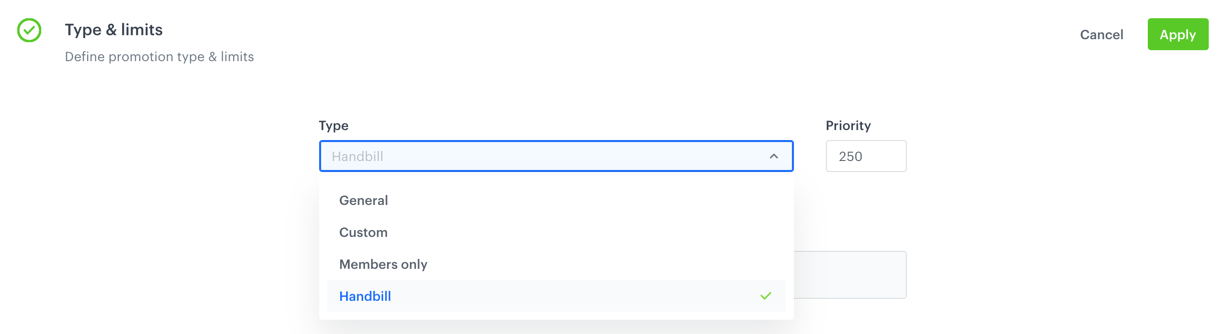
Handbill type of promotion -
In the Schedule section, define the promotion distribution period according to your business needs.
-
Optionally, in the Stores section, select the stores in which the promotion is available.
Note: This is possible only if the list of stores is imported into a catalog. -
In the Items section, select the catalog of items from which you select items for a discount:
- From the Source catalog dropdown list, select a catalog of items.
- Select the Entire catalog option.
- Confirm by clicking Apply.
-
To apply configuration and run the promotion, click Publish.
-
Repeat all the steps and create more handbills. In step 8, instead of entire catalog, select specific items (for example, a brand, a category of items - depending on your business assumptions).
Define a group of promotions
In this part of the process, you create a filter of promotions which will be used in a personalized promotion. If you have other handbills active, the engine will only select among handbills with a defined filter.
-
In the Promotions module, above the list of promotions, click
 > Define.
 -
Click Choose filters.
-
Use the tag you assigned to handbills. This filter will be used while creating a personalized promotion.

Example of filter -
Save the filter
-
Confirm the settings by clicking Apply.
Define a personalized promotion
In this part of the process, create a personalized promotion. The AI engine will select items from handbill promotions with a shop-entrance tag assigned.
-
- Go to > Personalized Promotions > New Handbill.
- As the type, choose Mobile.
- In the A/B Test settings, click Define.
- Click
 .
. - Click Advanced options.
- Select AI Engine.
- Confirm by clicking Apply.
- In the Filters and limits section:
- In the Promotions in set, enter a number of handbills to be used as candidates to display in a slot.
- Click Define filter.
- Select the filter you created in this step.
- To add more slots, click Ad another and repeat steps a-c.
- Confirm by clicking Apply.
- In the Activity section:
- Leave the Lasting option at default (Relative).
- Set the activity to 1 hour.
- Confirm by clicking Apply.
- Configure the Engine settings section according to your needs.
Note: You can read more about engine settings here.
- Go to
-
To apply configuration and run the promotion, click Publish.
Create a mobile push template
- Go to Communication > Mobile > Templates.
- Create your mobile push in the code editor.
For more information on creating a simple mobile push, visit our User Guide.
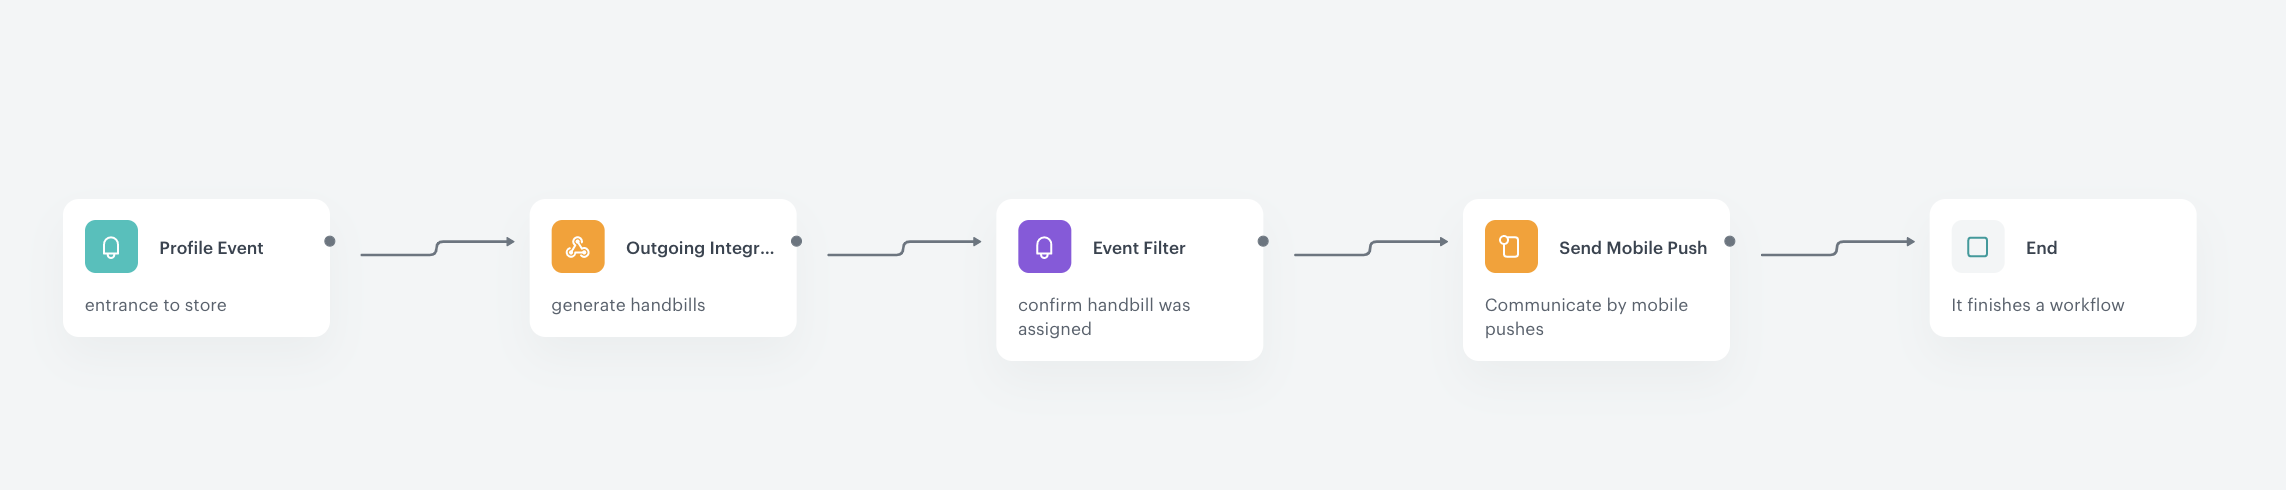
Create a workflow
In this part of the process, prepare a workflow that assigns personalized promotions and notifies a customer about it when they enter the store.
-
Go to Automation > Workflows > New workflow.
-
Enter the name of the workflow.
-
As the first node of the workflow, add Profile Event. In the node settings:
- From the Choose event dropdown menu, select event that is sent to Synerise when a customer enters the store.
- Confirm by clicking Apply.
-
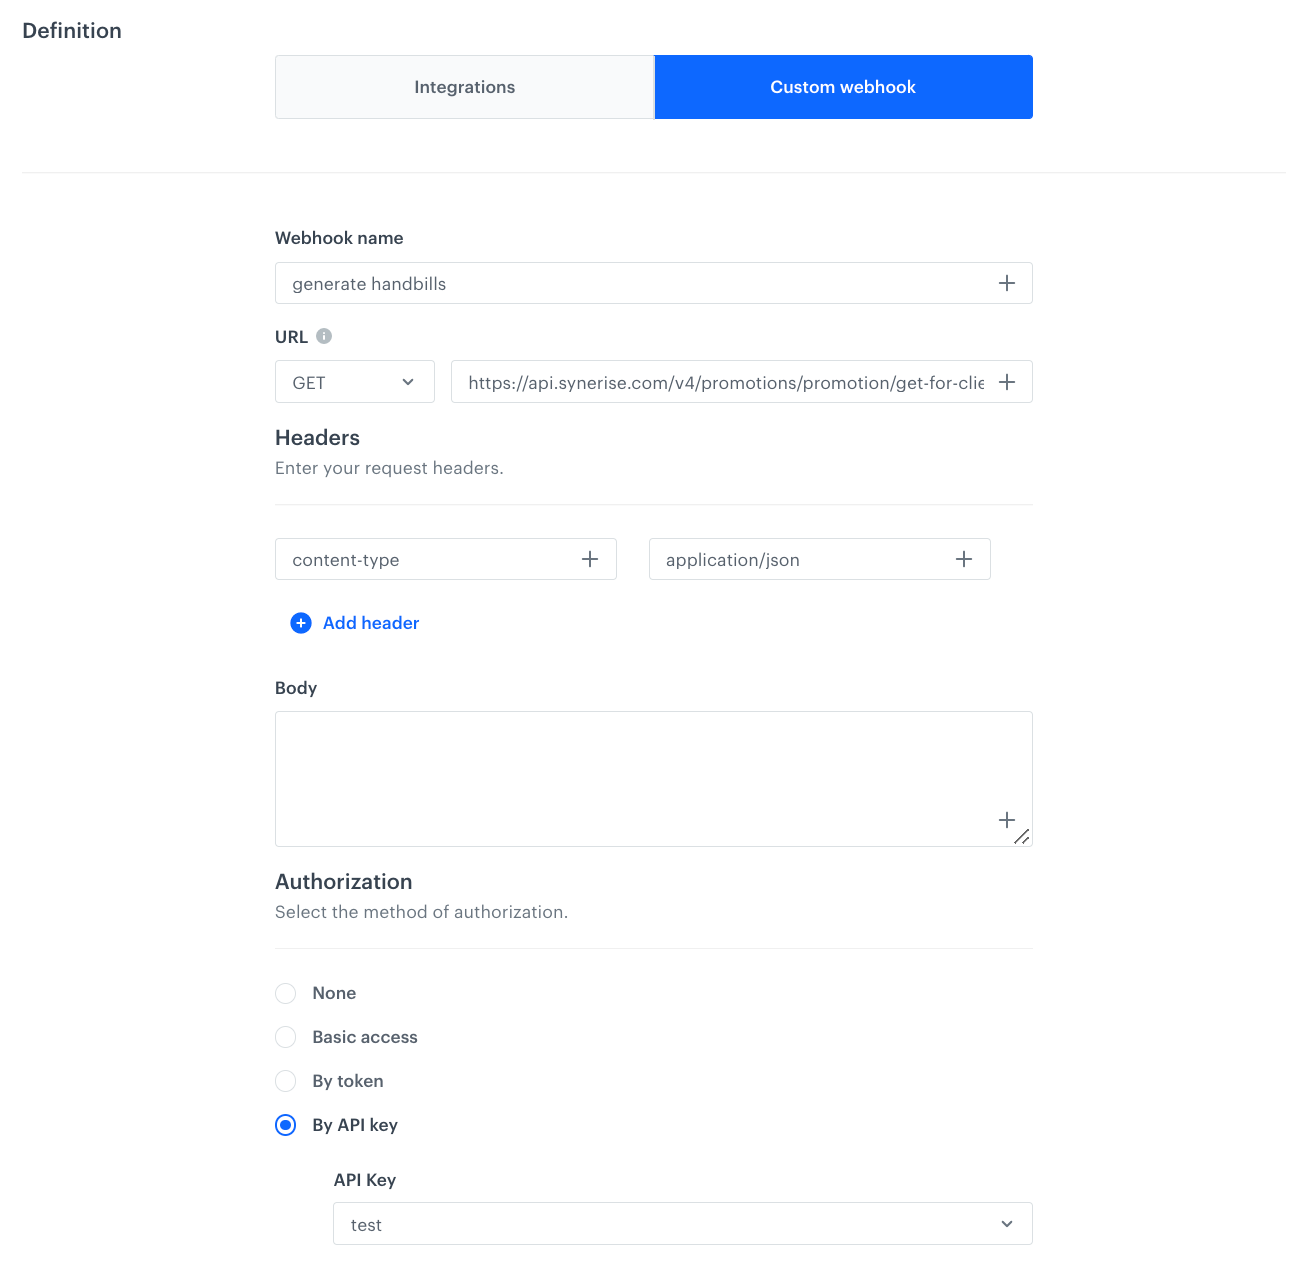
As the next node, add Outgoing integration.
- Select the Custom webhook tab.
- Enter the name of the webhook.
- Select the
GETmethod. - In the URL field, enter:
https://api.synerise.com/v4/promotions/promotion/get-for-client/clientId/{{client.id}}/handbill/HANDBILL-ID, whereHANDBILL-IDvalue must be replaced with the ID of the personalized promotion created in this step. - As authorization type choose
By API keyand select an API key with the proper permission according to documentation of endpoint that assigns personalized promotion. - Confirm by clicking Apply.
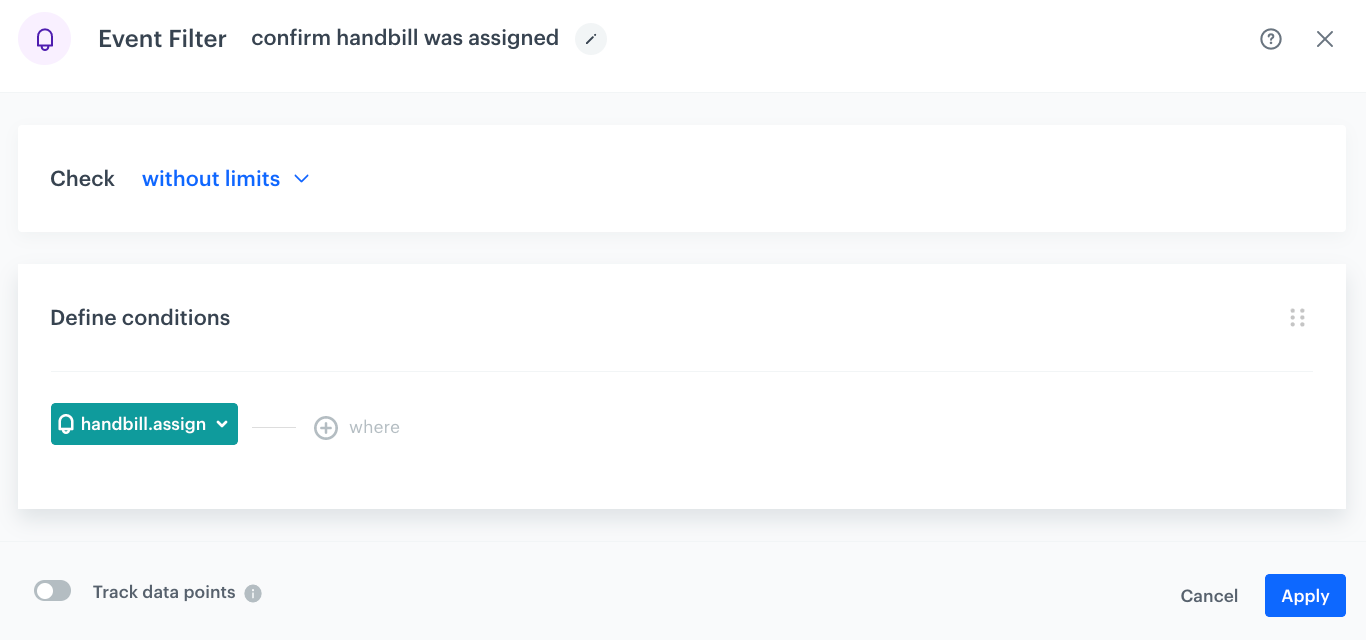
- As the next node, add Event filter. This node ensures that a mobile push is sent after the personalized promotion is assigned to a customer. In the node settings:
- From the Choose event dropdown menu, select the
handbill.assignevent. - Confirm by clicking Apply.
- From the Choose event dropdown menu, select the
-
As the next node, add Send Mobile Push. In the configuration of the node:
- Define the Template type.
- Select the Push template created in this step of the process.
- Confirm by clicking Apply.
-
Add the End node to finish the workflow.
-
Optionally, you can define capping in right upper corner. In capping configuration:
- Define Limit adn Time.
- Confirm by clicking Apply.
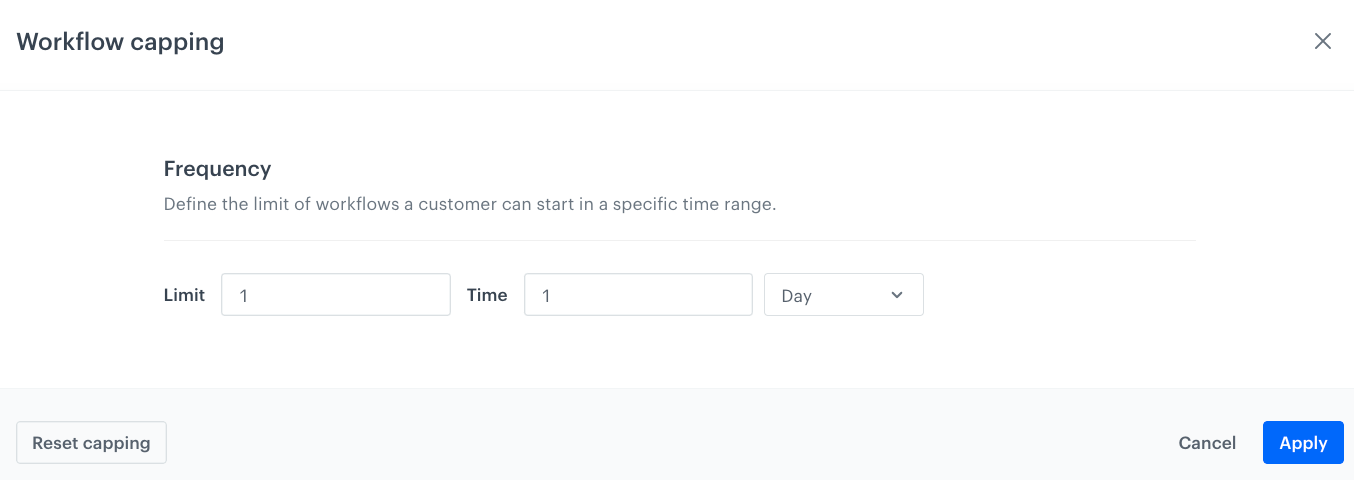
Example configuration of workflow capping -
Click Save & Run.
Once the personalized promotion is assigned to your customer, they will be displayed with all other promotions that are assigned to a specific customer in your mobile app.
Check the use case set up on the Synerise Demo workspace
You can also check the recommendation configuration and document settings) directly in Synerise Demo workspace.
If you don’t have access to the Synerise Demo workspace, please leave your contact details in this form, and our representative will contact you shortly.