


Personalized recommendations for 404 error page
There are many reasons why users may end up on a 404 error page, including situations when the user mistyped the URL. It is very important to have an optimized 404 page, as it significantly affects the user experience. By providing personalized recommendations or any alternative content on the error page, you can prevent users from feeling lost or frustrated and keep them engaged by encouraging them to continue browsing your site. A well-designed and informative 404 page can help improve user satisfaction, reduce bounce rates, and ultimately drive conversions.
This use case describes the creation of personalized recommendations on a 404 page that will display items most relevant to the user’s interests based on their activity on the site.

Prerequisites
- Implement a tracking code into your website.
- The item feed must be provided.
- Configure an item catalog for recommendations. Enable the personalized recommendations.
Process
In this use case, you will go through the following steps:
- Create AI recommendations with personalized products.
- Create a dynamic content campaign.
Prepare AI recommendations
In this step, create an AI recommendation campaign that will be used to display products on page 404.
- Go to
 Communication > Recommendations > Add recommendation.
 - Enter the name of the recommendation (it is only visible on the list of recommendations).
- In the Type & source section, click Define.
- From the Catalog dropdown list, select a product feed.
- Select the Personalized recommendation type.
- Confirm the recommendation type by clicking Apply.
- In the Items section, click Define.
- Click Add slot.
- Click Unnamed slot that was created.
- Define the minimum and maximum number of products displayed in the frame according to your needs.
- Optionally, you can use filters to include specific items in the recommendation frame.
- Confirm the configuration by clicking Apply.
- Optionally, you can use boosting option to promote or demote any items attributes in the recommendation frame.
- Optionally, you can also define the settings in the Additional settings tab according to your needs.
- Click Save.
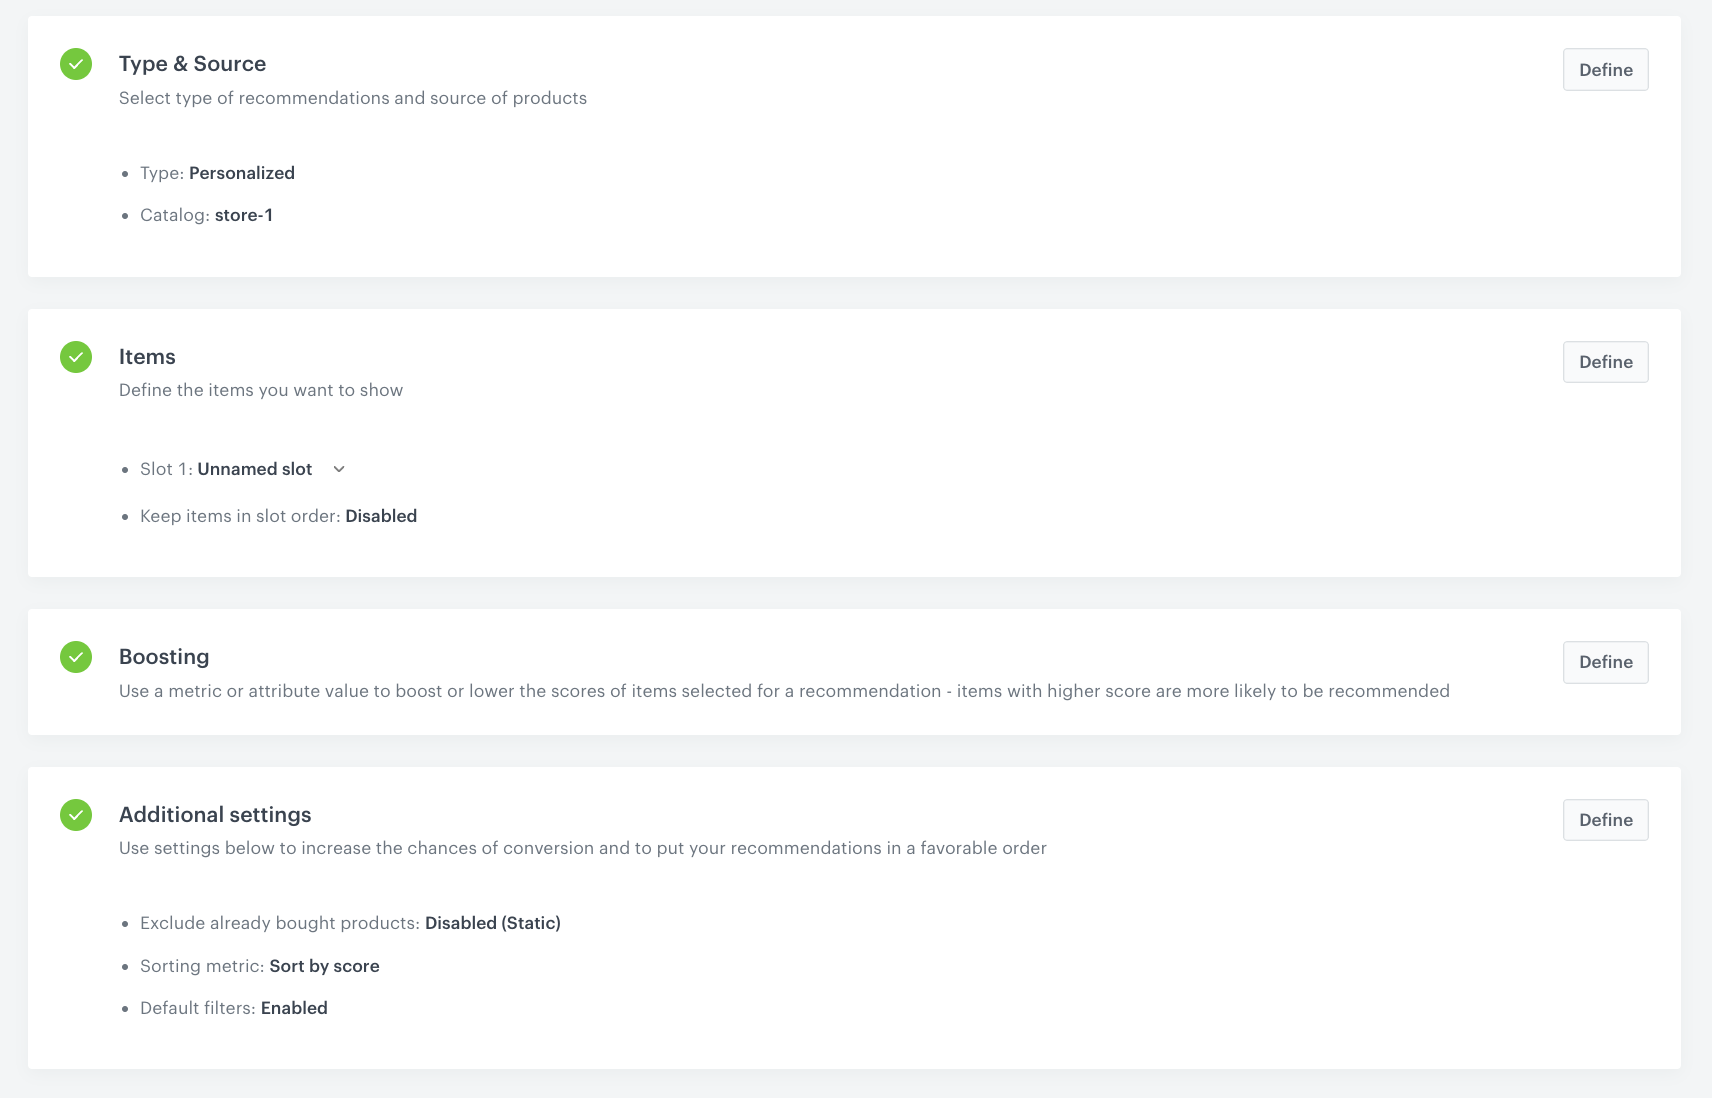
AI recommendation campaign configuration
Create dynamic content
Use dynamic content to insert recommendations in the specific place on your 404 page. The most efficient way to do so is to use a unique CSS selector which is added only to the 404 page. In our case, we use the body.cms-no-route selector.
To prepare dynamic content:
-
Go to
Communication > Dynamic content > Create new. -
Enter the name of the dynamic content.
-
Choose the Insert Object type.
-
In the Audience section, select Everyone.
-
In the Content section, select Simple message, and specify the CSS selector where you want to insert recommendations.
-
In the Content tab, click Create Message.
-
In the code editor, insert Jinjava with the AI recommendation and add your own CSS.
Click to see JinjavaReplace
your_campaign_IDwith the ID of the AI recommendation. The ID of the AI campaign is contained in the URL of the recommendation.<!-- Downloading the AI campaign --> {% recommendations3 campaignId=your_campaign_ID %} {% for p in recommended_products3 %} <li data-snr-ai-product-id="{{p.itemId}}"> <a class="snrs-AI--item-link" href="{{p.link}}" title="{{p.title}}"> <img src="{{ p.imageLink }}"class="products-slider__item-image snrAI-product-image snrAI-product-image-{{p.itemId}}" width="90" alt="{{p.title}}" id="snrAI-image-{{p.itemId}}"> <h3 class="snrs-AI-product--product-name"> <span class="snrs-AI-product--name-first">{{p.title}}</span> </h3> <span class="snrs-AI-product--series">{{p.attributes.series}}</span> </a> </li> {% endfor %} {% endrecommendations3 %} -
Save the template.
-
In the Schedule section, select the date when the dynamic content is activated.
-
In Display settings, define the circumstances for displaying the content.
Note: Instructions how to do it are available here. -
Confirm by clicking Apply.
-
In the UTM & URL parameters section, click Skip step.
-
Activate the dynamic content.
Result: The recommendation frames are displayed on the website.
Check the use case set up on the Synerise Demo workspace
You can check the recommendations settings and dynamic content campaign in Synerise Demo workspace.
If you don’t have access to the Synerise demo workspace, please leave your contact details in this form, and our representative will contact you shortly.