Email with discounted product recommendations
The best way to improve your sales results are personalized recommendations. They are much more effective than simply offering bestsellers or popular products. Each of us has different tastes. Taking into account the user’s previous visits to the website and previously viewed products is much easier if we use AI algorithms.
There are many examples where these recommendations can be applied, including emails informing customers about a discount in the online store. Showing personalized products can increase engagement, click rates and conversions.
Example of use - Retail industry
Challenge
A customer from the footwear industry decided to supplement their standard newsletter informing customers about a sale with personalized recommendations, e.g. products selected by AI for each user individually based on their previous activities.
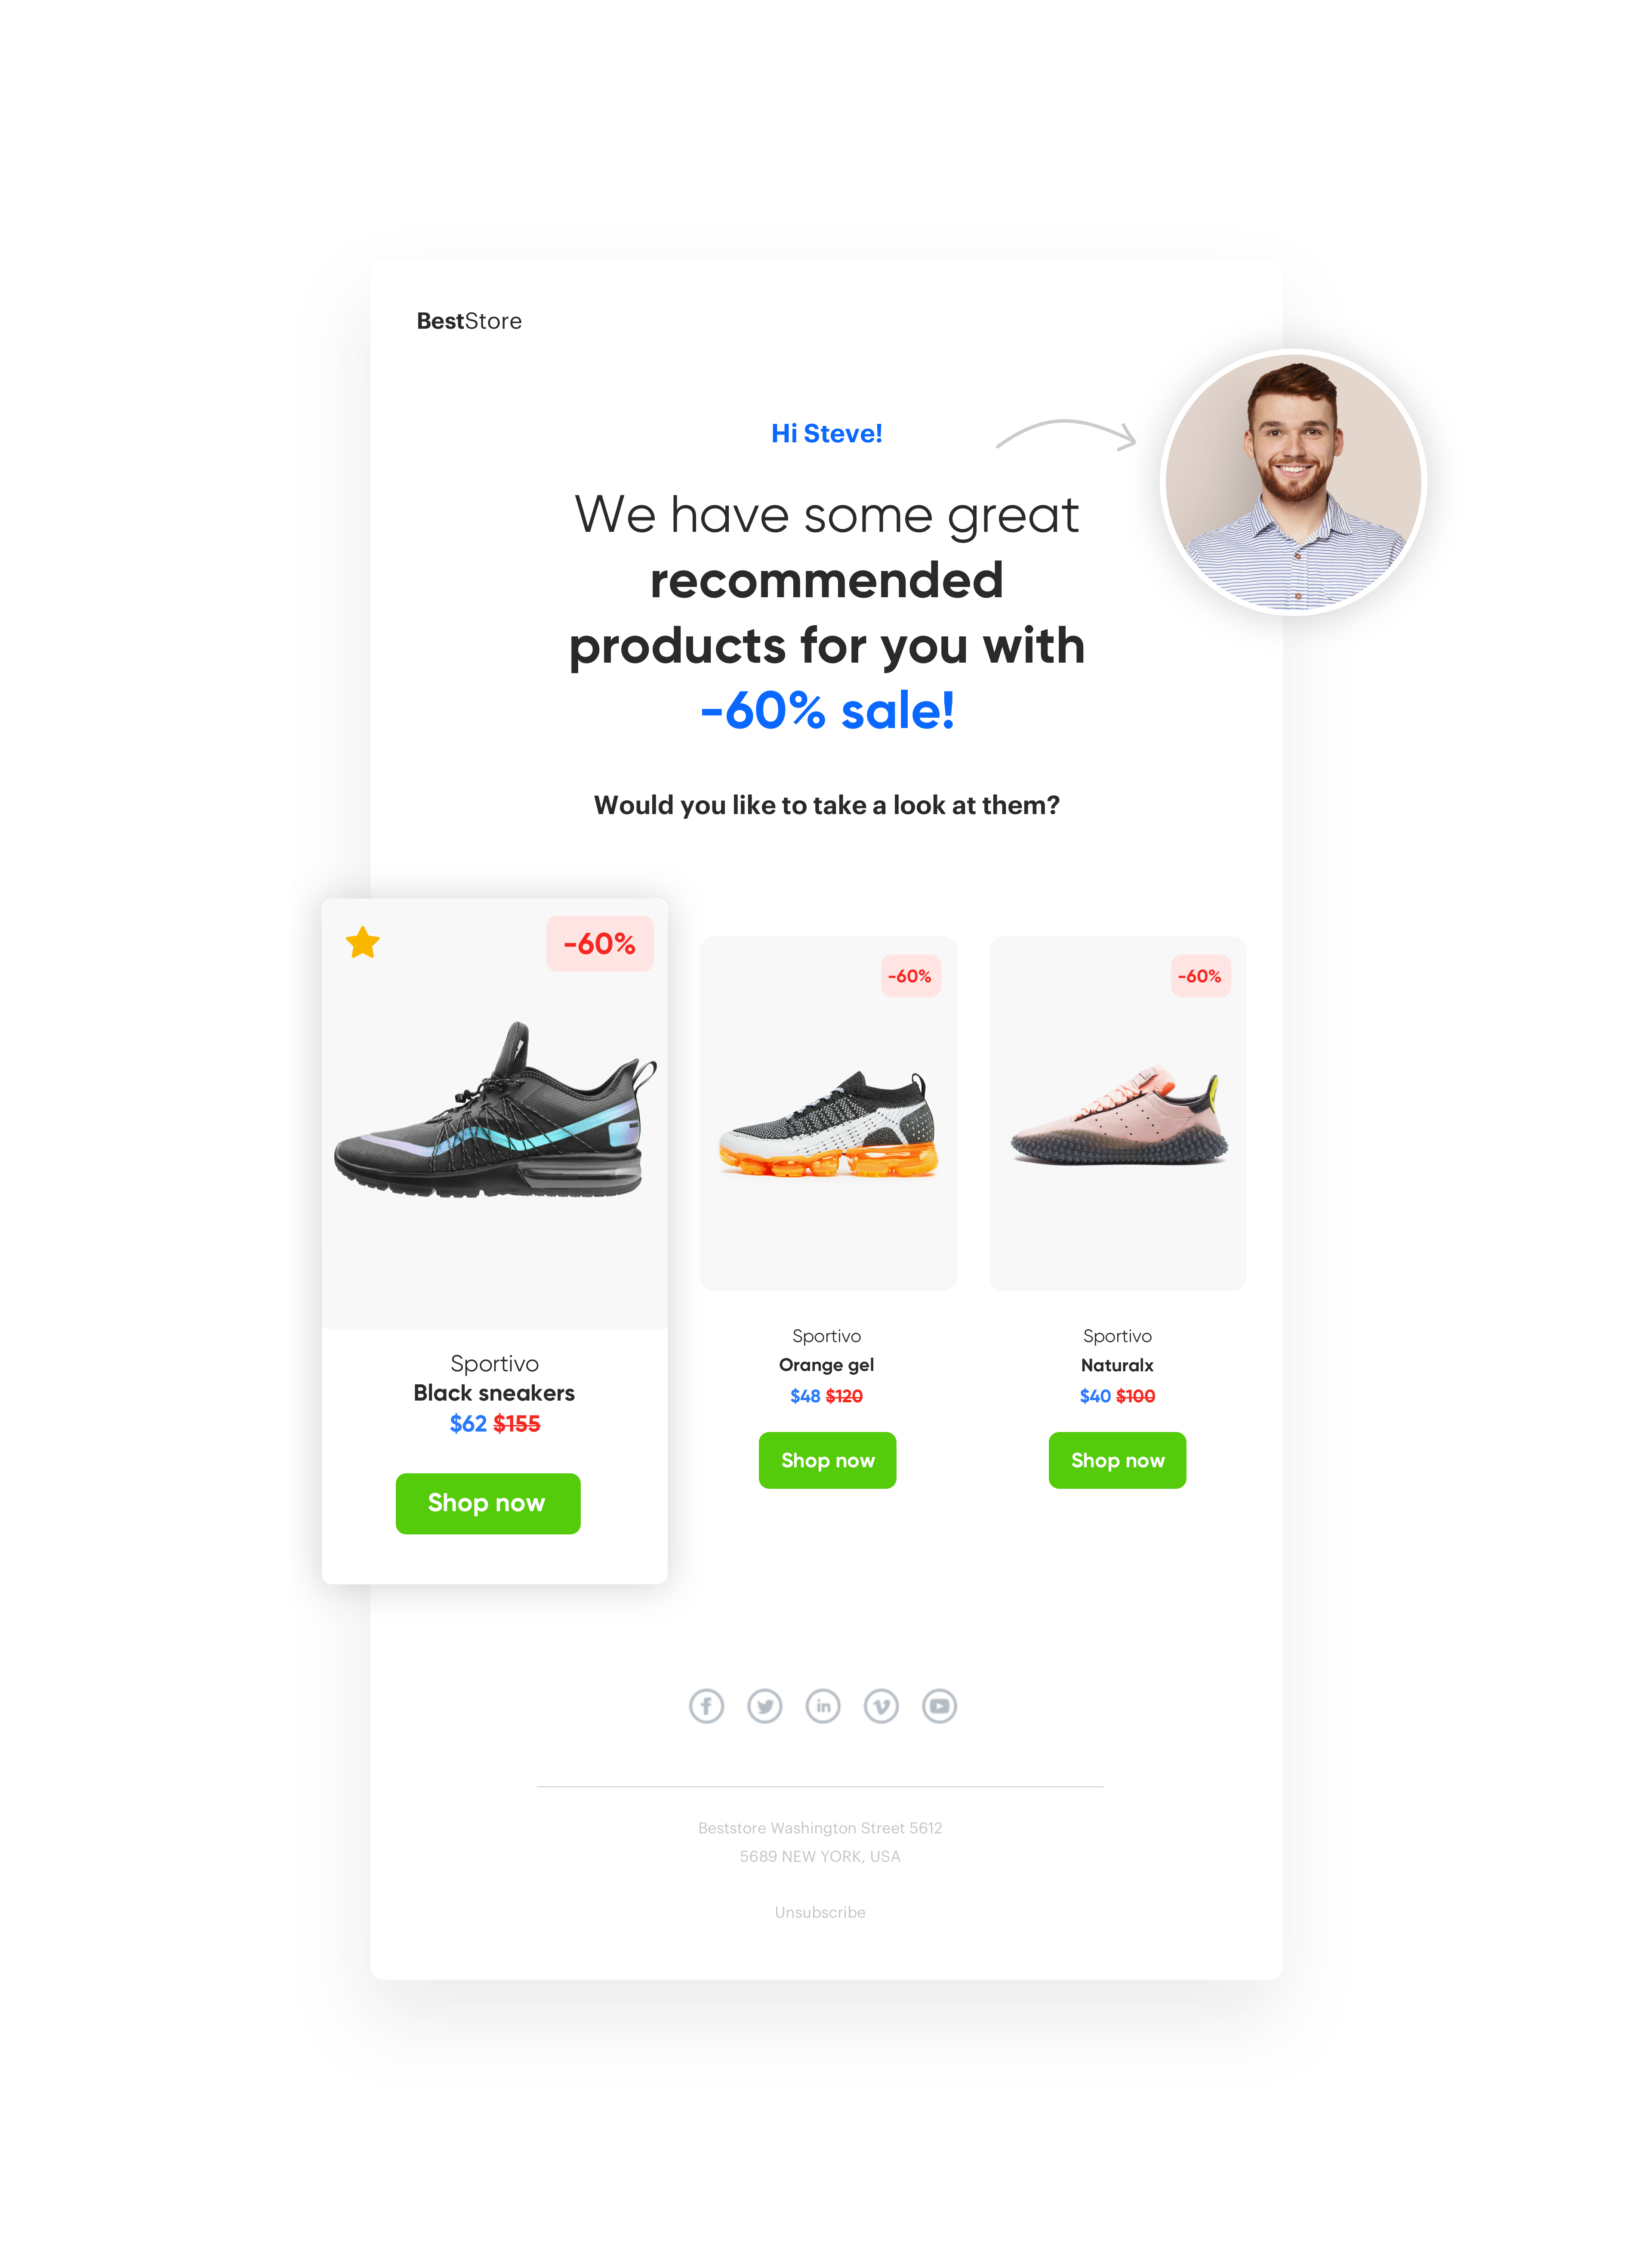
They completed the recommendations with the key filter for this communication - the customer could only receive discounted products in the message, so that it would be connected with the main message about the discount, which could shorten the customer’s path to buying products covered by the promotion.
Results
Results from this use case:
- OR 14,53%
- CTR 2,18%
- Conversion rate (transaction from AI Recommendation to clicks) 0,8%
Prerequisites
- Tracking code implemented on your website.
- Product feed which:
- will have price and sale price attributes,
- or will have special attribute which labels the products on sale.
- Email account configured.
- Subscriber’s database implemented.
Process
To prepare an email with discounted product recommendations, perform the following steps:
- Prepare an AI Recommendation.
- Prepare an HTML email template and set up the email communication.
Prepare an AI Recommendation
-
Go to Communication > Recommendations > Add recommendation.
-
Enter the name of the recommendation (it is only visible on the list of recommendation).
Important: If you have a dedicated attribute in the feed that tags only available products, go to additional attributes, select it from the list and indicate its value.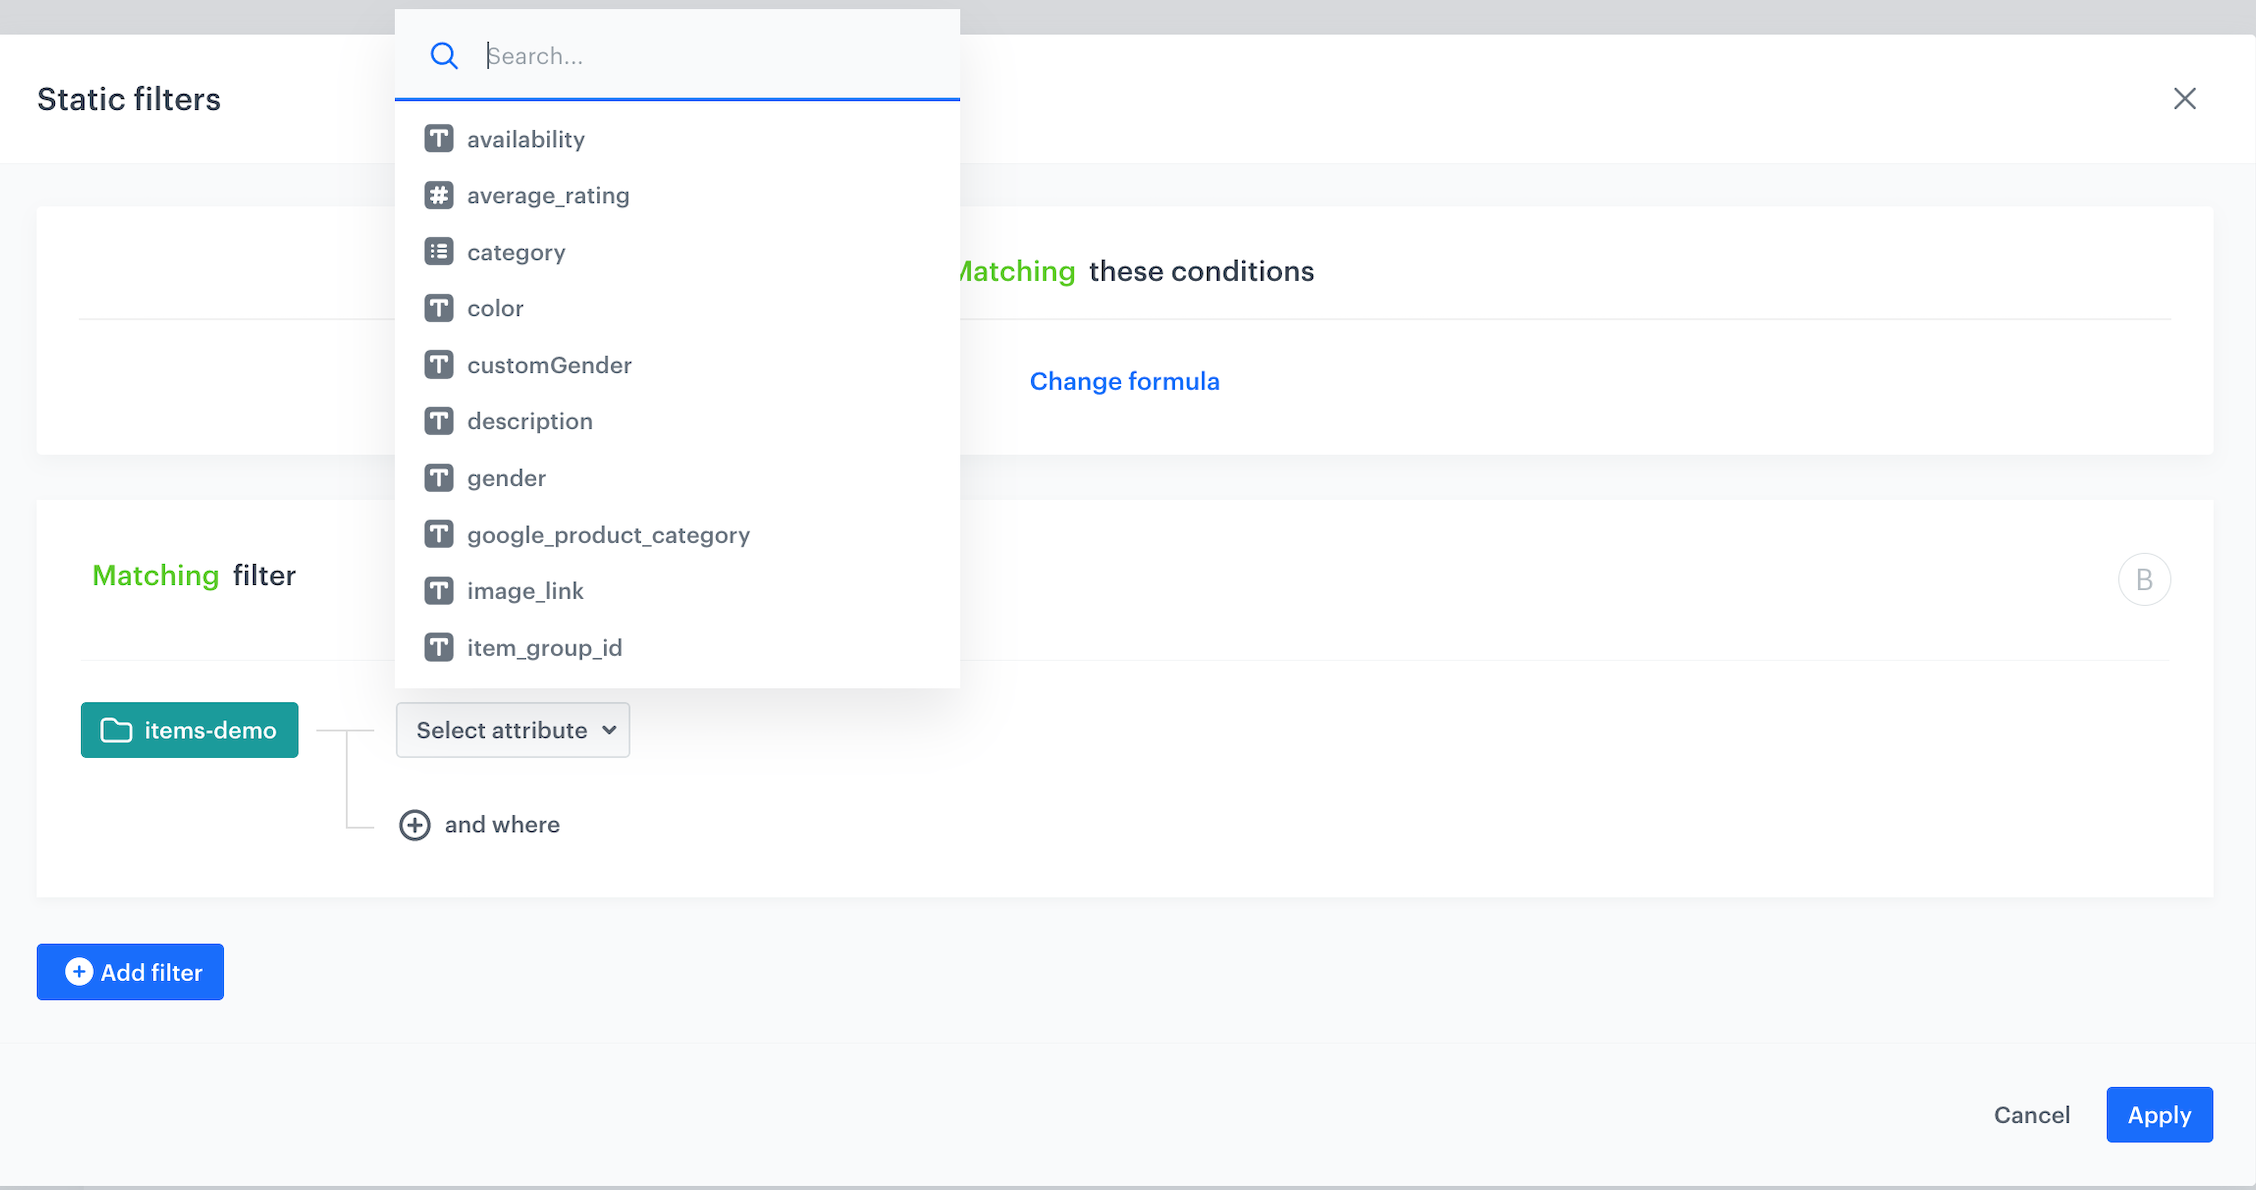
Attributes -
In the Type & source section, click Define.
-
From the Catalog dropdown list, select a trained product feed.
-
Select the recommendation type. If the recommendations are greyed out, it means the AI engine is not trained yet.
-
Confirm the settings by clicking Apply.
Prepare an HTML email template
Prepare and HTML email template in which, using Jinjava, you can add the previously prepared AI Recommendation.
-
Go to Communication > Email.
-
Click Email template icon.
-
Create email templates in CSS and HTML by selecting the Code editor.
-
Click the Insert you want to add to the email. As a result, a field with the Jinjava code appears.
-
To copy the code to the clipboard, click the icon on the right side of the field.
Check the jinja code{% recommendations2 campaignId=gldDitcfMer0J %} {% for p in recommended_products2 %} <td style="width: 146px;text-align: center;padding: 0 2px;" data-snr-ai-product-id="{{ p.productRetailerPartNo }}" > <a style="width: 150px;color: #3b4652;text-decoration: none;font-family: Arial;" class="snrs-AI--item-link" href="{{ p.link }}" title="{{ p.title }}"> <img src="{{ p.imageLink }}" class="products-slider__item-image snrAI-product-image snrAI-product-image-{{p.productRetailerPartNo}}" width="90" alt="{{ p.title }}" id="snrAI-image-{{ p.productRetailerPartNo }}" /> <h3 class="snrs-AI-product--product-name"> <span class="snrs-AI-product--name-first">{{ p.title }}</span> </h3> </a> </td> {% endfor %} {% endrecommendations2 %} -
Prepare an HTML email template
-
Add the title of the email.
-
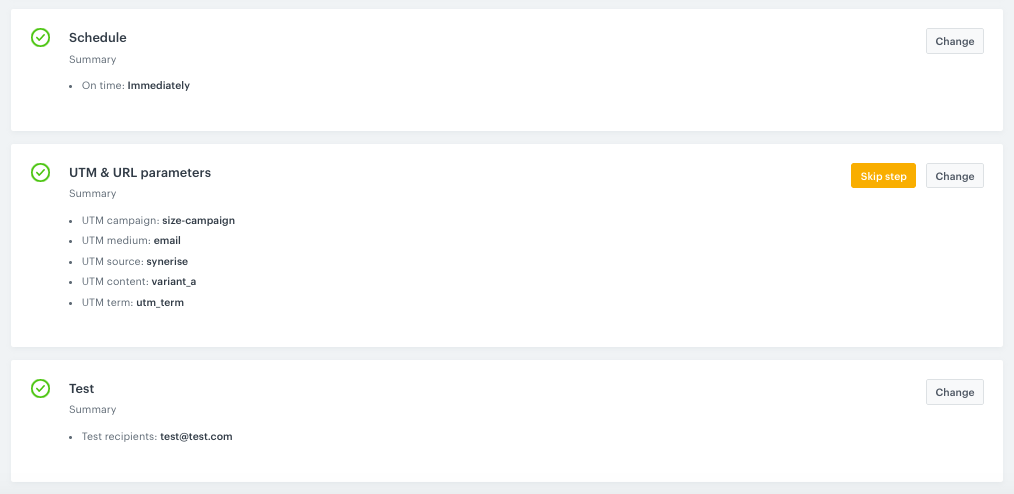
In the Schedule tab, decide when your email is sent.
-
In the UTM & URL parameters section, add the parameters to track the email performance.
-
Send tests of your message to verify if the content of the email is displayed correctly.
Check the use case set up on the Synerise Demo workspace
Check the AI campaign in Synerise Demo workspace. Email campaign settings you can find here.
If you don’t have access to the Synerise Demo workspace, please leave your contact details in this form, and our representative will contact you shortly.