Send emails 14 days before a customer's birthday
Birthday discounts and offers are a perfect chance to surprise your customers. One of the ideas for a birthday campaign may be sending a happy birthday message two weeks prior to a customer’s birthday. This way, not only do you remind them about the celebration day, but can also provide a birthday discount and offer a range of personalized products a customer can treat themselves to for their upcoming birthday. However you choose to wish your customers a happy birthday, it’s a great opportunity to show them how much they mean to your business.
In this use case, you will create a dynamic attribute which will be assigned to the customers whose birthday is in 14 days. In the further part of the process, you will use this attribute to group those customers and prepare a workflow which sends an email to them.
Prerequisites
- Implement a tracking code into your website.
- Customers’ profiles must be supplied with the birthdate (ISO timestamp format).
- Configure an email account.
- Optionally, you can create a voucher pool.
Process
In this use case, you will go through the following steps:
Create expressions
In the first part of the process, you create four expressions. The first three expressions will be components of the last expression, which returns information whether a customer’s birthday is in 14 days.
Return the day of birthday
Create an expression which returns only the day of the birthday as a number.
-
Go to
 Analytics > Expressions > New expression.
 -
As the name of the expression, enter
Month day of birthday. -
Leave the Expressions for option at default (Attribute).
-
In the formula of the expression:
- Click Select.
- From the dropdown list, select Function > Day of month.
- Click the Select button in the brackets.
- From the dropdown list, select Customer.
- Click the unnamed node.
- At the bottom of the page, click Choose attribute.
- From the dropdown list, select the attribute which indicates birthday formatted as an ISO timestamp (
 ).
).
-
Click Save.
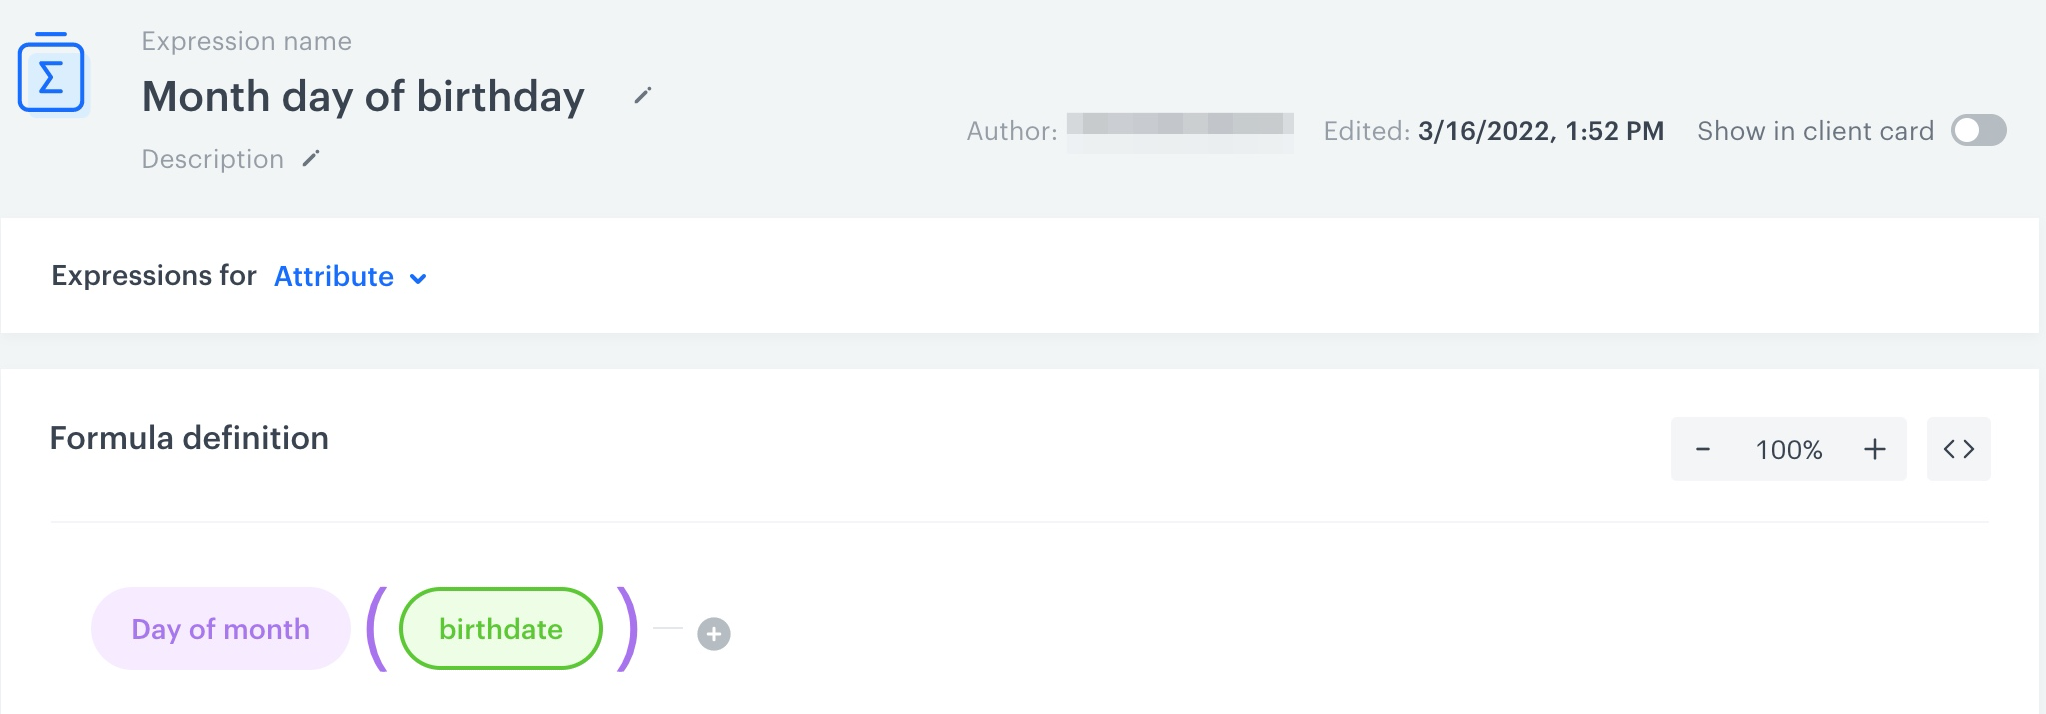
The configuration of the expression that returns the day of birthday
Return the month of birthday
Create an expression which returns only the month of the birthday as a number (for example, 8 stands for August).
- Go to Analytics > Expressions > New expression.
- As the name of the expression, enter
Month of birthday. - Leave the Expressions for option at default (Attribute).
- In the formula of the expression:
- Click Select.
- From the dropdown list, select Function > Month.
- Click the Select button in the brackets.
- From the dropdown list, select Customer.
- Click the unnamed node.
- At the bottom of the page, click Choose attribute.
- From the dropdown list, select the attribute which indicates birthday formatted as an ISO timestamp ().
- Click Save.
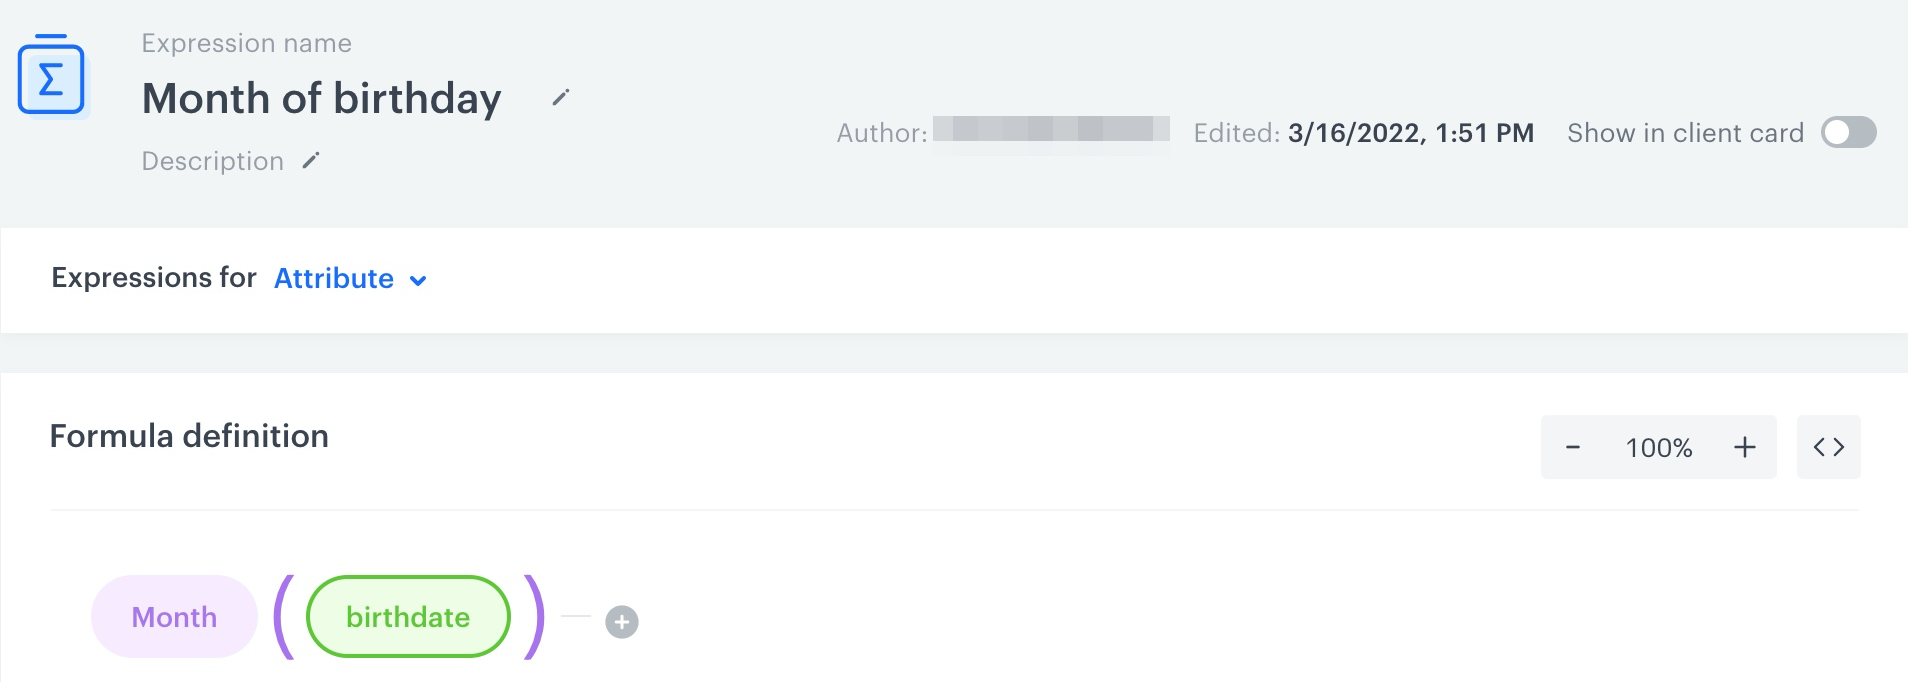
The configuration of the expression that returns the month of birthday
Return the date 14 days ahead
Create an expression that returns the date 14 days ahead (including the current day).
In the formula of the expression, you add the product of multiplying 86400000 by 14 to the current date. 86400000 is 24 hours in milliseconds and 14 stands for the 14 days.
The expression returns the timestamp of the date in 14 days in ISO 8601. For example, if the current date is March 23, 2022, 15:00, the expression will return 2022-04-05T15:00:00.000Z
- Go to Analytics > Expressions > New expression.
- As the name of the expression, enter
Date 14 days ahead. - Leave the Expressions for option at default (Attribute).
- On the dashboard, build the following formula of the expression:
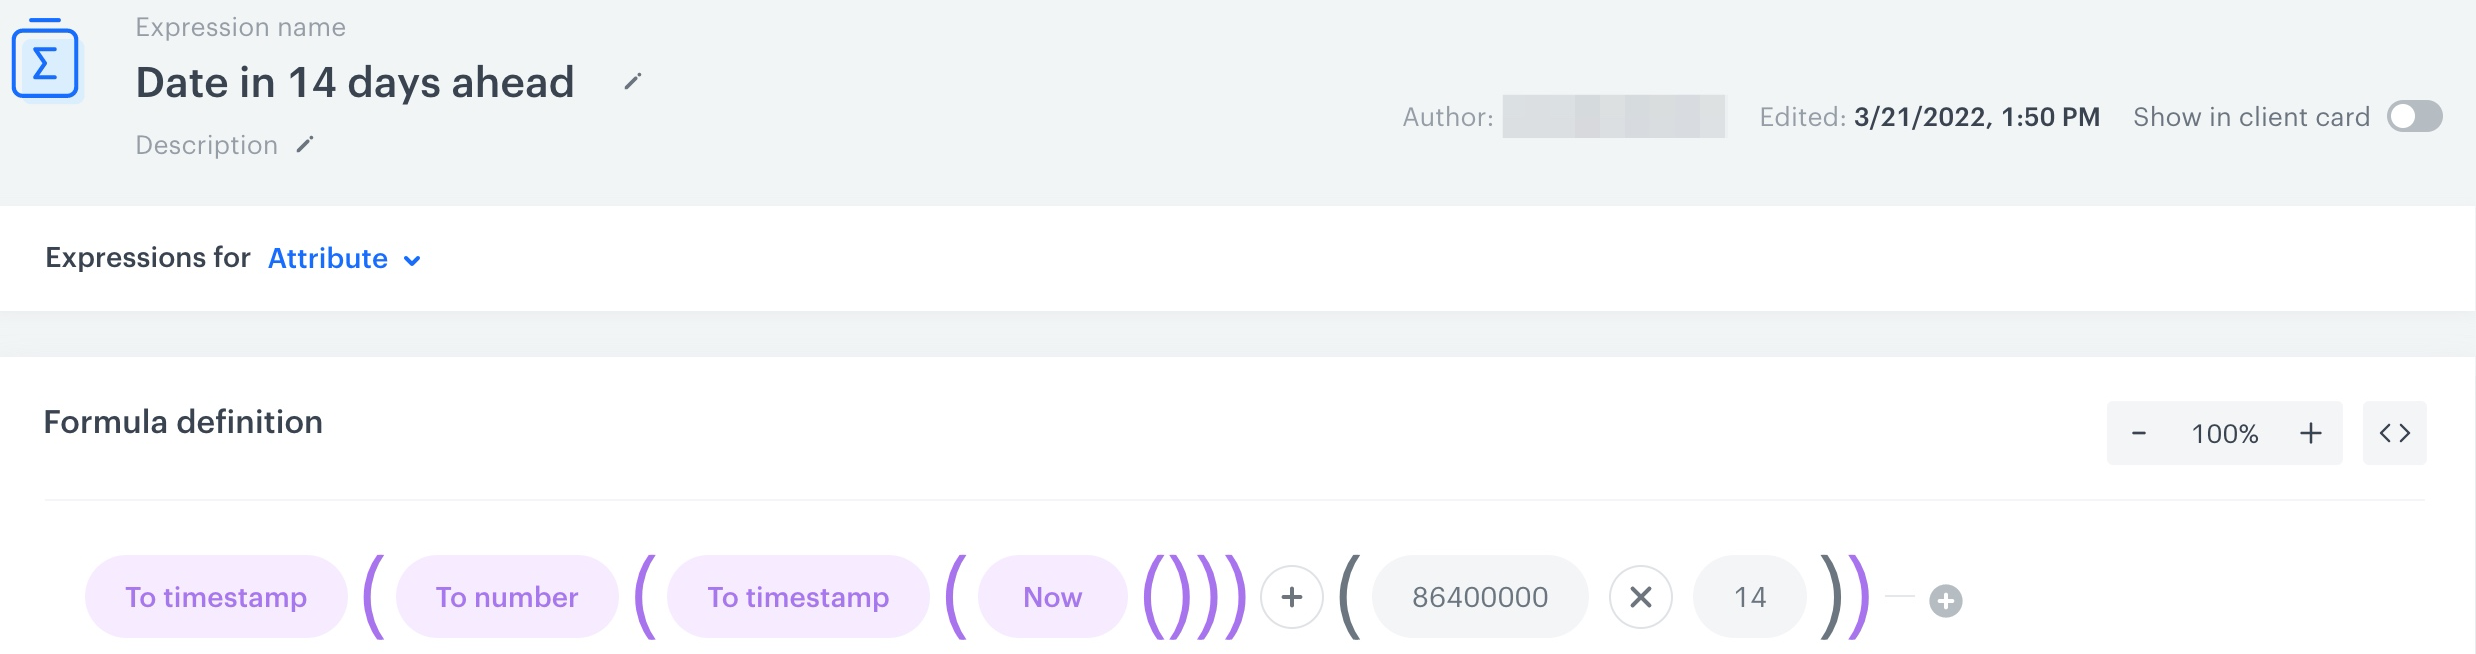
The configuration of the expression that returns the date 14 days ahead Click to see the video tutorial - Click Save.
Identify customers whose birthday is in 14 days
Create an expression that informs if a customer’s birthday is in 14 days. In the formula of the expression, you compare the day of the month and the month of birthday with the date 14 days ahead from now. If they are the same, the expression returns true, if not, false.
- Go to Analytics > Expressions > New expression.
- Enter the name of the expression.
- Leave the Expressions for option at default (Attributes).
- Optionally, you can enable the Show in profile card toggle, so the result of the expression is visible in the profile of a customer.
- On the dashboard, build the following expression formula using the expressions you created in the previous steps:

The configuration of the expression that returns information whether customer has birthday in 14 days Click to see the video tutorial - Click Save.
Create an email template
In this part of the process, create an email template with a birthday discount code for the customers who will celebrate their birthday in 14 days.
- Go to
 Communication > Email.
 - On the left pane, click Templates.
- Select the wizard:
- Drag&drop builder - use ready-made components to build an email template.
- Code editor - use HTML, CSS and JS to build an email template from scratch.
- Build a template.
- Save the template.
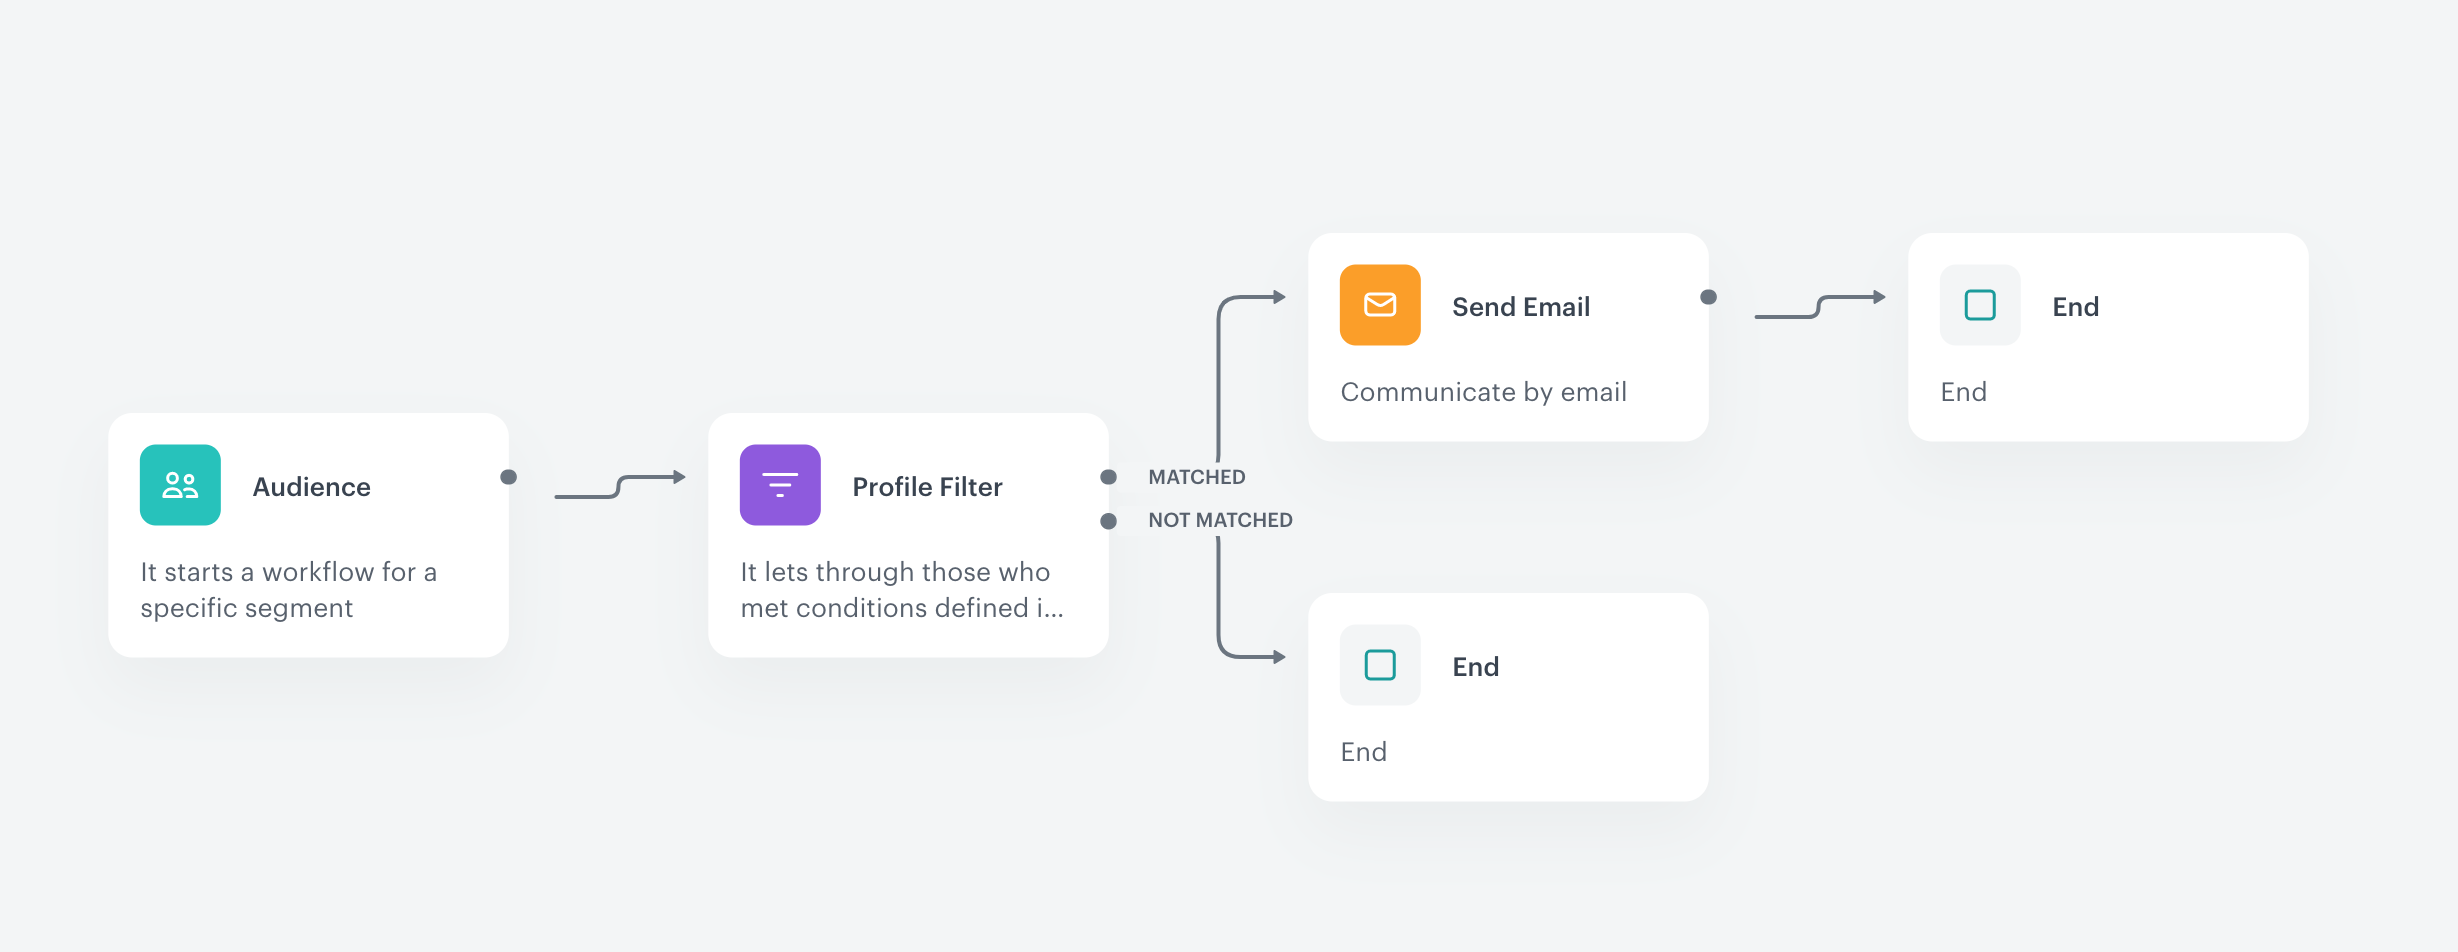
Create a workflow
In this part of the process, create a workflow that will be targeted at customers who have birthday in 14 days from today. The workflow will be launched automatically every day.
- Go to
 Automation > Workflow > New workflow.
 - Enter the name of the workflow.
- Set capping to 1 email in 12 months.
This configuration means that the capping remains in effect for a customer for 360 days since the day of the workflow launch for this customer (12 months multiplied by 30 days, in context of capping, a month always equals 30 days). - As the first node, add Audience.
- In the configuration of the Audience node:
- As the Run trigger option, select repeatable.
- Set the interval to 1 day.
- In the Begin at field, select the date.
Note: It can’t be the past date. - From the Timezone dropdown list, select the time zone consistent with the time zone of your workspace.
- In the Define audience section, click New audience.
- Click Choose filter.
- Select the Clients tab.
- Select the previously created expression which checks if a customer’s birthday is in 14 days.
- Click the
 icon.
icon. - Select Is true.
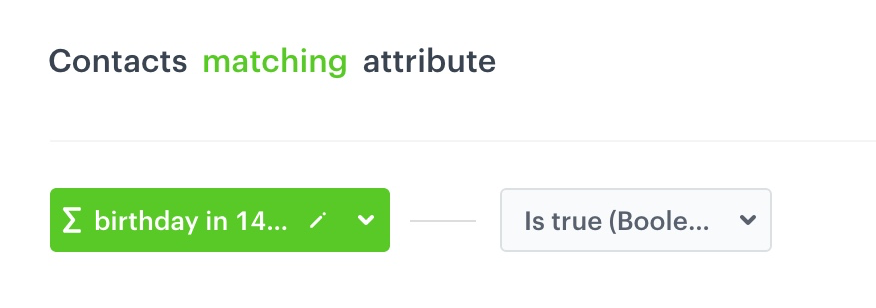
Filter settings in the Define audience section - Confirm by clicking Apply.
- As the second node, add Profile Filter.
- In the configuration of the Profile Filer node:
- Select
newsletter_agreement. - As the logical operator, select Equal.
- In the text field, enter
enabled.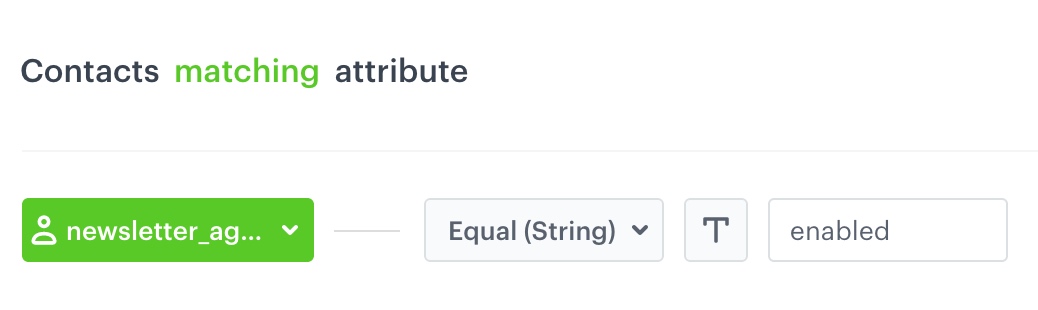
Filter settings in the Profile Filter node - Confirm by clicking Apply.
- Select
- At the
matchedpath of the profile filter node, add a Send Email node. - In the configuration of the Send Email node:
- In the Sender details section:
- Select the account from which the email will be sent.
- Confirm by clicking Apply.
- In the Content section:
- Enter the email subject which will be visible in the customer’s inbox.
- Select the email template you created earlier.
- Confirm by clicking Apply.
- In the URL & UTM parameters section:
- If you don’t want to add the parameters, click Skip this step.
- If you want to add the parameters, click Define and define the parameters.
- In the Sender details section:
- Add the End nodes to the
not matchedpath of Profile Filter node and after the Send Email node. - Click Save & Run.
Check the use case set up on the Synerise Demo workspace
You can check described expressions below:
- expression that returns the month day of birthday
- expression which returns the month of birthday
- expression that returns the date in 14 days ahead
- expression which presents customers whose birthday is in 14 days.
Check also the created workflow that will be targeted at customers who have birthday in 14 days from today.
If you don’t have access to the Synerise Demo workspace, please leave your contact details in this form, and our representative will contact you shortly.