Roles
A user is a person with access to a workspace and its features. However, due to security reasons, each Synerise feature is only accessible to users who are assigned with a particular user role. Synerise has a role-based permission system, which means that you can assign roles to users and set permissions for roles. The process starts with creating a role and then ends with selecting permissions for a role.
Roles
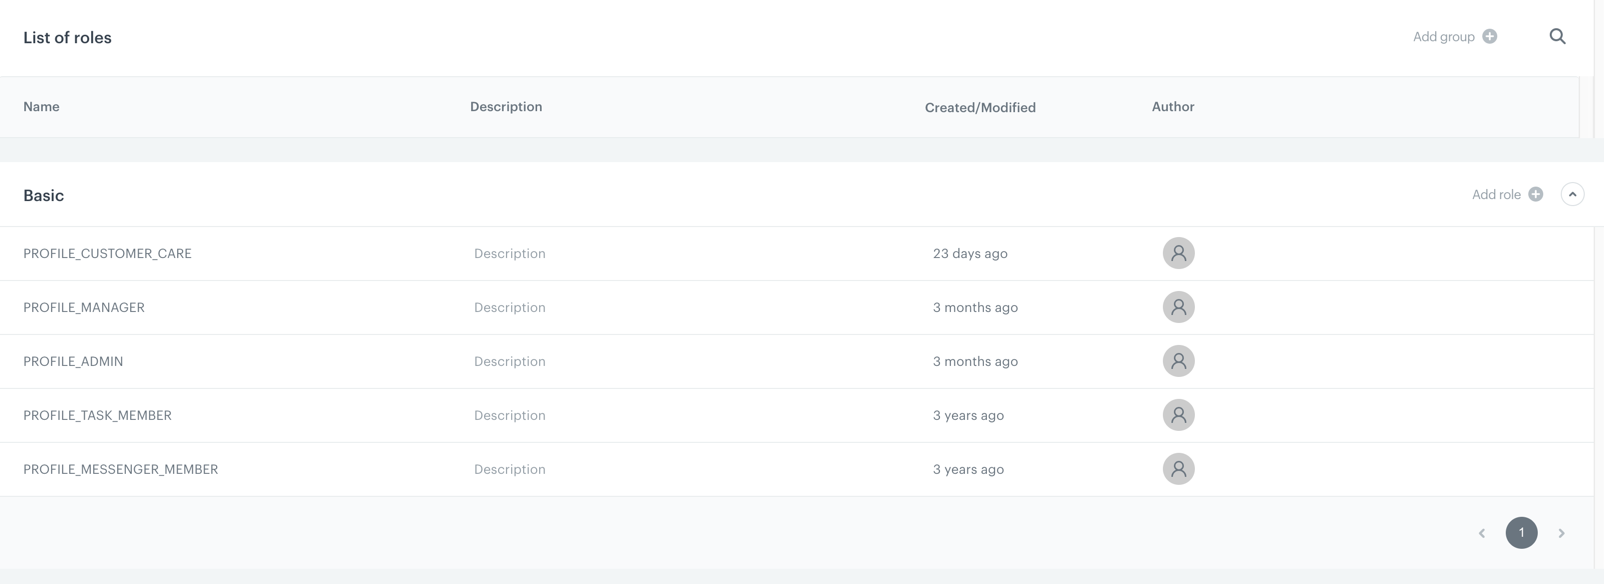
You can create roles that consist of permission groups and to each role you can assign specific sets of permission groups. By default, you are able to make use of a basic group that contains 5 roles.
| Role | Scope of permissions |
|---|---|
| Admin | This role has the ultimate configuration of permissions. Admins have access to every module and feature within the module. They have possibility to preview, create, edit, delete and execute all actions in the application. |
| Manager | This role grants the access to all modules, however, advanced account configuration settings are not accessible. Managers can create, edit and preview some communication channels types, execute all analytic types, have access to Profiles, and Data Management module. |
| Task member | This role allows users to display only their account settings. |
| Customer care | This role grants the access to Communication, Automations, Analytics, Data Management (catalogs, attributes, tags, and code pools) and to some options in Settings only in read-only mode. |
| Messenger member | This role allows users to display only their account settings. |
Permissions
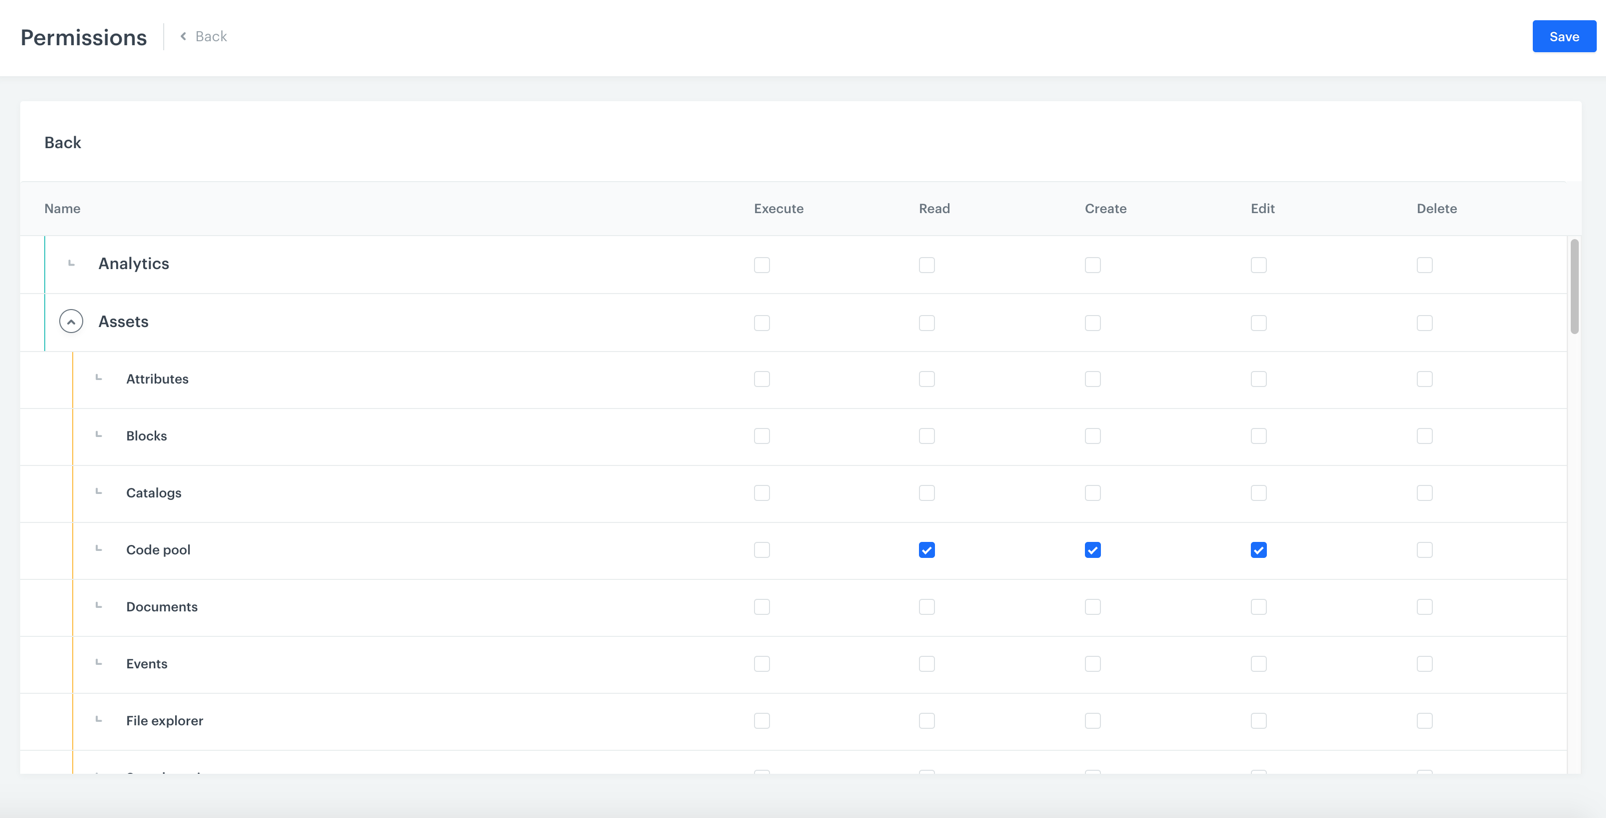
Permission list is divided into modules (for example, Analytics, Communication or Profiles) and each module is divided into features (for example, Emails, Landing page or Tags ). Due to this arrangement, you can grant access to particular features or whole modules and define the scope of actions possible to take for a specific role.
The scope of actions covers: read, edit, create, delete, execute.
Creating roles
- To create roles or edit the set of permissions for a given role, go to
 Settings > Roles.
 - If you want to create a group of roles, start by adding a new group by clicking the Add group button.
- In the pop-up, you need to enter the name of the group and, optionally, write a short description to let other users know the purpose of the group. Confirm by clicking the Save button.
- On the list, find the group you have just created.
- If you already have a group and you want to add a new role to the group, click the Add role button in the chosen group.
- In the pop-up, enter the name and, optionally, write a short description for the role.
- From the dropdown, select the group you want to add the role to.
- To add or edit permissions for a particular role, hover the mouse cursor over the role on the list and click the Permissions button.
- The list of permissions is divided into features and you can define the scope of actions for each feature by ticking the box under the appropriate action.
- To complete the process, click the Save button.
Later you can assign roles to users when adding them to a workspace.