"Update Customer List" node
The following instructions will show you how to configure a native integration with Google Ads that lets you add contacts stored in Synerise to Google Ads customer list. You may create different types of workflows that add contacts to customer lists:
- one time export that adds a single set of contacts to the Google Ads list on demand,
- cyclical export that runs periodically.
Taking the above into account, you may export contacts that belong to the specific segmentation, a static file with contacts or contact list fetched fron the external service.
Prerequisites
Access to a Google Ads Account that meets the requirements to access Customer Match.
Node configuration
- Click Google Ads > Update Customer List.
- Click Select connection.
- From the dropdown list, select the connection.
- If no connections are available or you want to create a new one, see Create a connection.
- If you selected an existing connection, proceed to defining the integration settings.
Create a connection
To allow the data exchange, establish a connection between Synerise and Google Ads.
- At the bottom of the Select connection dropdown list, click Add connection.
- On the pop-up, click Sign in with Google.
- Select a Google Ads Account that meets the requirements to access Customer Match.
- Follow the instructions on the interface.
- After the successful authentication, click Next.
- In the Connection name field, enter the name of the connection.
It’s used to find the connection on the list. - Click Apply.
Result: A connection is created and selected.
Define the integration settings
In this step, fill in the form that allows you to send data from Synerise to Google Ads.
- In the Google Ads Manager Account ID field, provide the manager account number.
- In the Google Ads customer ID (optional) field, provide the number of your Google Ads account. If it’s left empty, Google Ads Manager Account ID will be applied. Learn how to find a Google Ads customer ID (optional).
- In the Customer list ID field, enter the identifier of the customer list to which would like to add profiles.
- In the Select action dropdown list, select one of available options:
- Add customers to the existing list - adds new records to the existing records in the list
- Overwrite the existing list - existing records will be overwritten by new ones, you will lose previous data.
- From the Ad user data consent dropdown list, select the consent status (Granted, Unspecified, and Unknown) of all customers whose data you send to Google Ads. Consent status will be applied to all records you will send.
- From the Ad personalization consent dropdown list, select the consent status (Granted, Unspecified, and Unknown) for ads personalization. Consent status will be applied to all records you will send.
- Confirm by clicking Apply.
Example of use
The exemplary workflow shows the process of sending contacts from a static file to Google Ads list.
Prerequisites
- Create a customer list in your Google Ads account.
- Create a file with contacts to be exported. The file must follow specific formatting guidelines in order to be accepted. Incorrect formatting can lead to an upload error or a low number of matched records:
- the file must be in the comma separated CSV format,
- the columns in the file must follow one of the specifications below:
- Email address matching: Use
Emailas the column header name in your data file. - Phone matching: Use
Phoneas the column header name in your data file. - Postal address matching: For postal address matching, your data file must contain these 4 column headers:
First Name,Last Name,Country, andZip. If any of the required column header names are missing, your upload will fail. - Combined email address, postal address, and phone matching: Your file must contain these 6 column headers:
Email,Phone,First Name,Last Name,Country, andZip. If you have multiple email addresses, postal addresses, or phone numbers for a single customer, your file may include multipleEmail,Zip, orPhonecolumns. You only have to include data fields that you find relevant to your customers. You may upload one data field, such as email addresses, or multiple data fields, such as postal addresses and phone numbers. - Mobile Device ID matching: Use
Mobile Device IDas the only column header in your data file.
Note: Familiarize with the full specification of preparing a file with contacts here. Regardless of the method of providing a file (using local file to export contacts or fetching contacts from the specific segmentation), you may use Data Transformation rules to adjust your file to the required specification, for example by changing column names. - Email address matching: Use
Email,First Name,Last Name,Country,Zip,Email,Zip,Phone,Phone
test@gmail.com,john,smith,us,94016,,,1-800-888-8888,
test2@gmail.com,joanna,smith,cn,101300,test4@gmail.com,101500,,
test4@gmail.com,zoë,pérez,sg,WC2H 8LG,test6@gmail.com,,18008888899,1(800)888-8888
Process
Create a one-time workflow that sends the file with contacts to the customer list in Google Ads.
- Start the workflow with the Scheduled Run node. In the configuration of the node:
- Set the Run trigger option to one time.
- Select the Immediately tab.
- As the next node, select Local File. In the configuration of the node:
- Upload the file.
- Confirm by clicking Apply.
- To send the file with customers data, add Google Ads > Update Customer List. Fill in the configuration form in the node.
- Add the End node.
Result: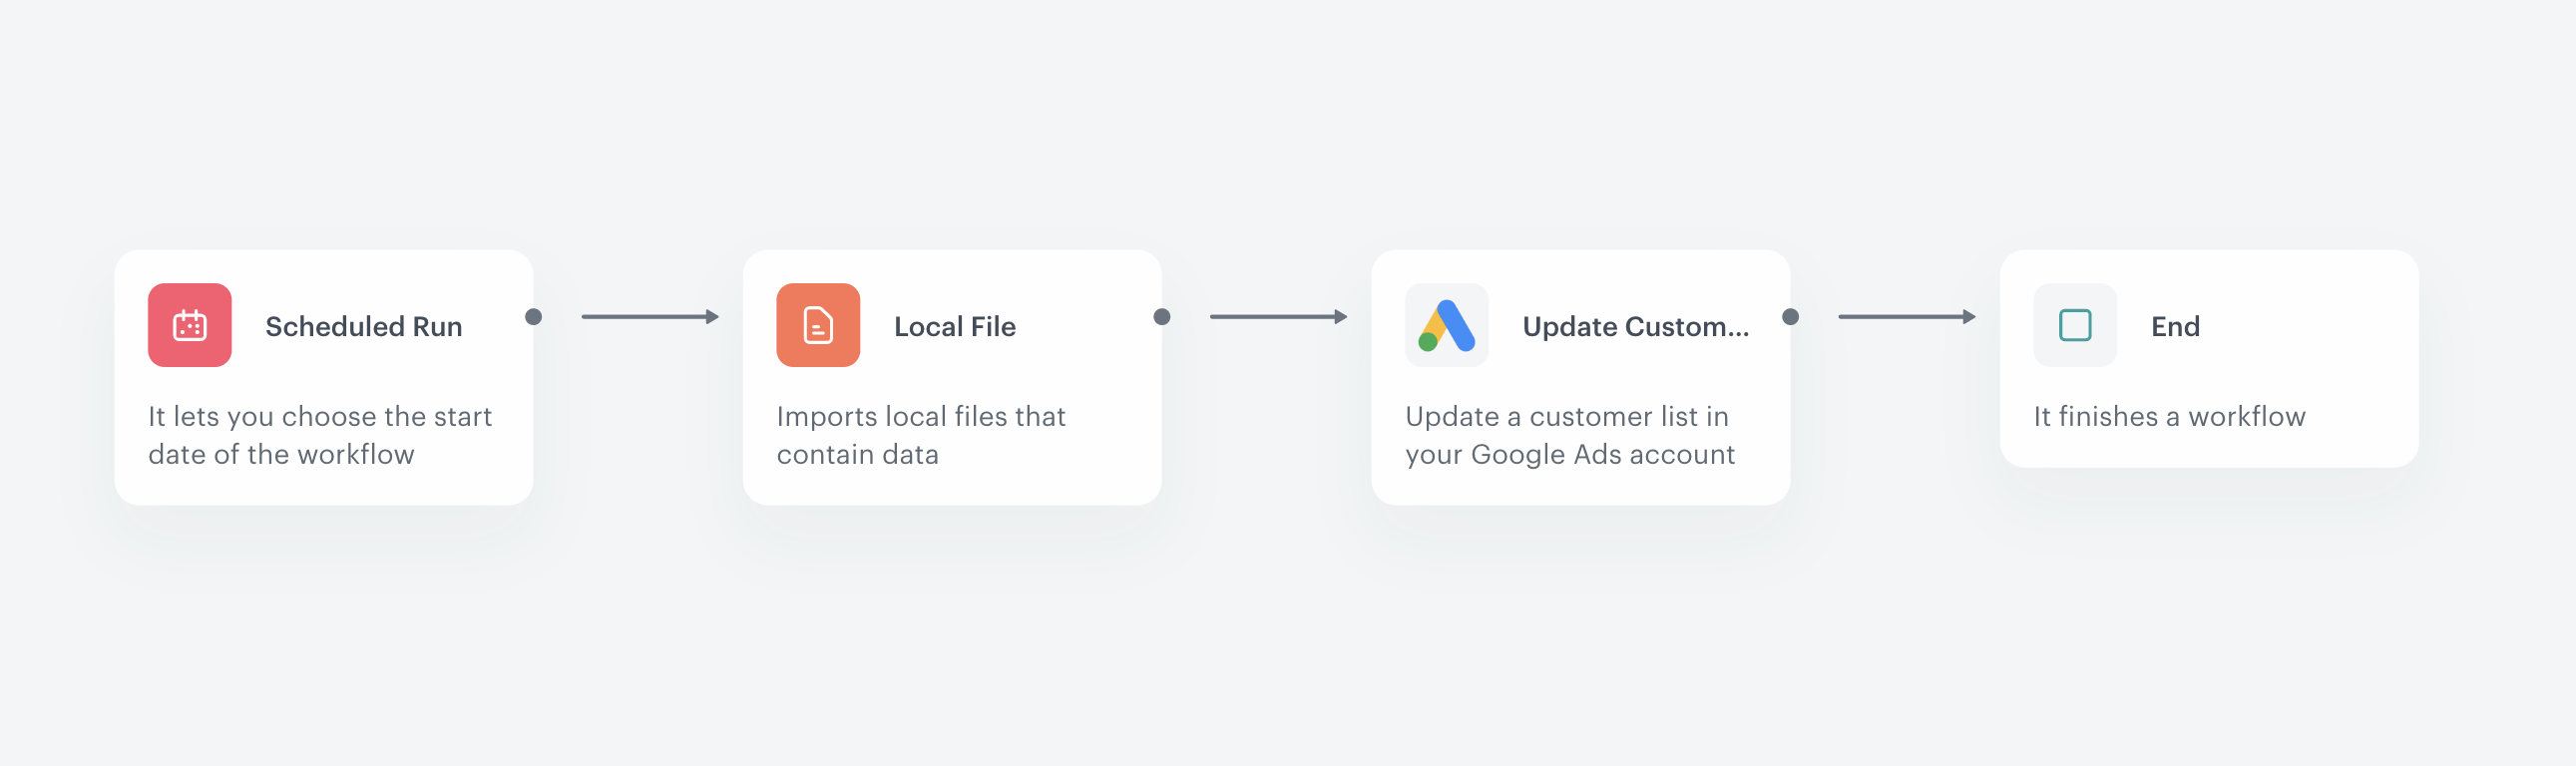
Final configuration of the workflow
Refer to this use case for more detailed information on how to use this node: